Constituencies
This guide explains how to manage constituencies in the Family Navigator application, including accessing the page, creating, editing, deleting, and reordering constituencies.
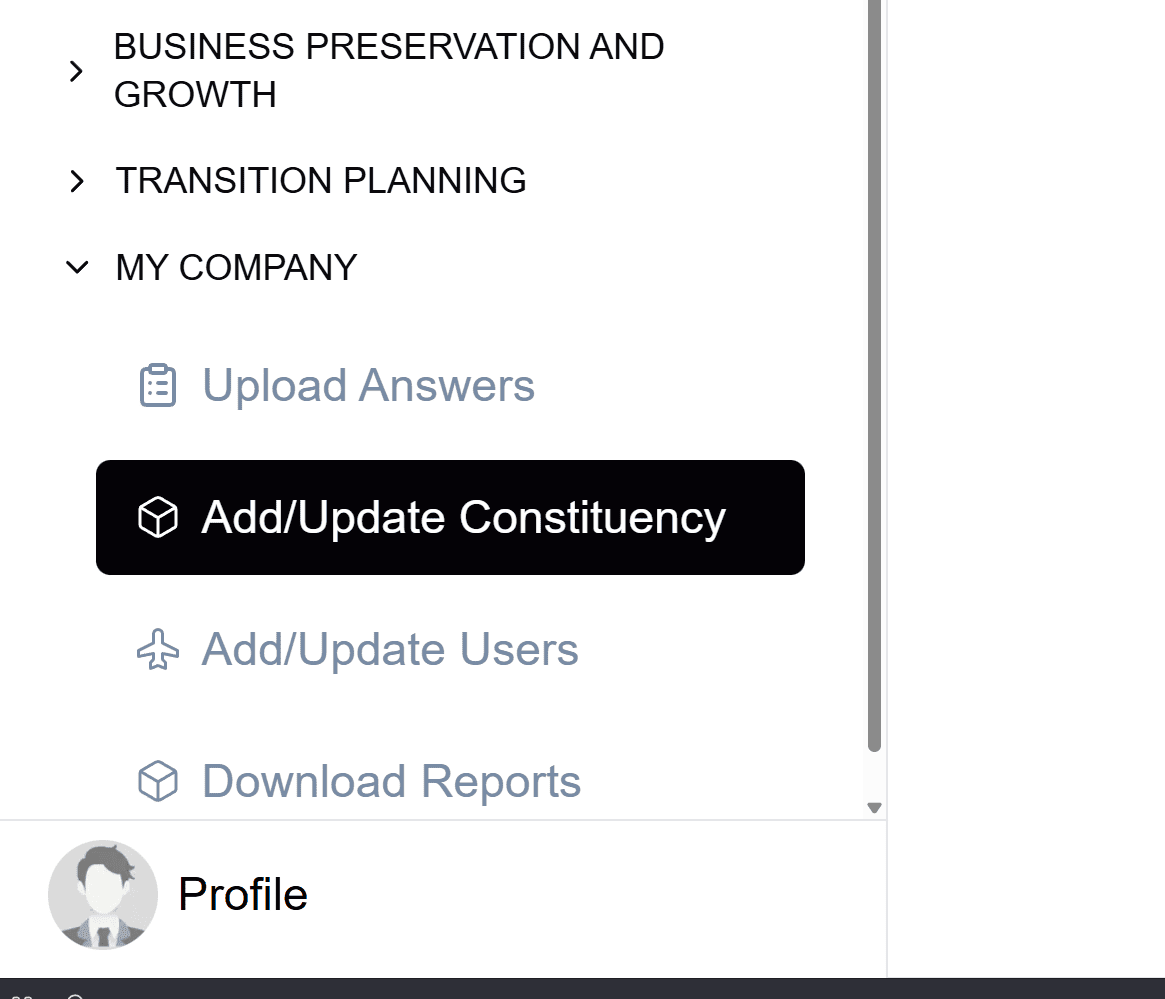
Accessing Constituencies
- Log in to the Family Navigator application.
- Navigate to the "My Data" section from the main menu.
- Select "Constituencies" from the submenu.
Creating a Constituency
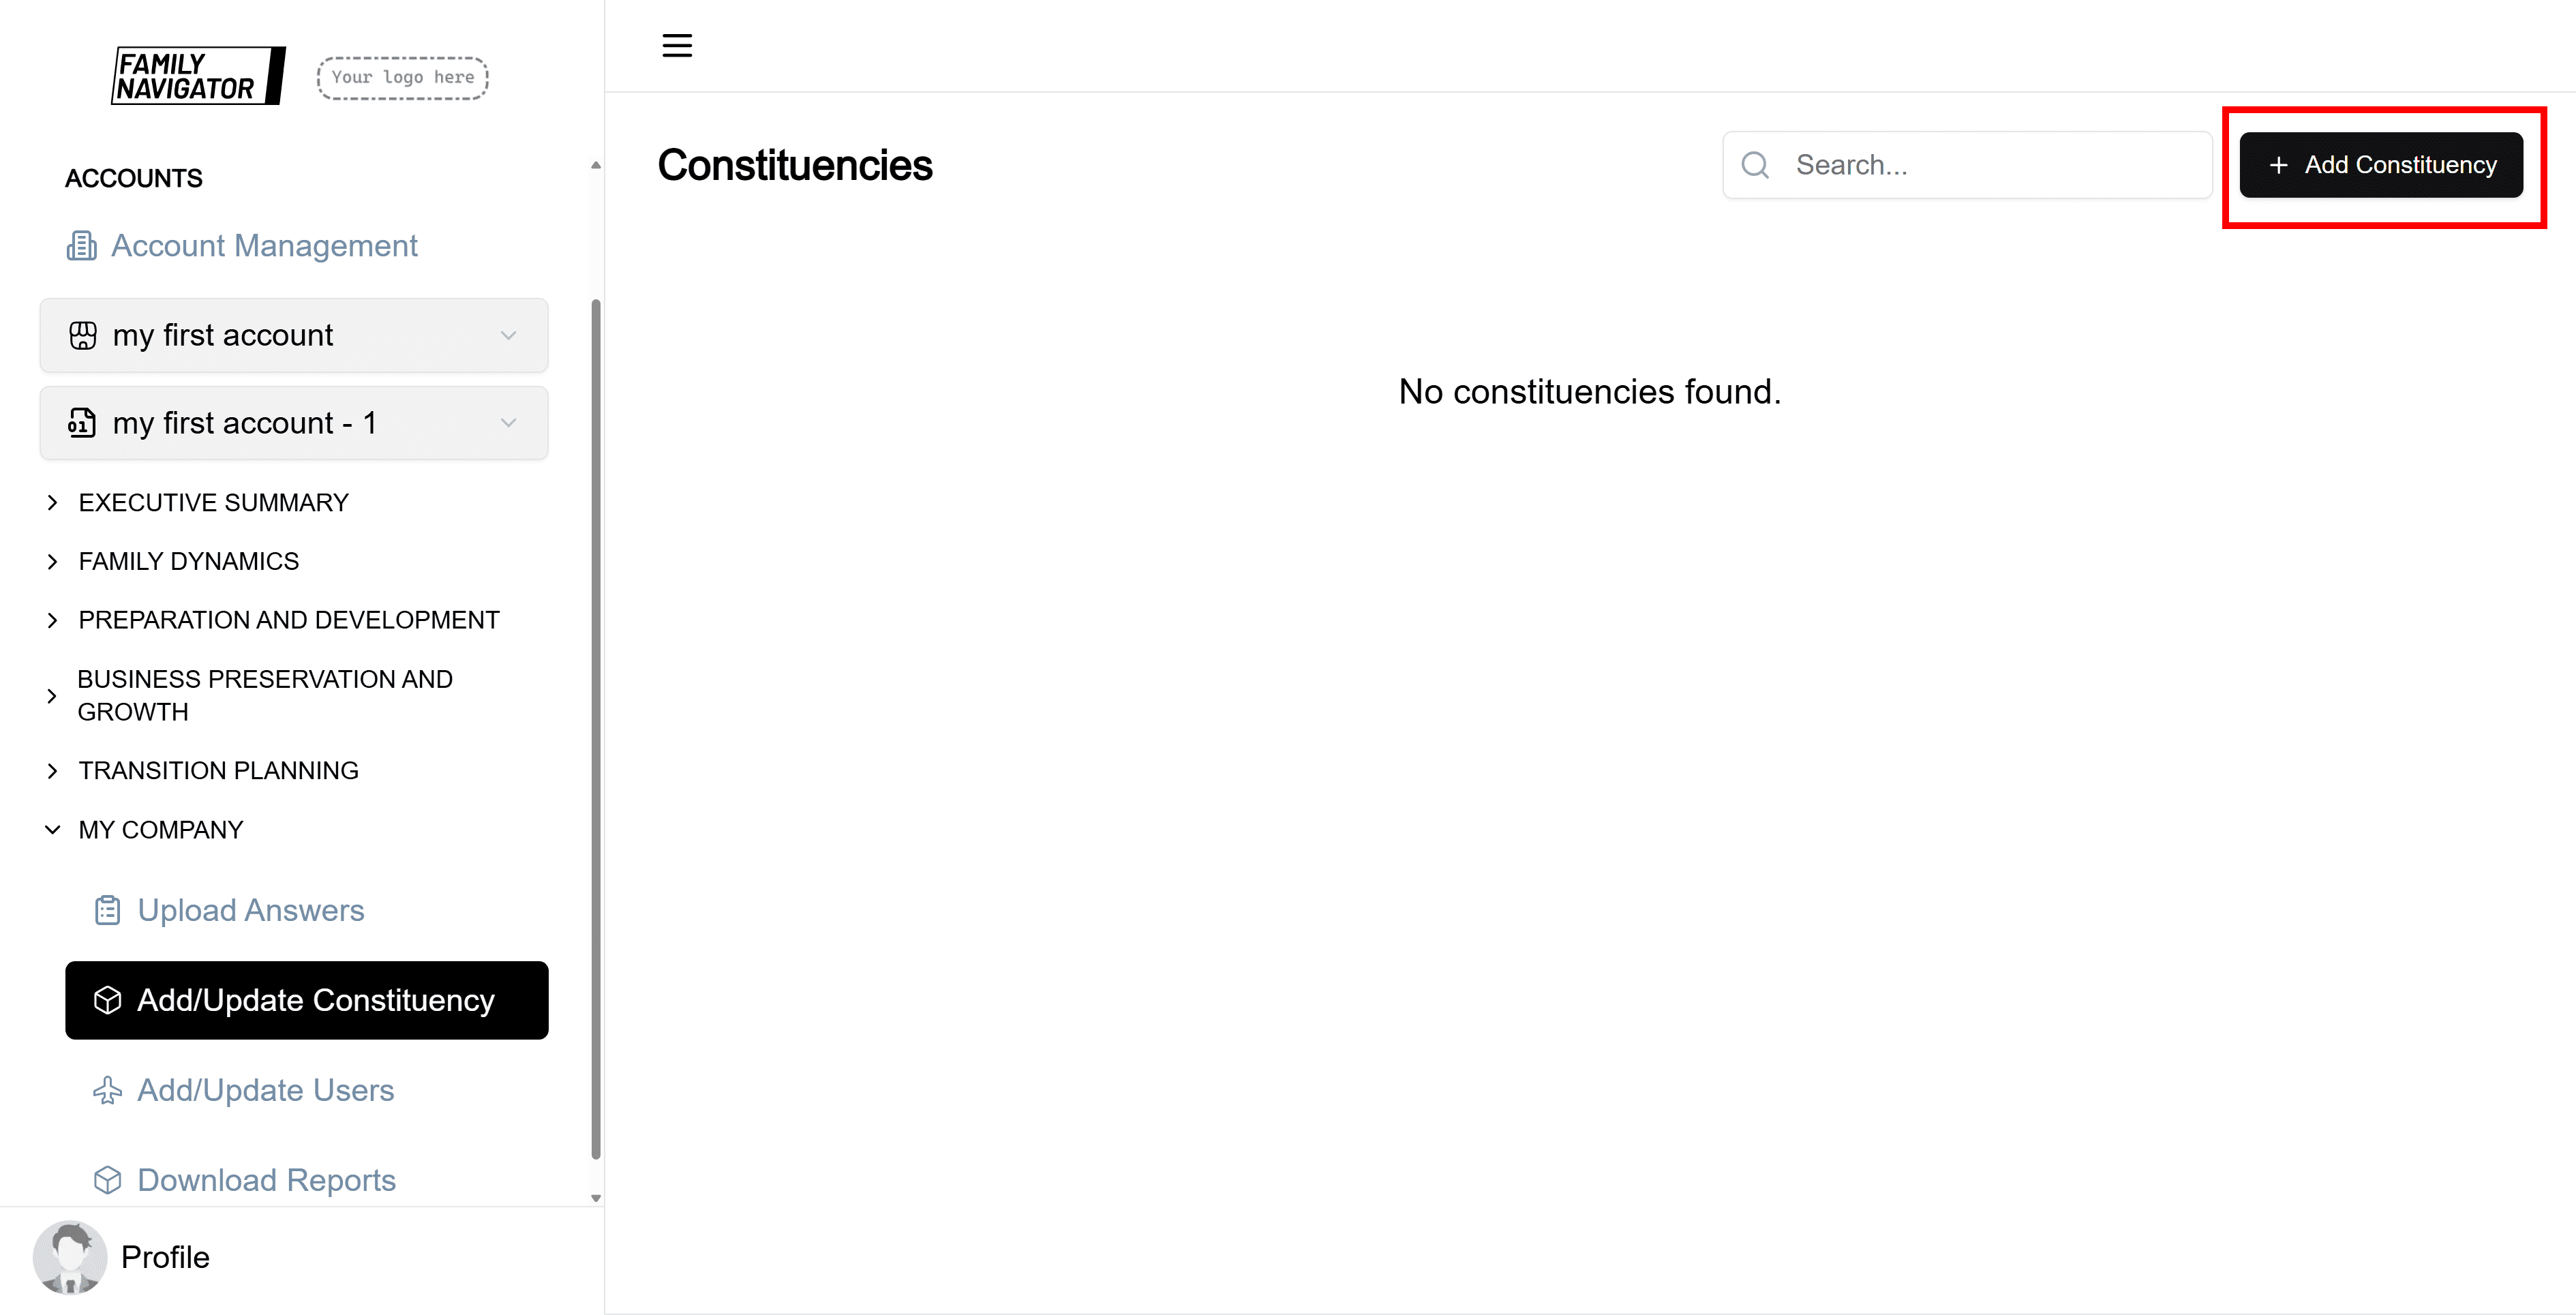
Step 1: Open the Add Constituency Form
Click the "Add Constituency" button located at the top right of the Constituencies page.
Step 2: Fill in the Constituency Details
The form will open in a sidebar. Fill in the following required fields:
- Name: Enter a unique name for the constituency (max 50 characters).
- Abbreviation: Provide a short abbreviation for the constituency (max 20 characters).
- Definition: Enter a detailed definition or description of the constituency (max 210 characters).
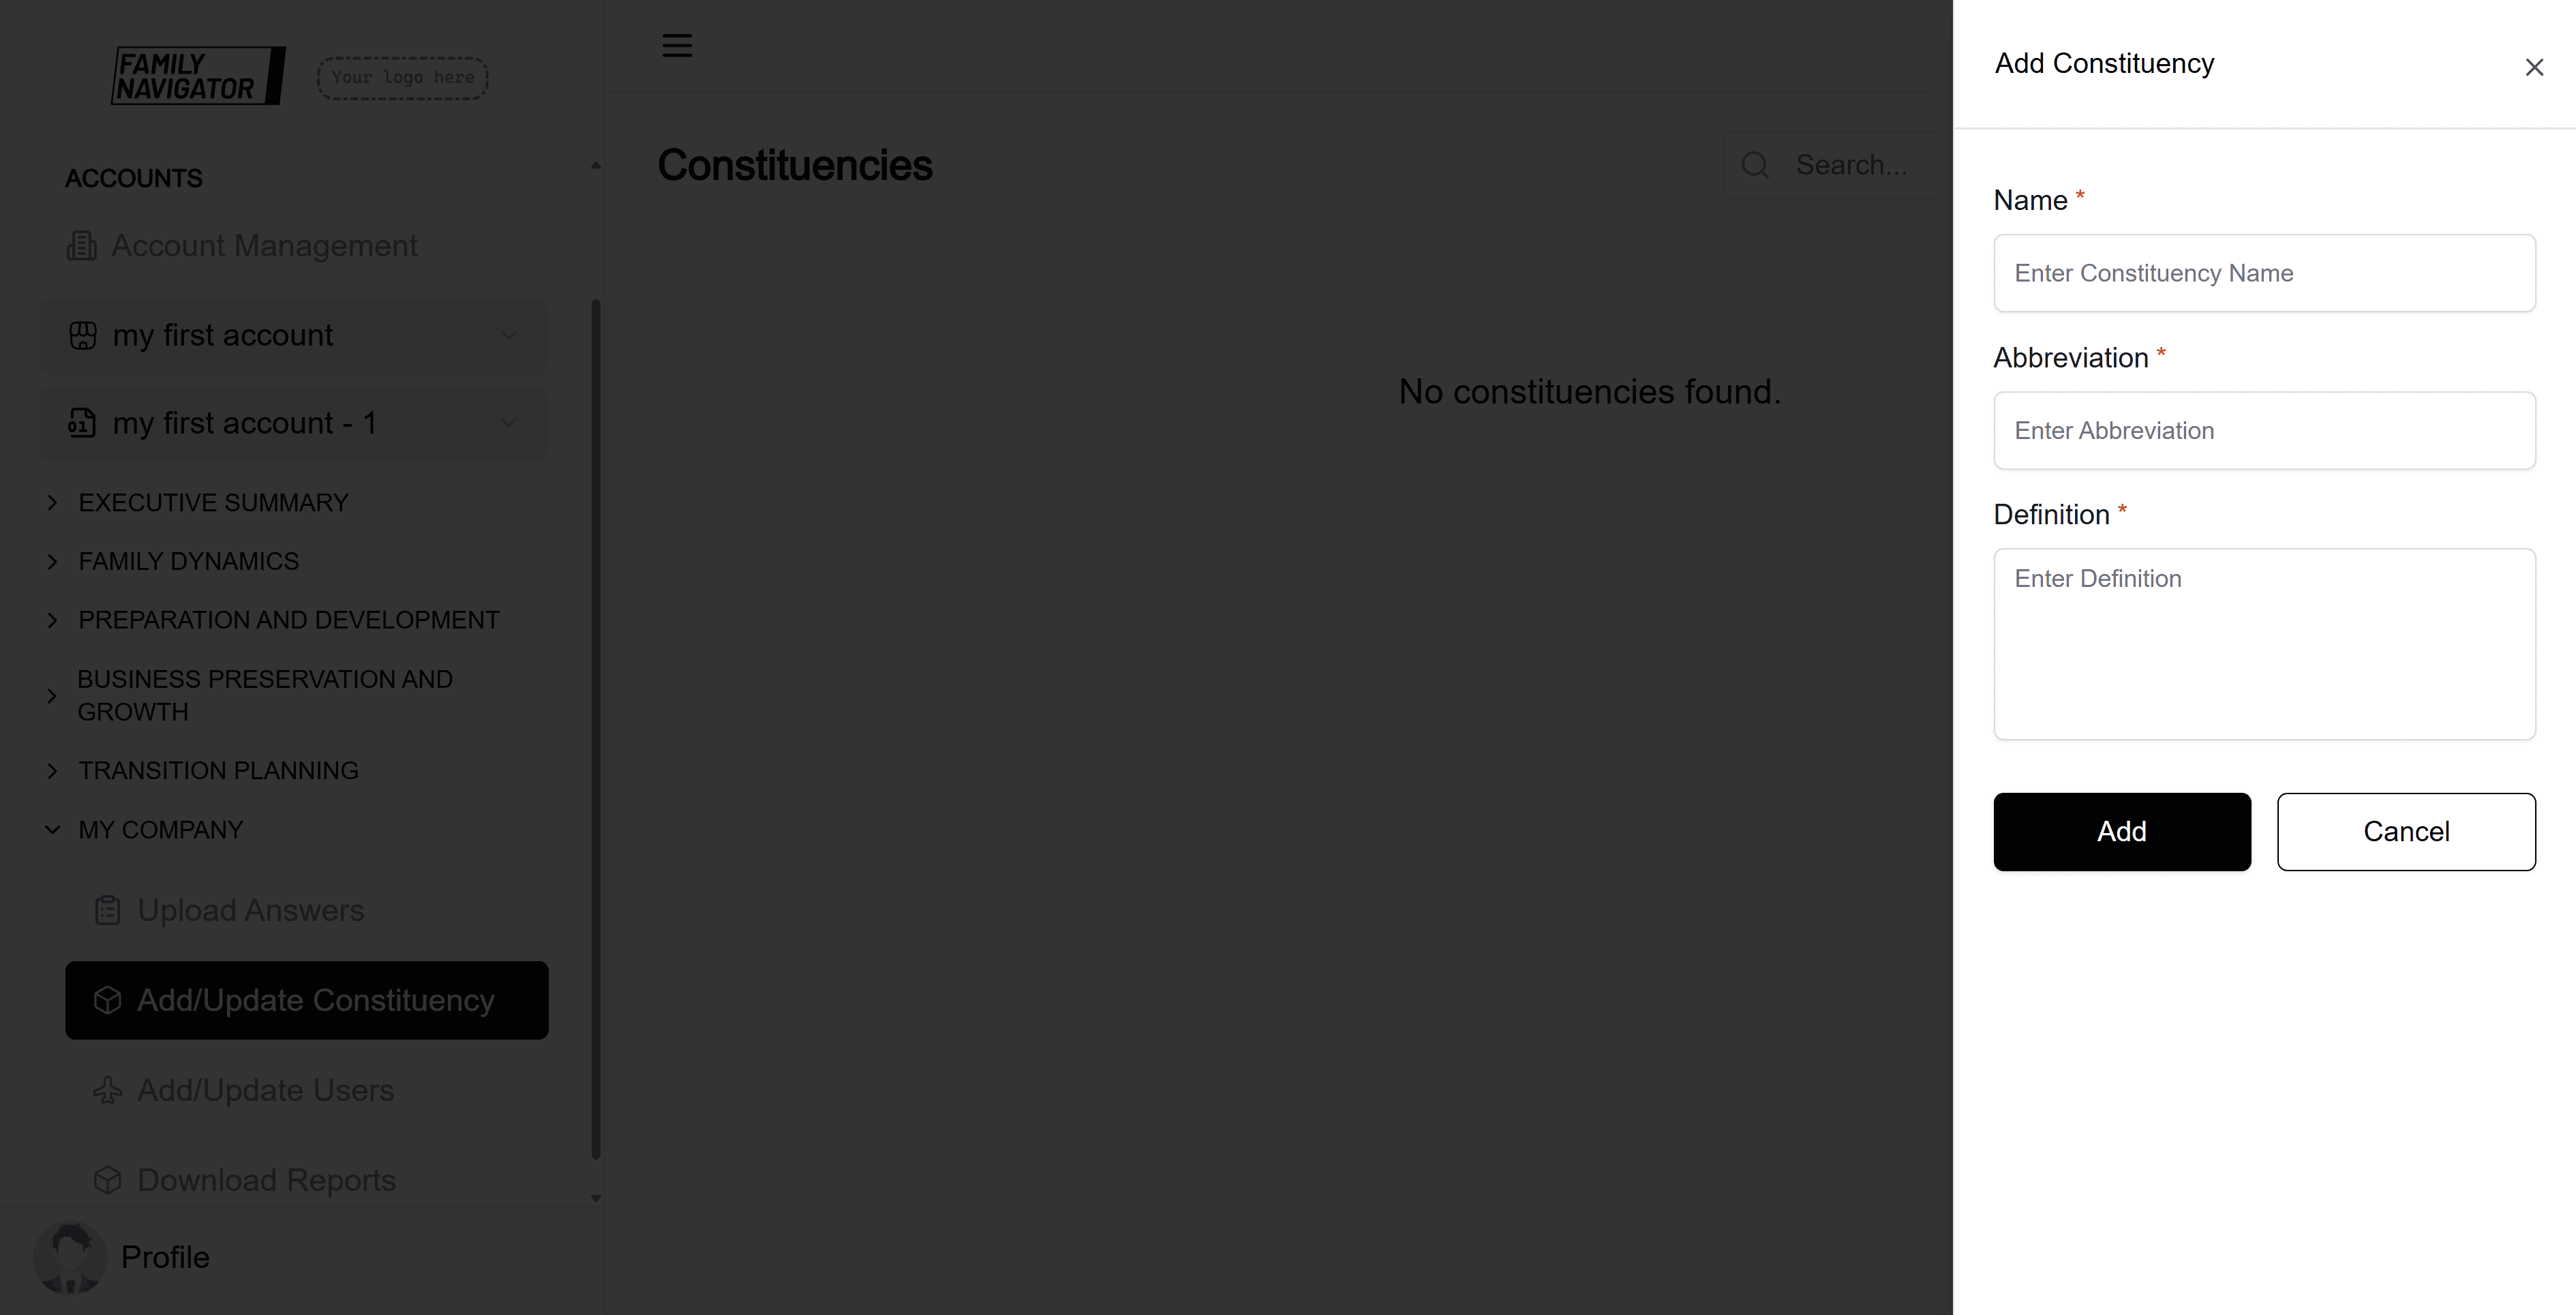
Step 3: Submit the Form
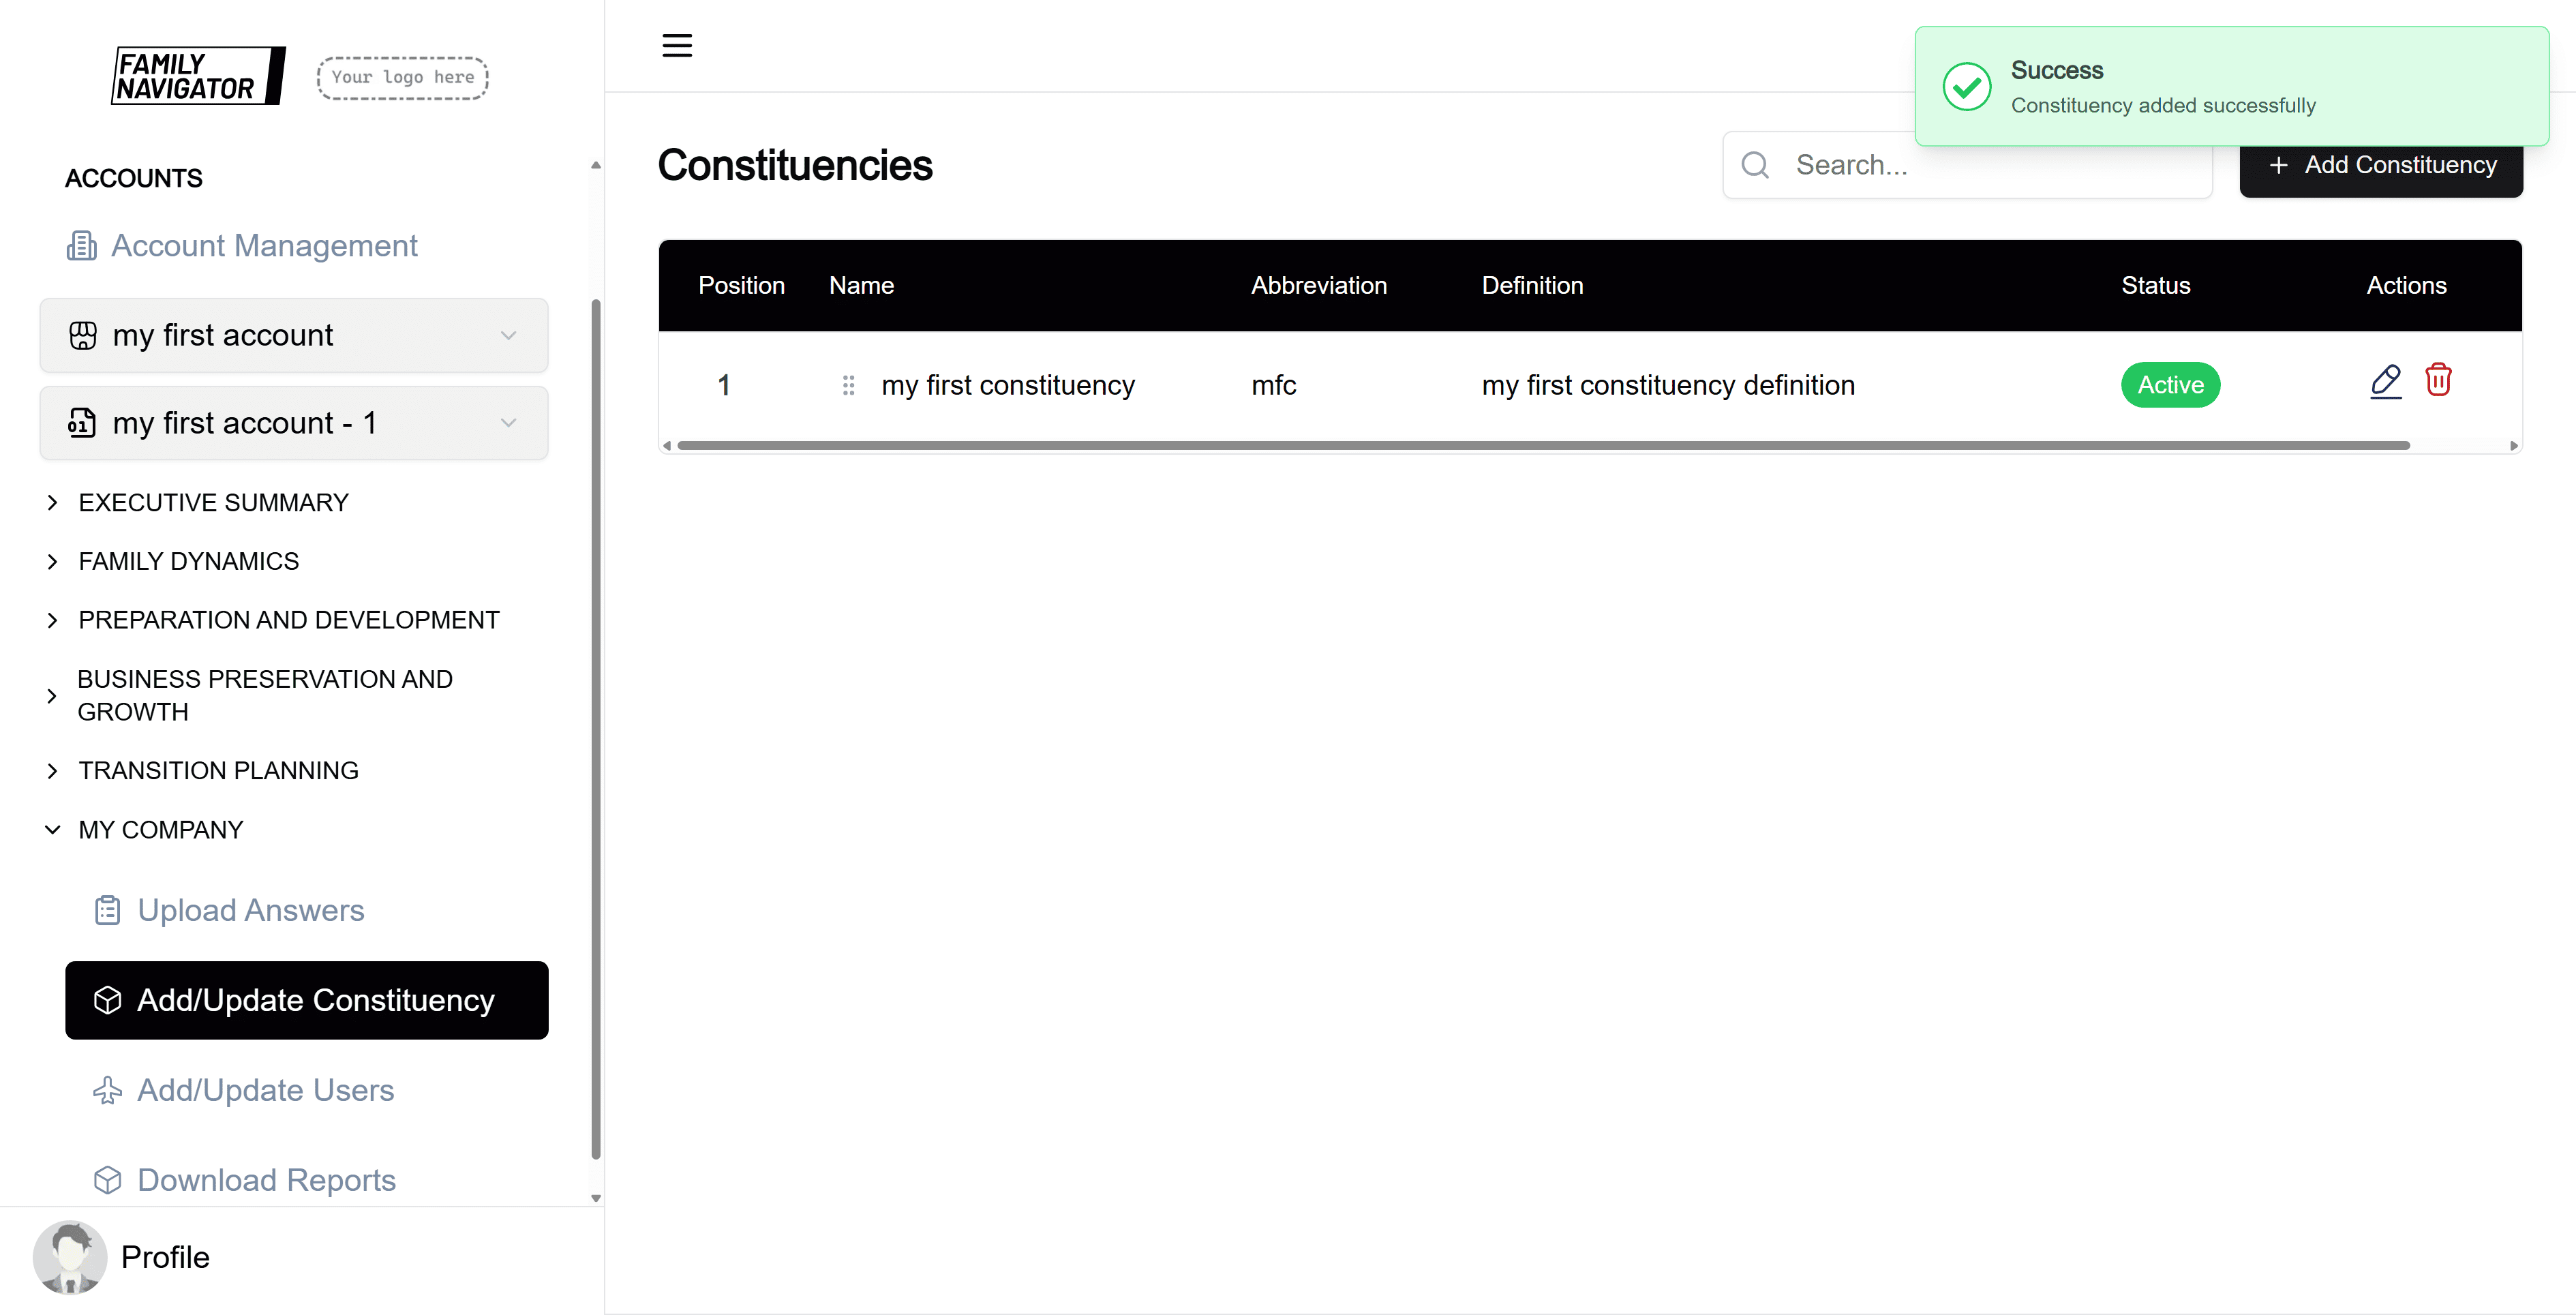
Click the "Add" button to create the constituency. You will see a success message upon completion.
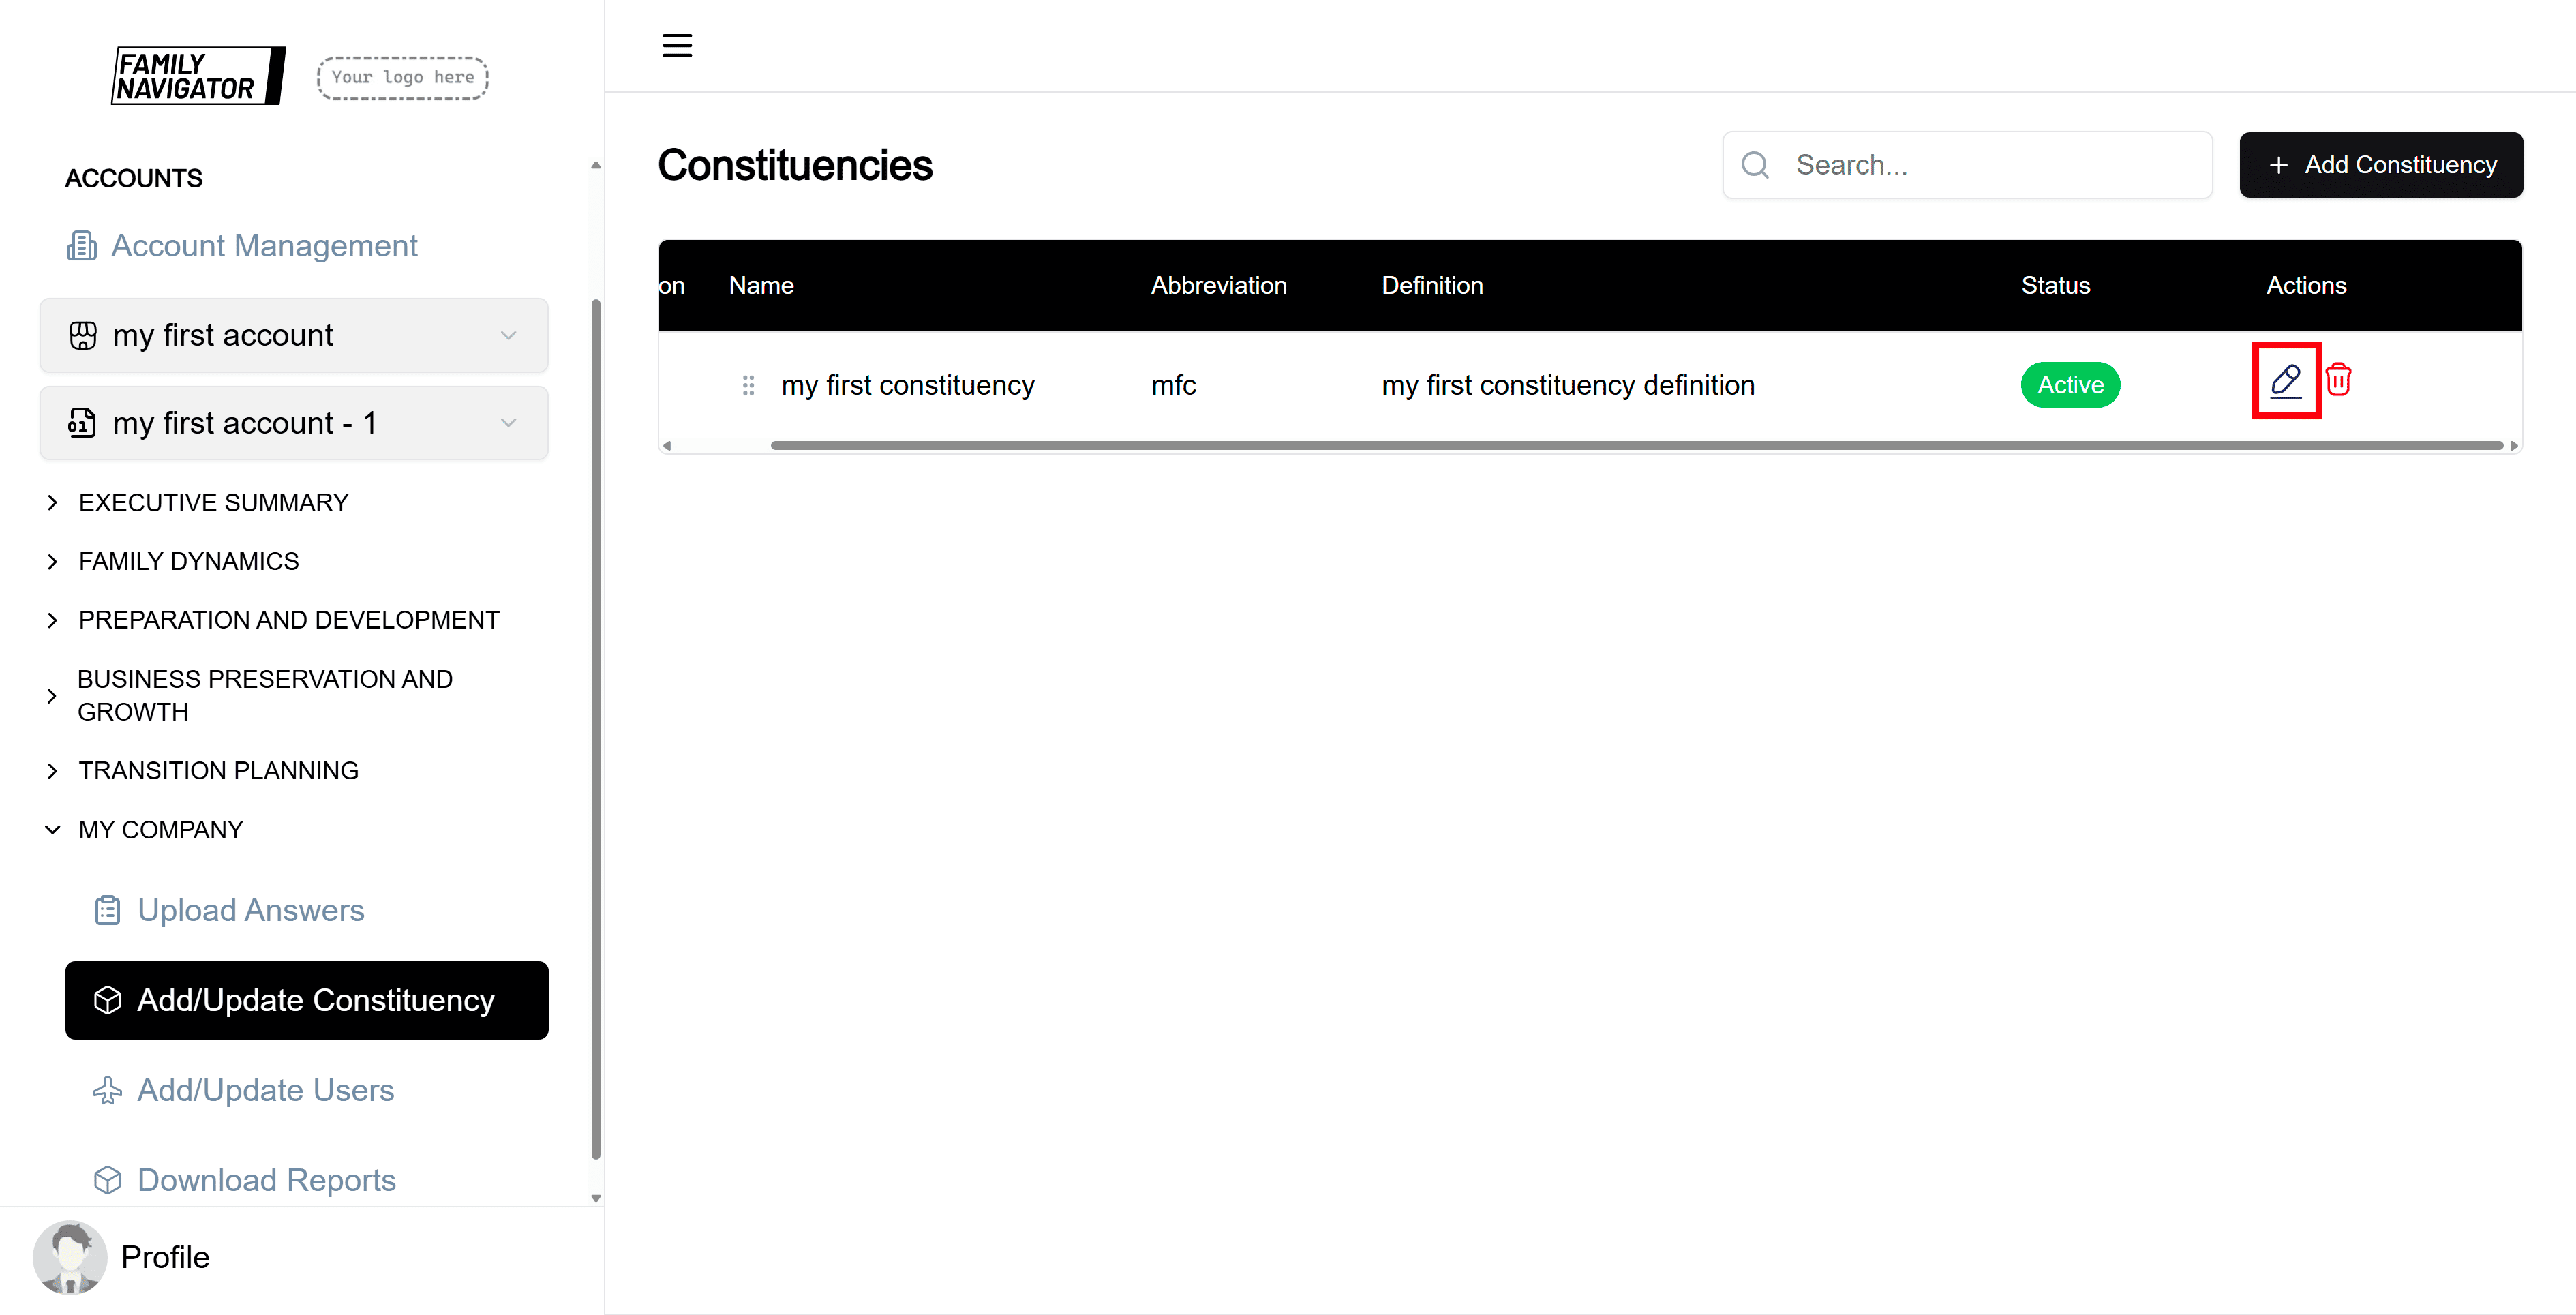
Editing a Constituency
Step 1: Locate the Constituency
Find the constituency you want to edit in the constituencies table. You can use the search bar to filter constituencies by name, abbreviation, or definition.
Step 2: Open the Edit Form
Click the "Edit" button (pencil icon) in the Actions column for the desired constituency.
Step 3: Modify the Details
Update any of the fields as needed. You can also toggle the "Is active?" checkbox to activate or deactivate the constituency.
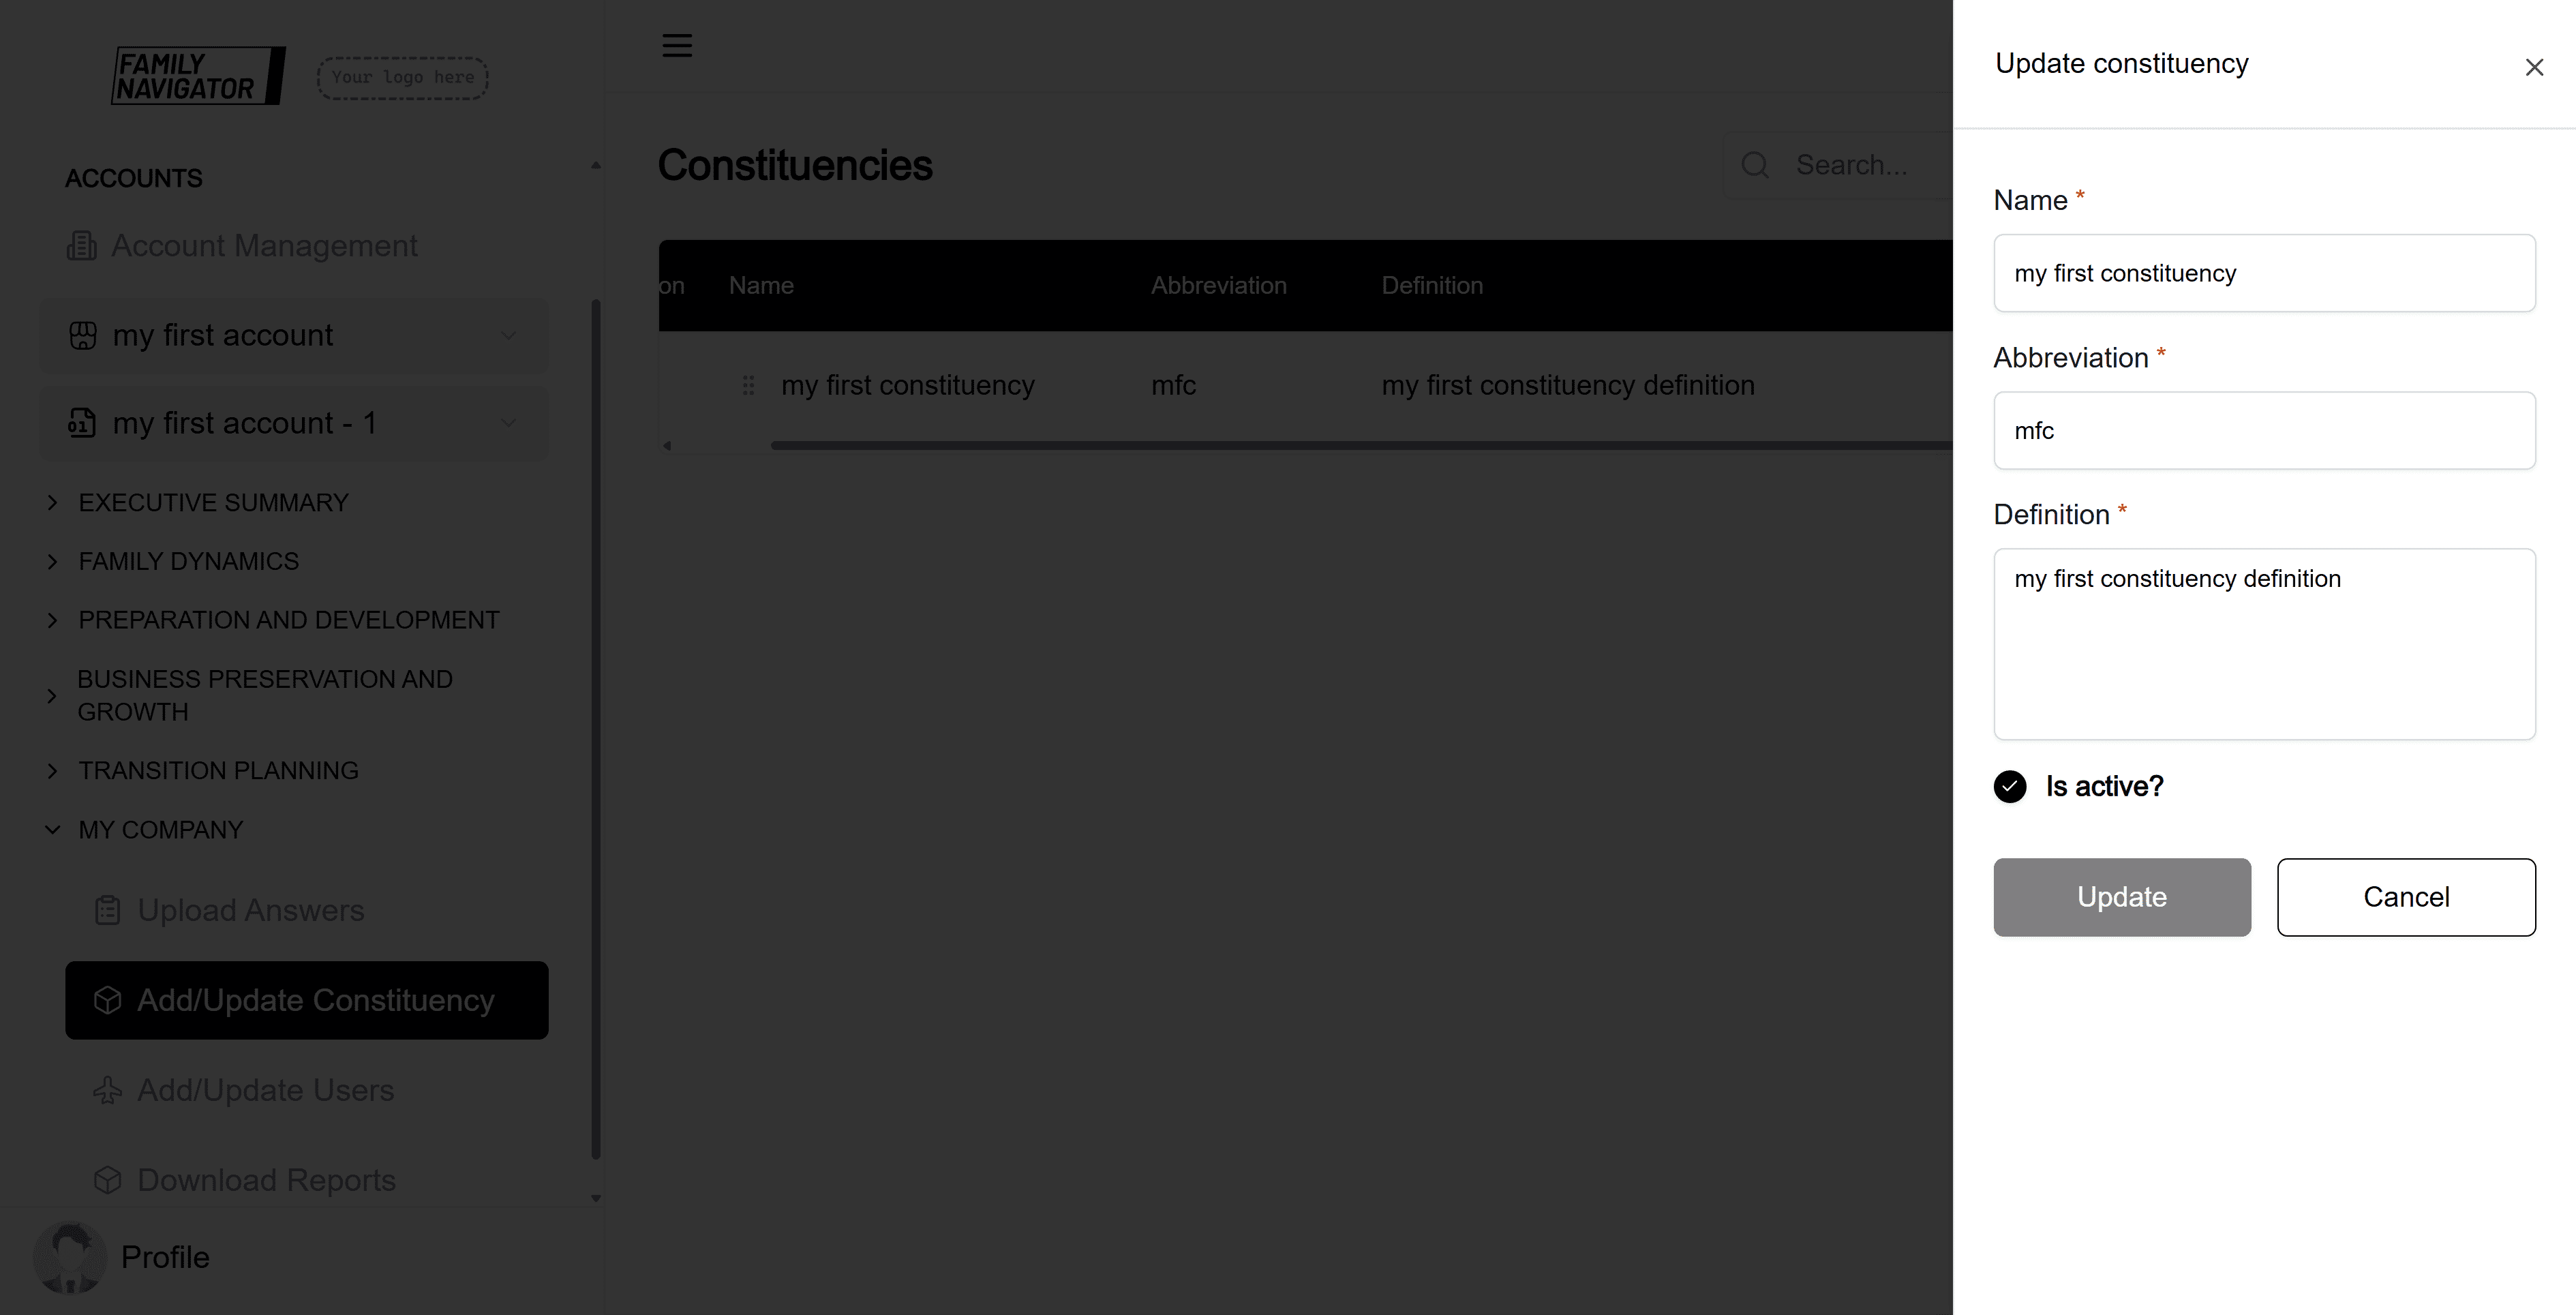
Step 4: Save Changes
Click the "Update" button to save your changes. A success message will confirm the update.
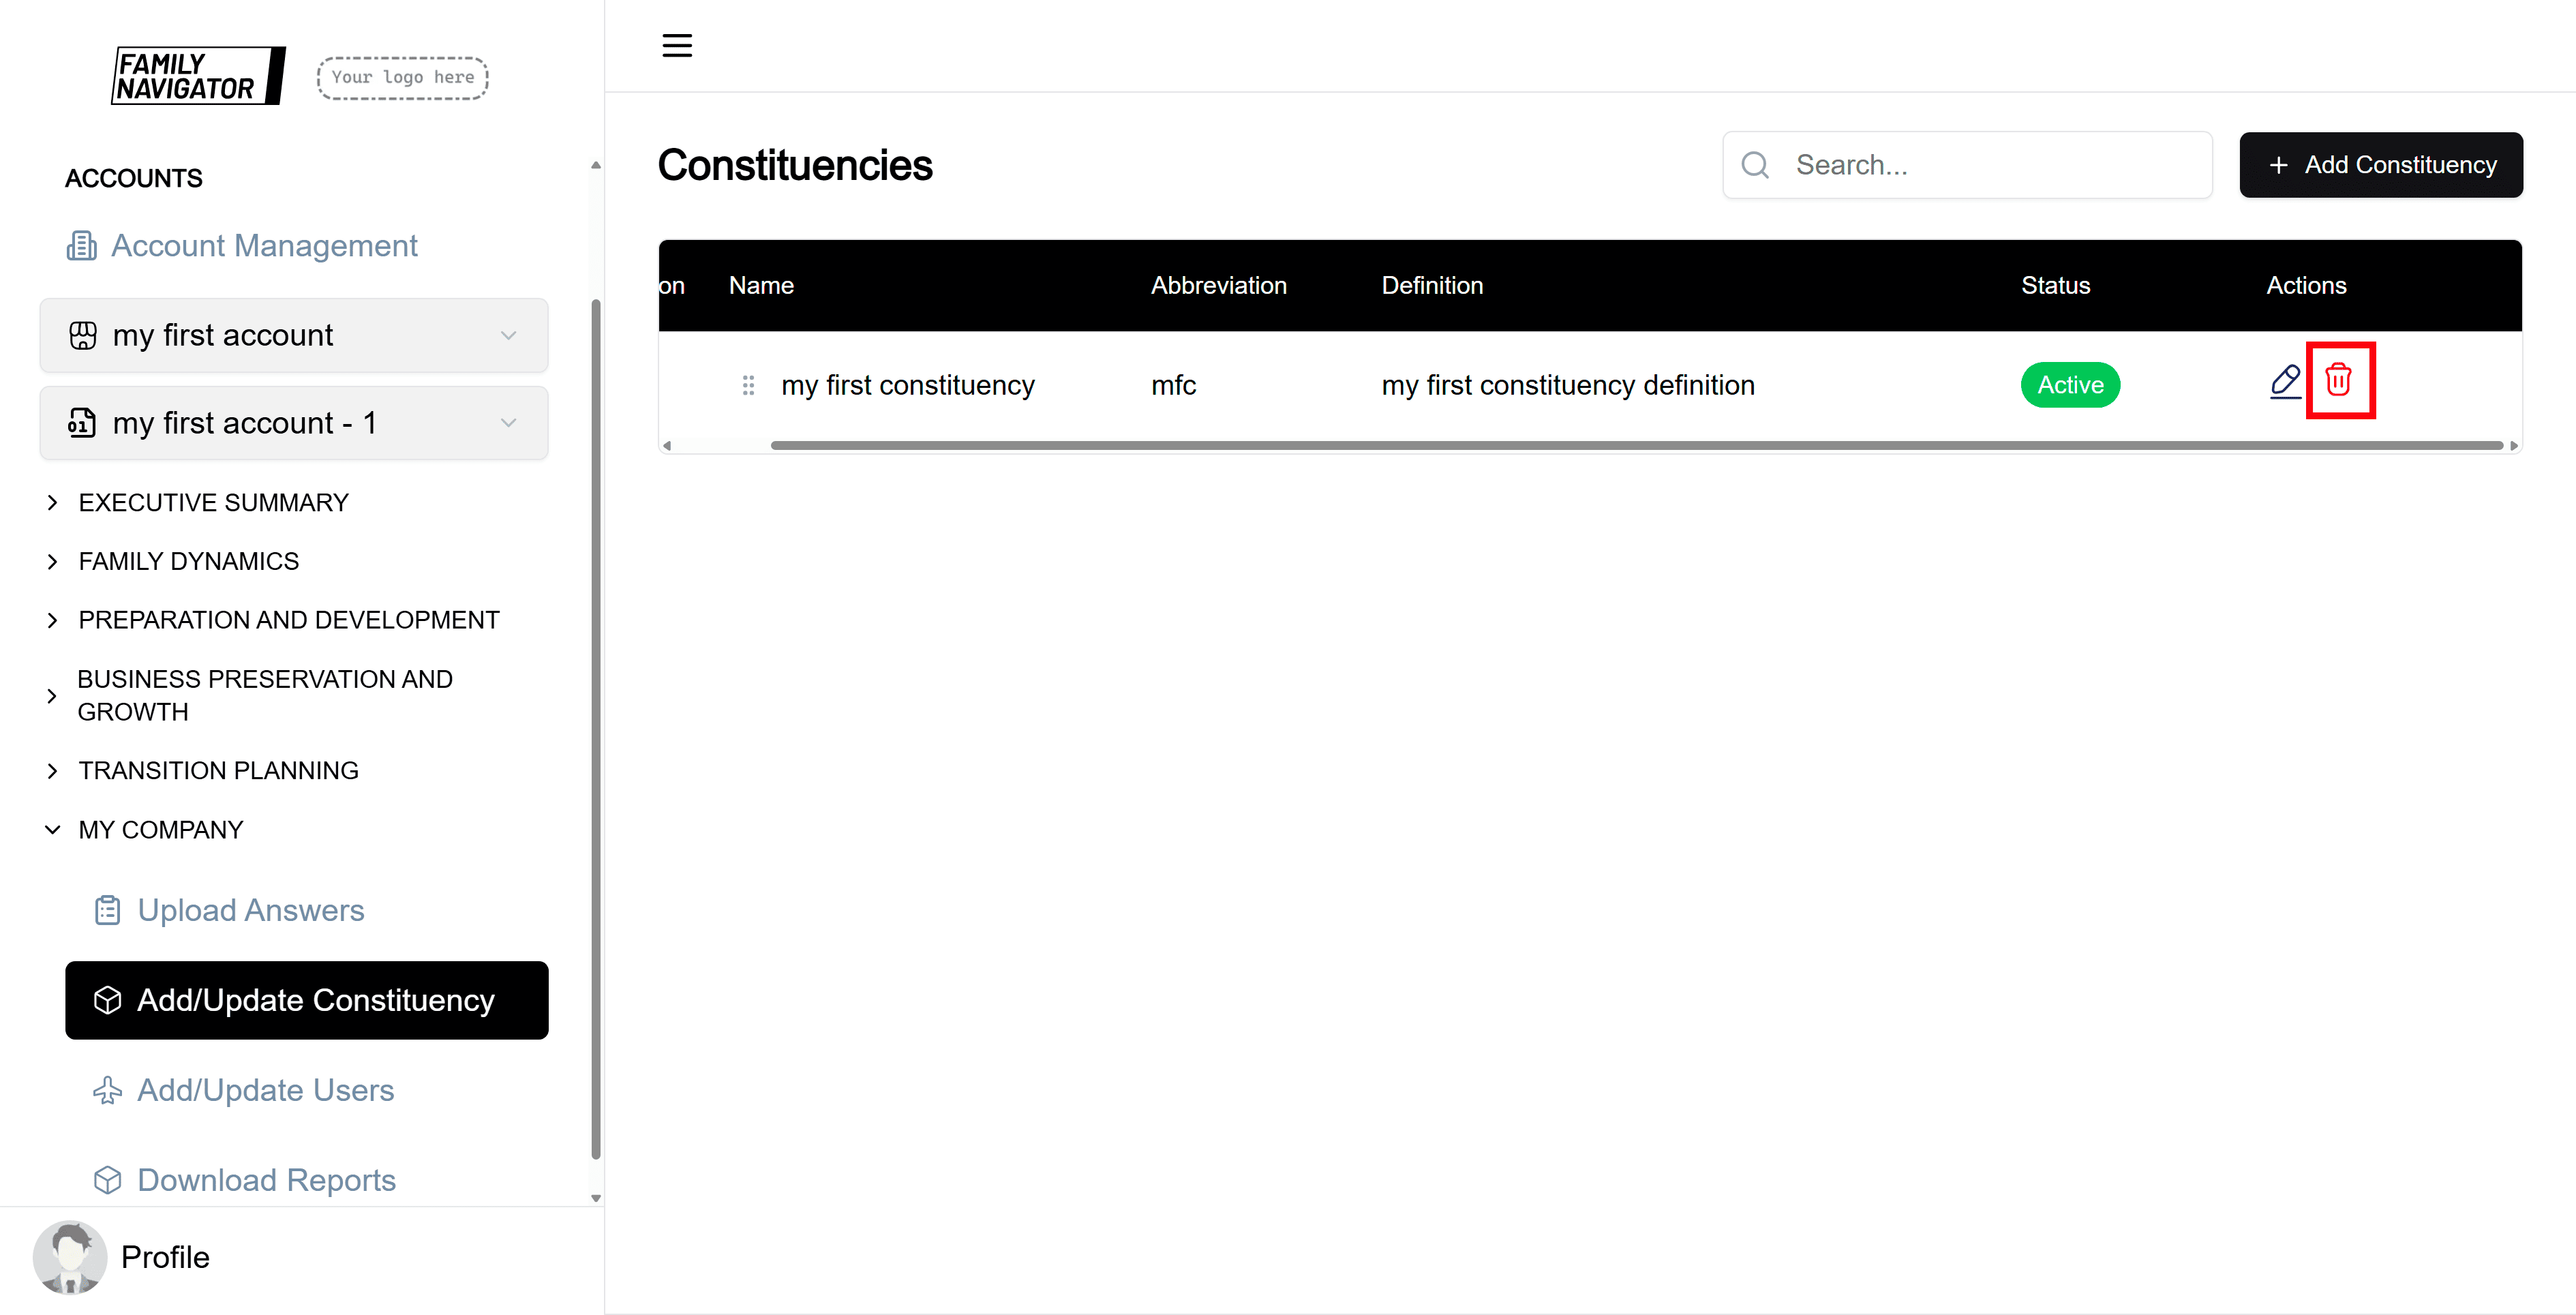
Deleting a Constituency
Step 1: Locate the Constituency
Find the constituency you want to delete in the constituencies table.
Step 2: Initiate Deletion
Click the "Delete" button (trash icon) in the Actions column for the desired constituency.
Step 3: Confirm Deletion
A confirmation modal will appear. Click "Confirm" to permanently delete the constituency.
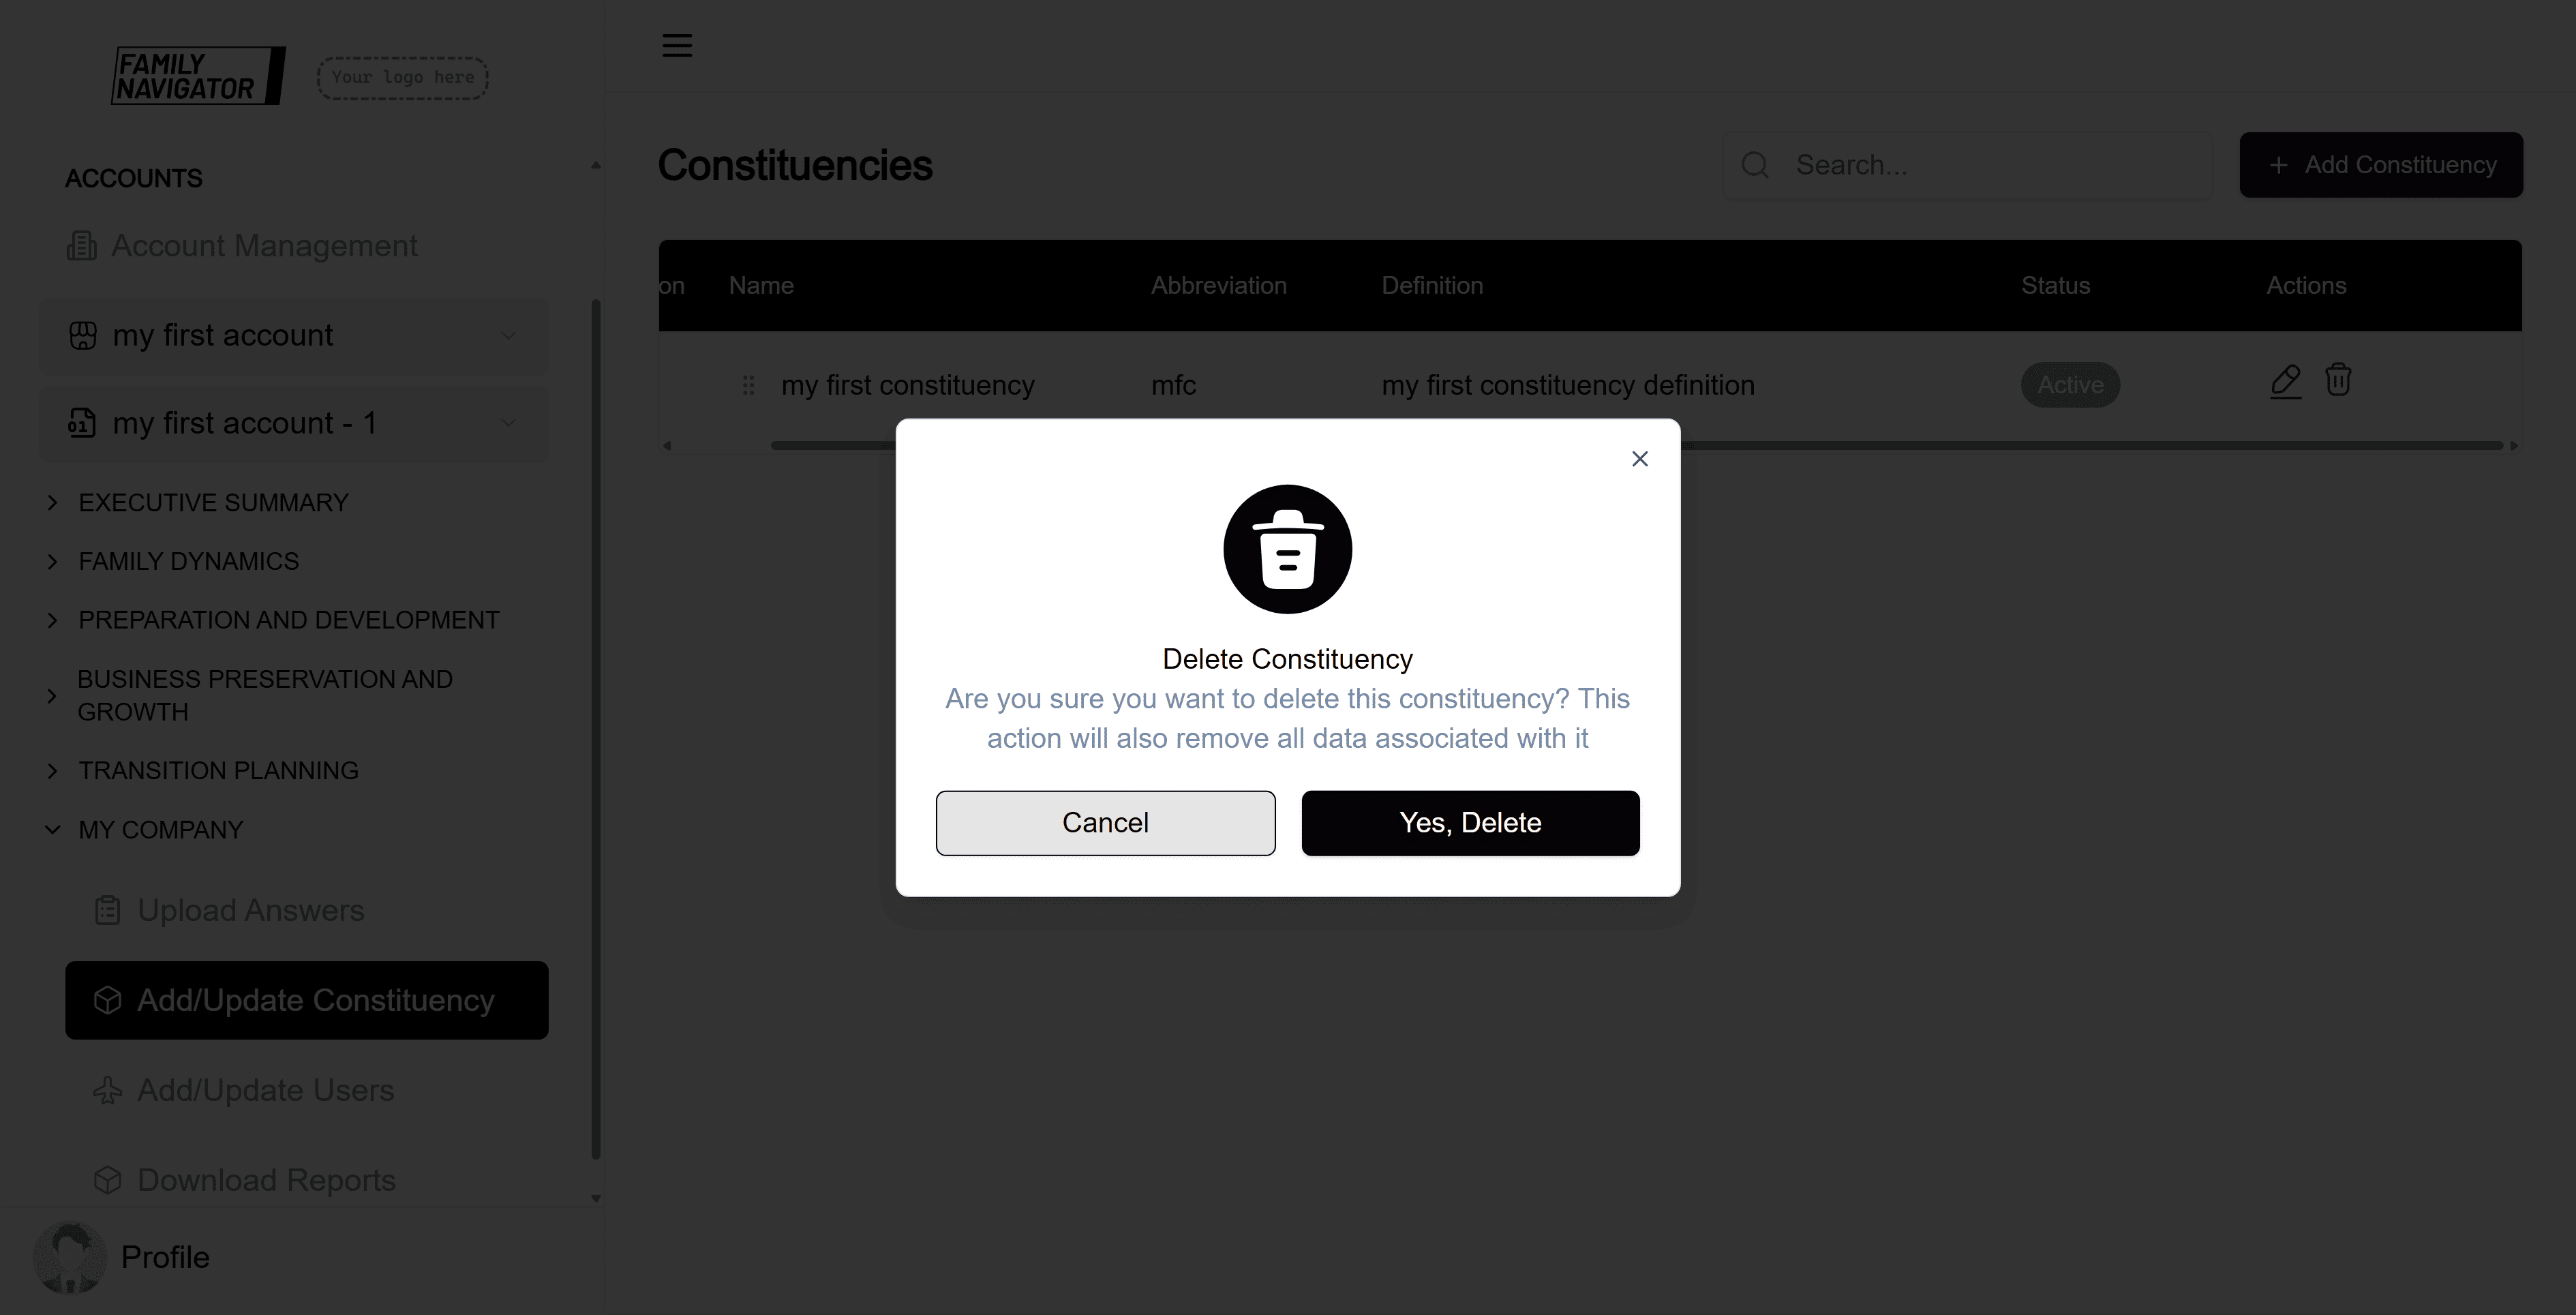
Step 4: Deletion Complete
The constituency will be removed from the list, and you will see a success message.
Reordering Constituencies
Step 1: Drag and Drop
To reorder constituencies, click and drag the row by the position number or drag handle. Drop it in the desired position.
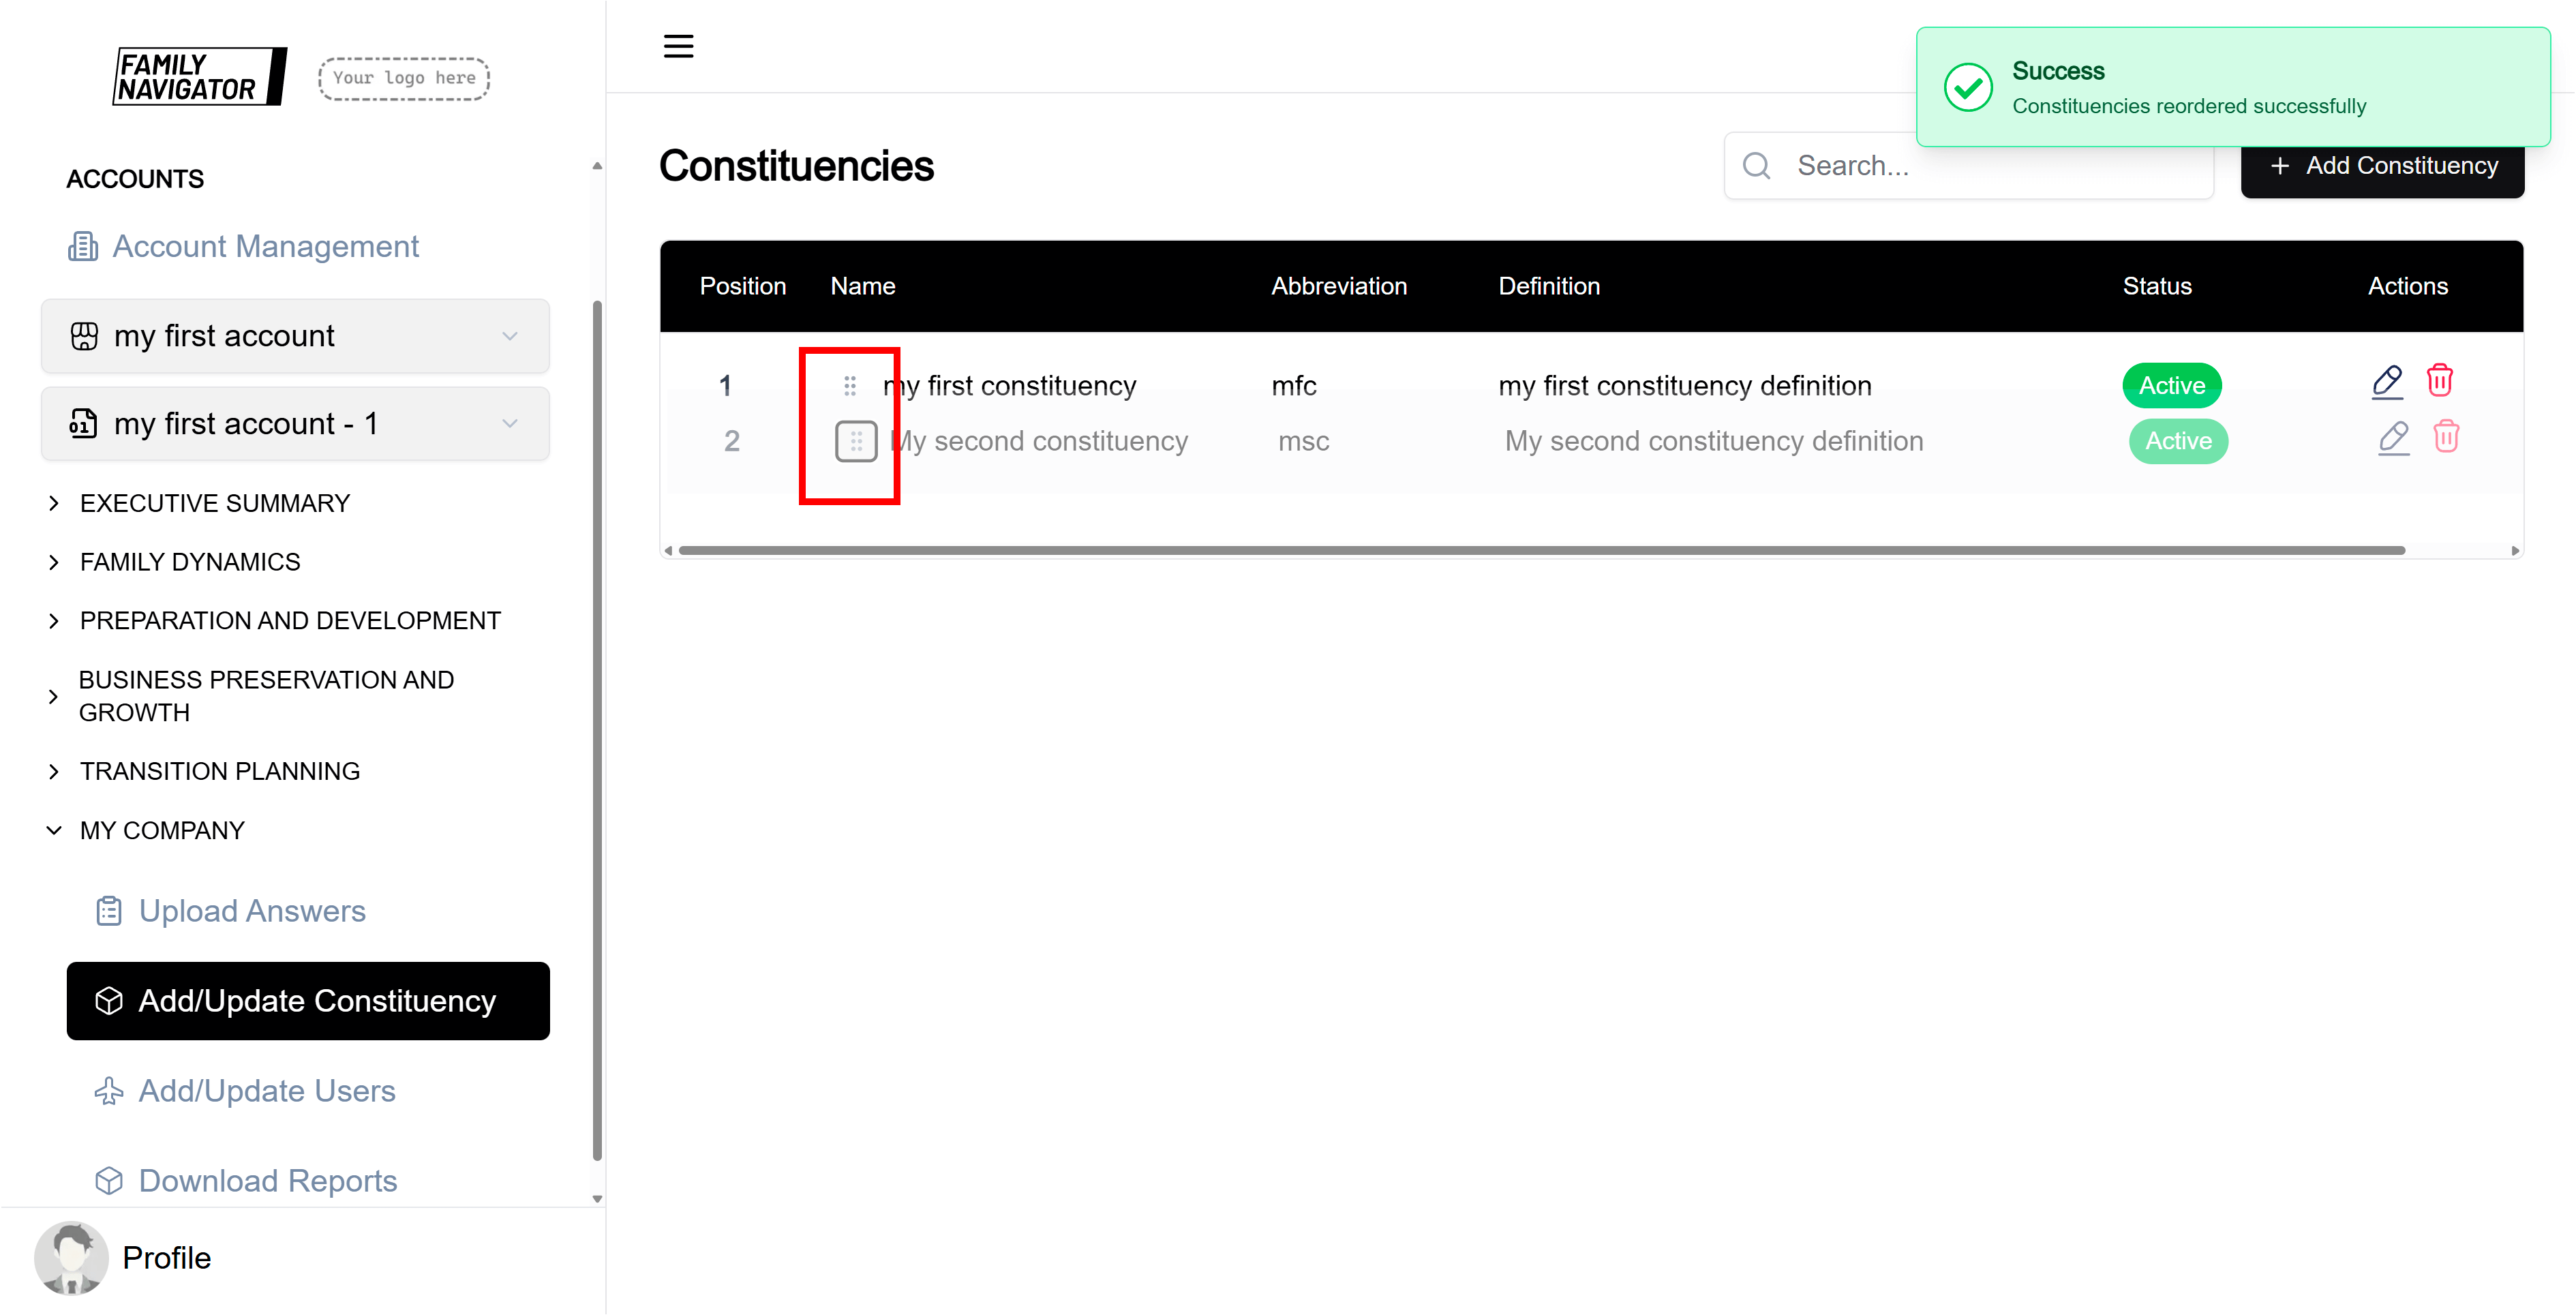
Step 2: Confirm Reorder
The order will be updated automatically, and you will see a success message.
Additional Features
- Search: Use the search bar to quickly find constituencies by name, abbreviation, or definition.
- Status: Constituencies can be active or inactive. Inactive constituencies may have limited functionality.
- Position: Constituencies are ordered by position, which can be changed via drag and drop.
Troubleshooting
- Form Validation Errors: Ensure all required fields are filled and meet the character limits.
- Duplicate Names: Constituency names must be unique within the account.
- Permission Issues: Make sure you have the necessary permissions to manage constituencies.