New Account Payment: How It Works
This guide explains how to pay for a new Account when your workspace has already used its free accounts. In that case, you must pay once before creating the new account.
For the user activation payment flow (first-time activation), see Account Activation.
When is payment required?
Your workspace has a limit of free accounts. While you are under that limit, you can create accounts without paying. When you have reached the limit, you must pay for each additional account before creating it.
Steps (when payment is required)
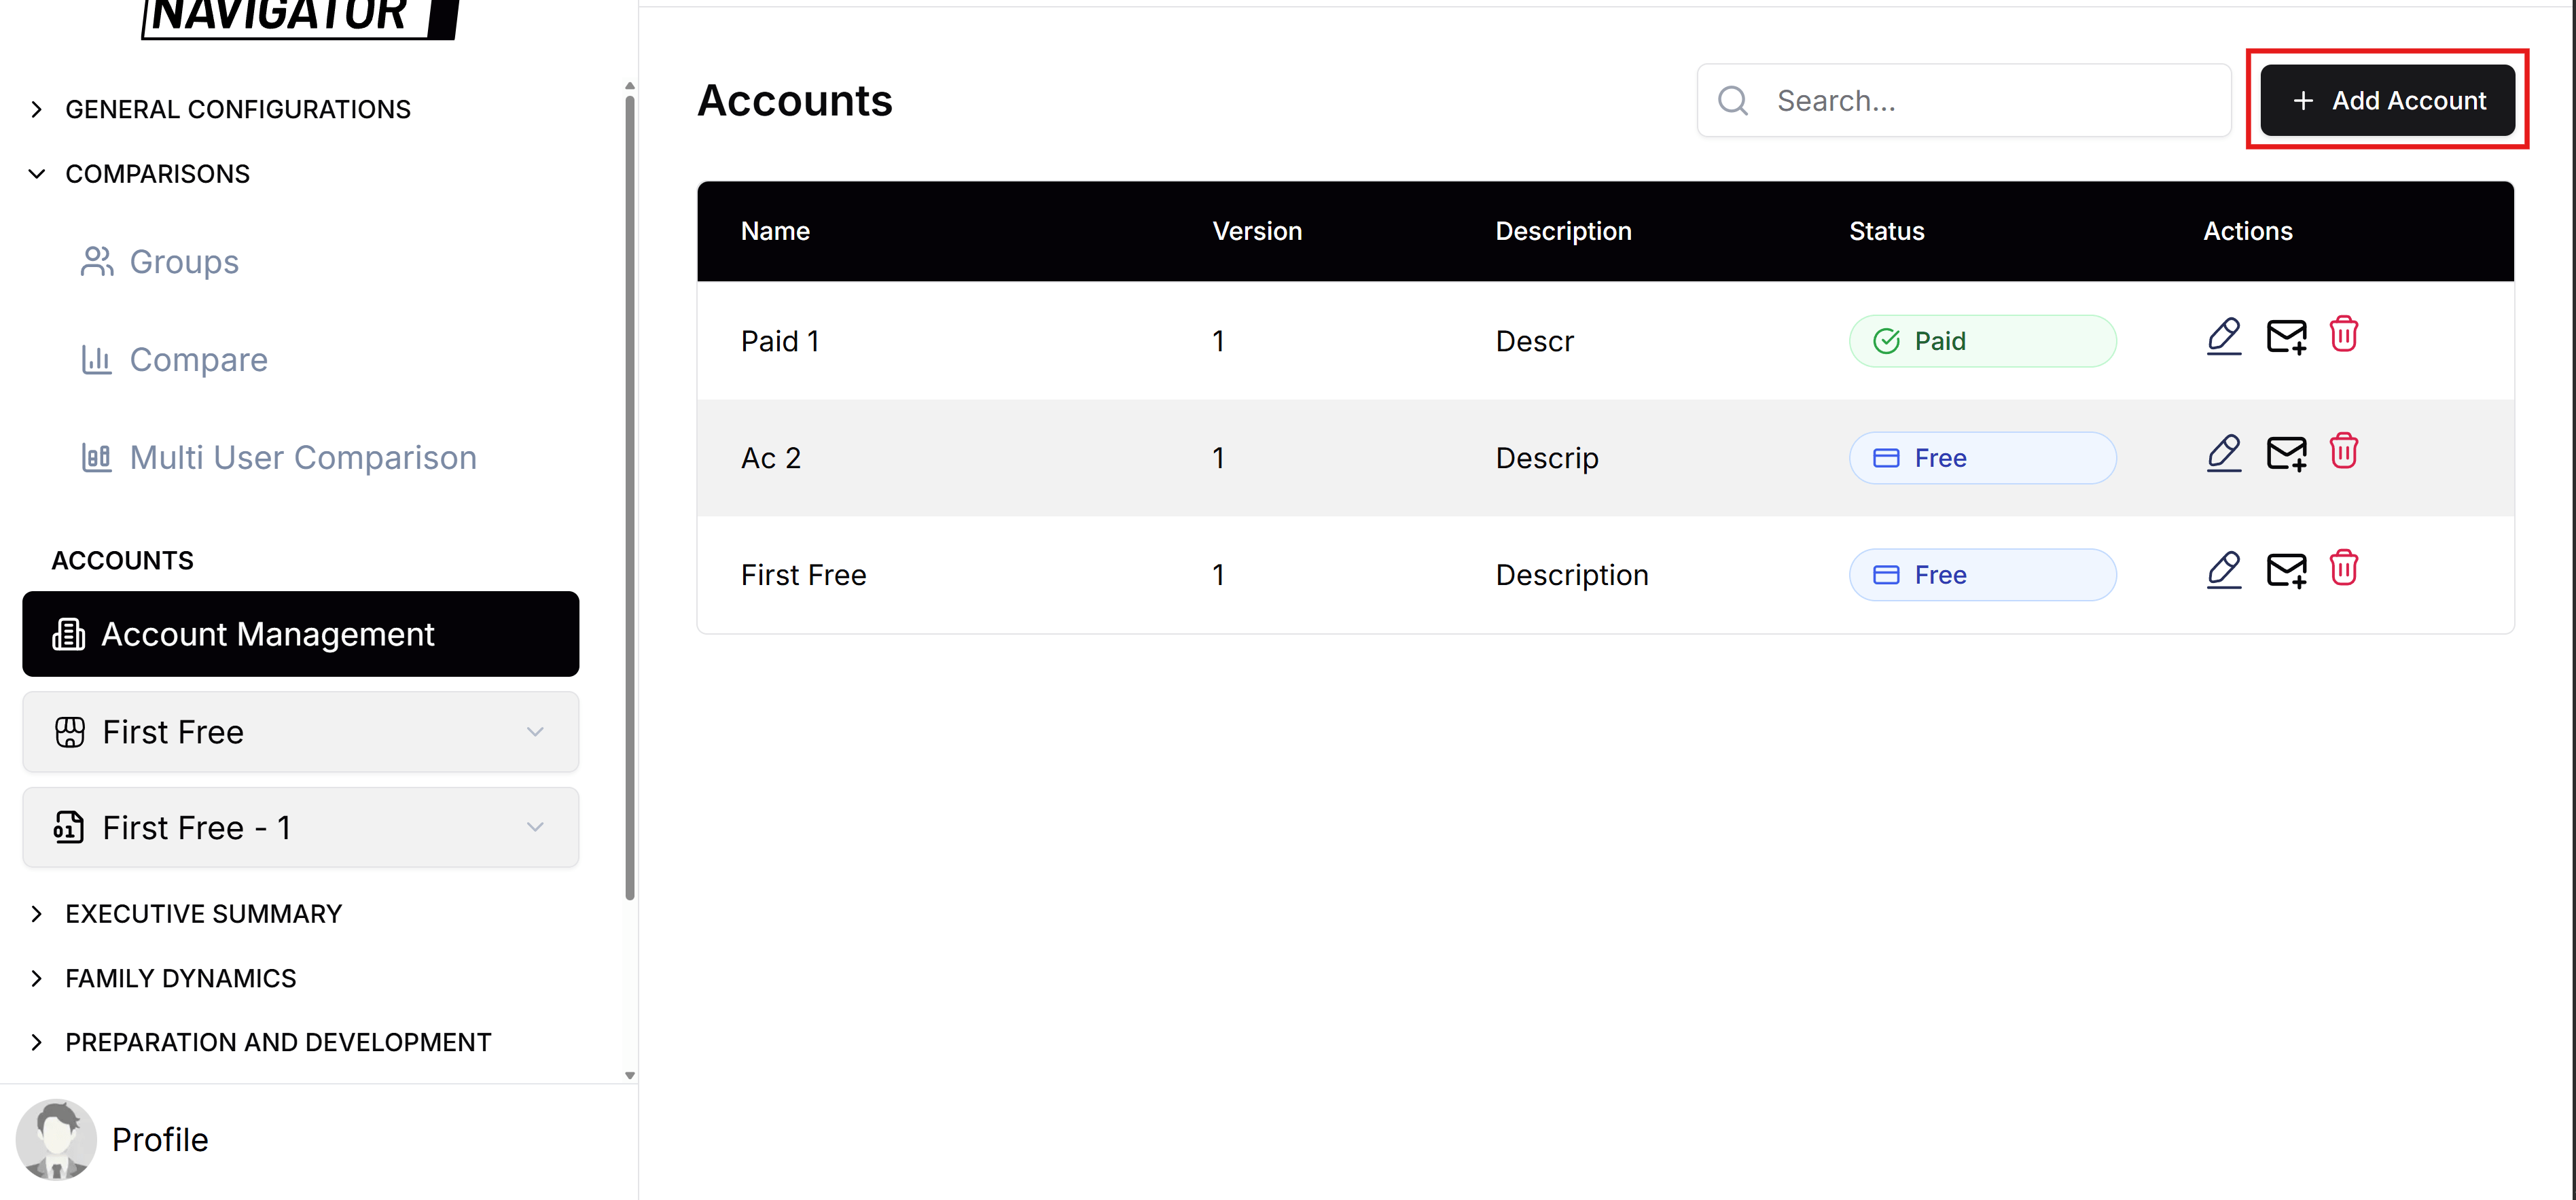
1. Open Account Management and click "Add Account"
The Add Account form opens. Fill in the account name, version, and other required fields.
2. Submit the form
When you click to create the account:
- If you are under the free limit: The account is created immediately. No payment.
- If you have reached the free limit: You are sent to Stripe’s payment page to pay for the new account. The data you entered is saved so you don’t lose it.

3. Pay on Stripe
Complete the payment on Stripe with your card. The amount is set by your workspace (e.g. price per extra account).

4. After a successful payment
- You are taken to a “Payment successful” page.
- If you had already filled the Add Account form, the account is created automatically and you are redirected to Account Management with a success message.
- If for any reason the account was not created, you are sent back to Account Management with your payment already recorded; you can open Add Account again and complete the form—you will not be asked to pay again.

5. If you cancel the payment on Stripe
- You are returned to Account Management.
- The Add Account form opens again with the data you had entered, so you can change it or try paying again later.
If you already paid but didn’t finish creating the account
Sometimes the payment succeeds but the account creation step fails (e.g. network issue). In that case:
- When you open Add Account again, the system may show that you have a payment ready to use.
- Fill in the form and submit; the existing payment will be used and the account will be created without a new charge.
In short
- Add Account → 2. If over the free limit, you are sent to Stripe → 3. Pay → 4. Return and the account is created (or you complete the form with your payment already applied).