Comparison Groups
This guide explains how to manage comparison groups in the Family Navigator application. Comparison groups allow you to organize and categorize data for comparative analysis and reporting.
Overview
Comparison groups are used to segment and organize your data for better analysis. They help you compare different groups of users. Each group has a name, description, and color for easy identification.
Accessing Comparison Groups
- Log in to the Family Navigator application.
- Navigate to the "Comparison Groups" section from the main menu.

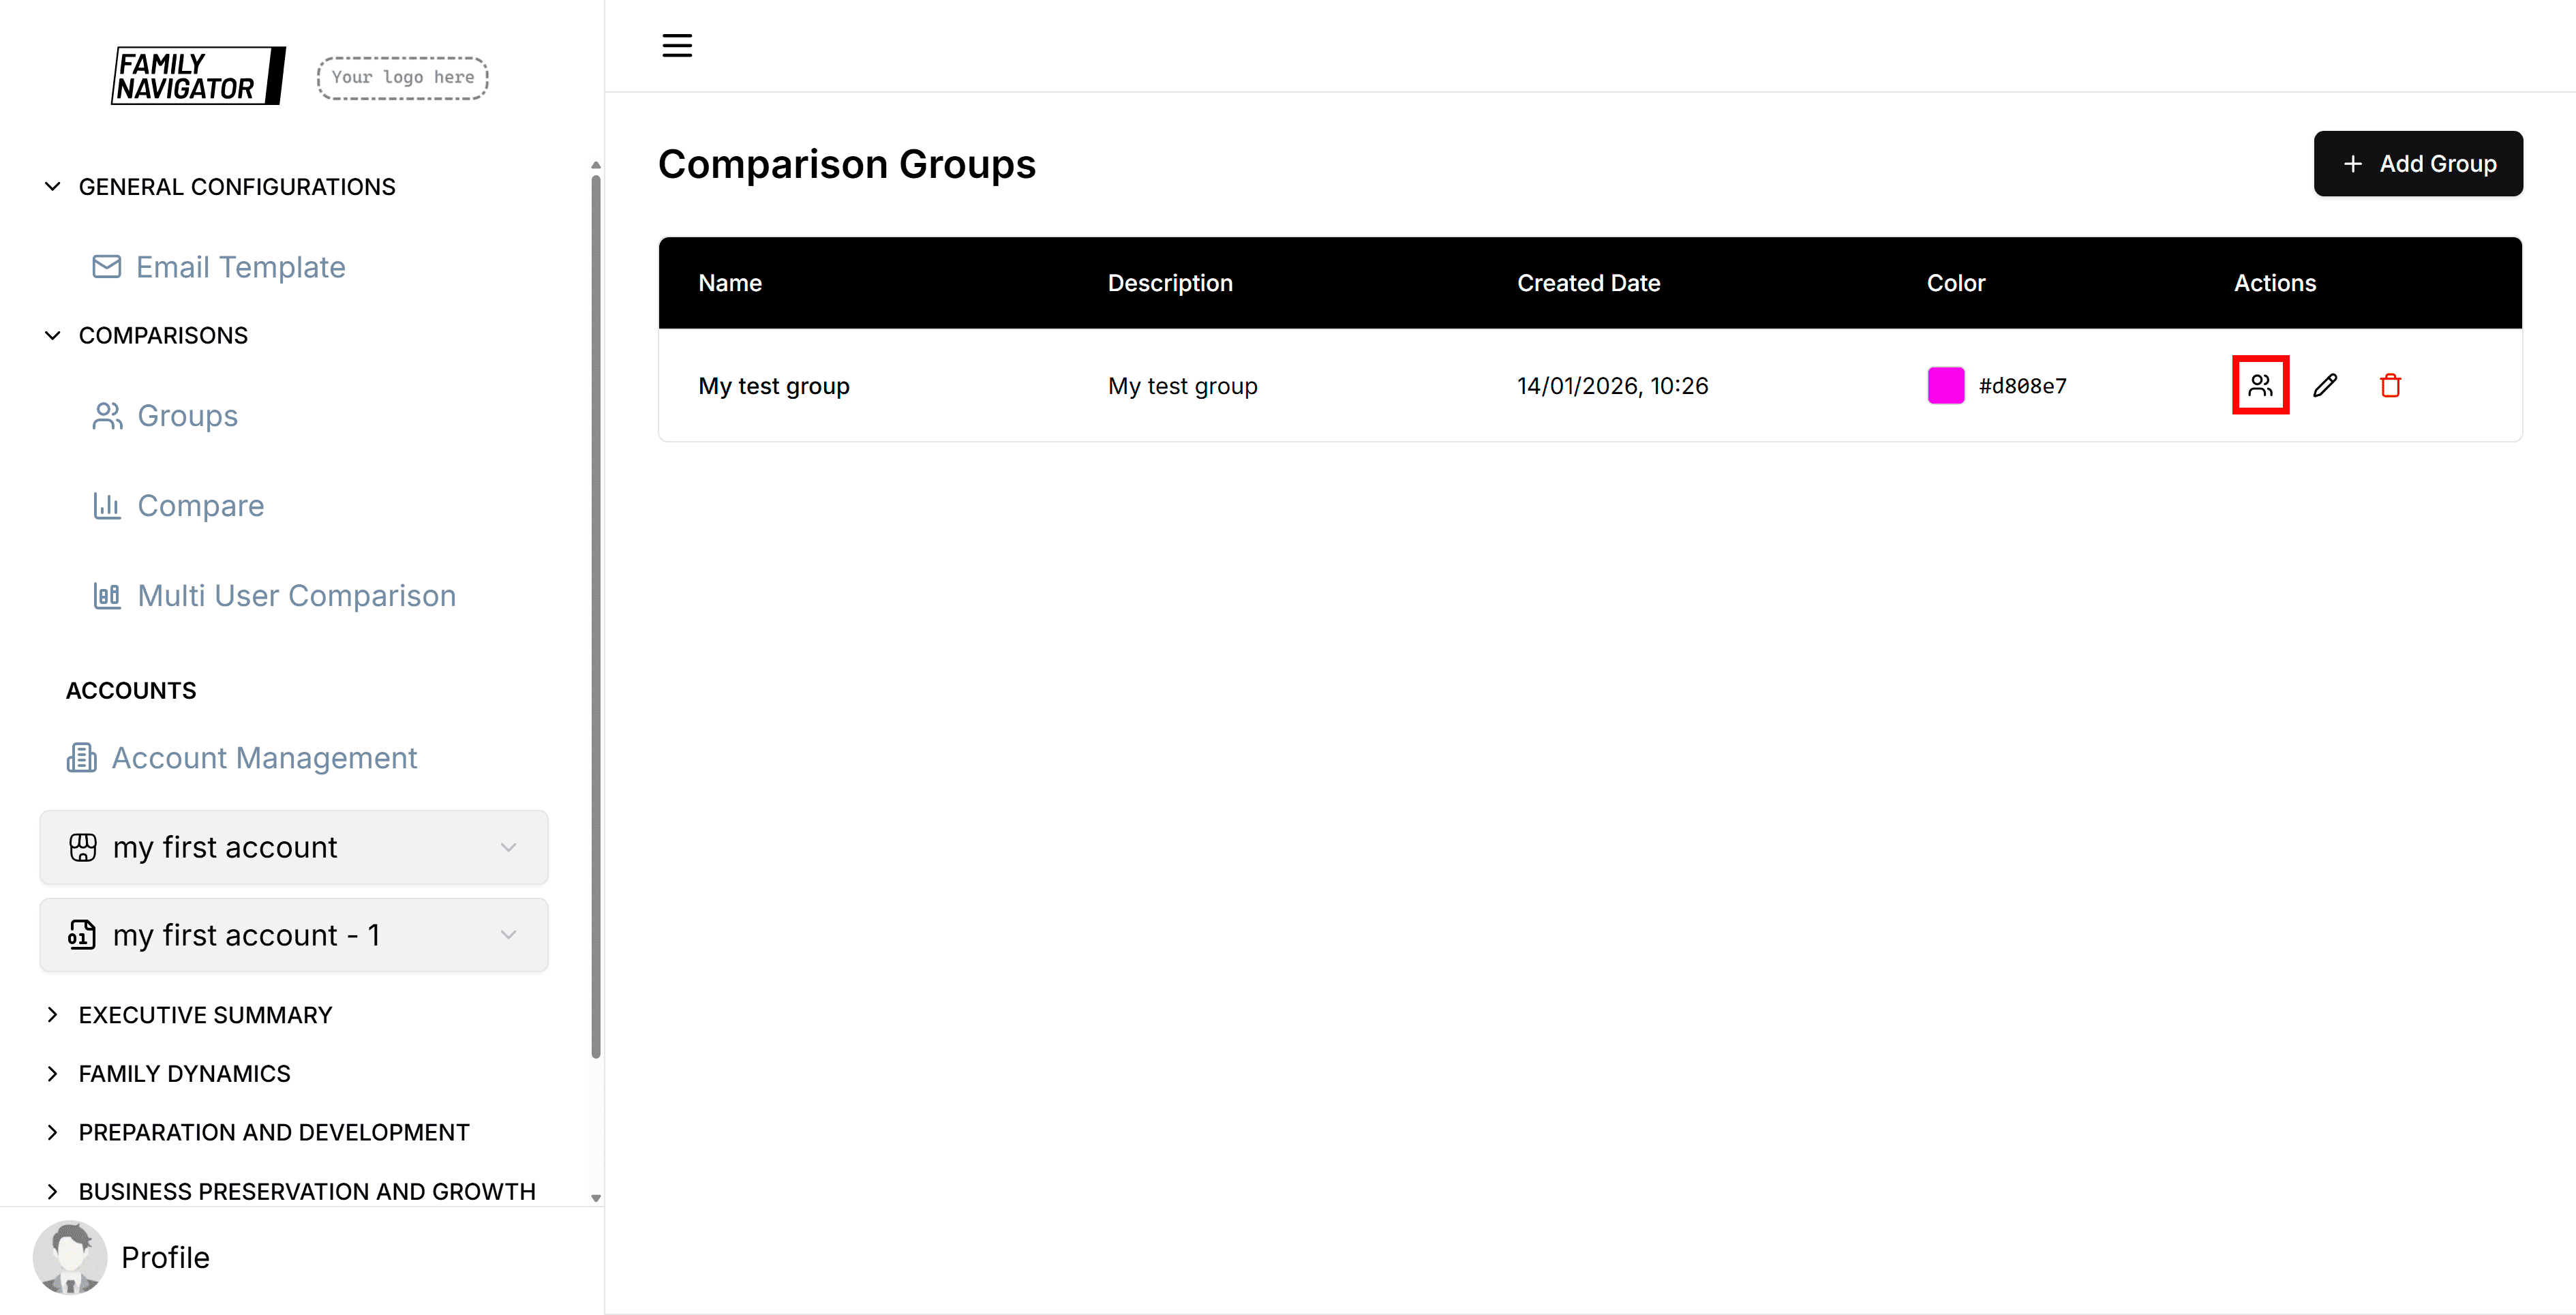
Viewing Comparison Groups
The main page displays a table with all existing comparison groups for your workspace.
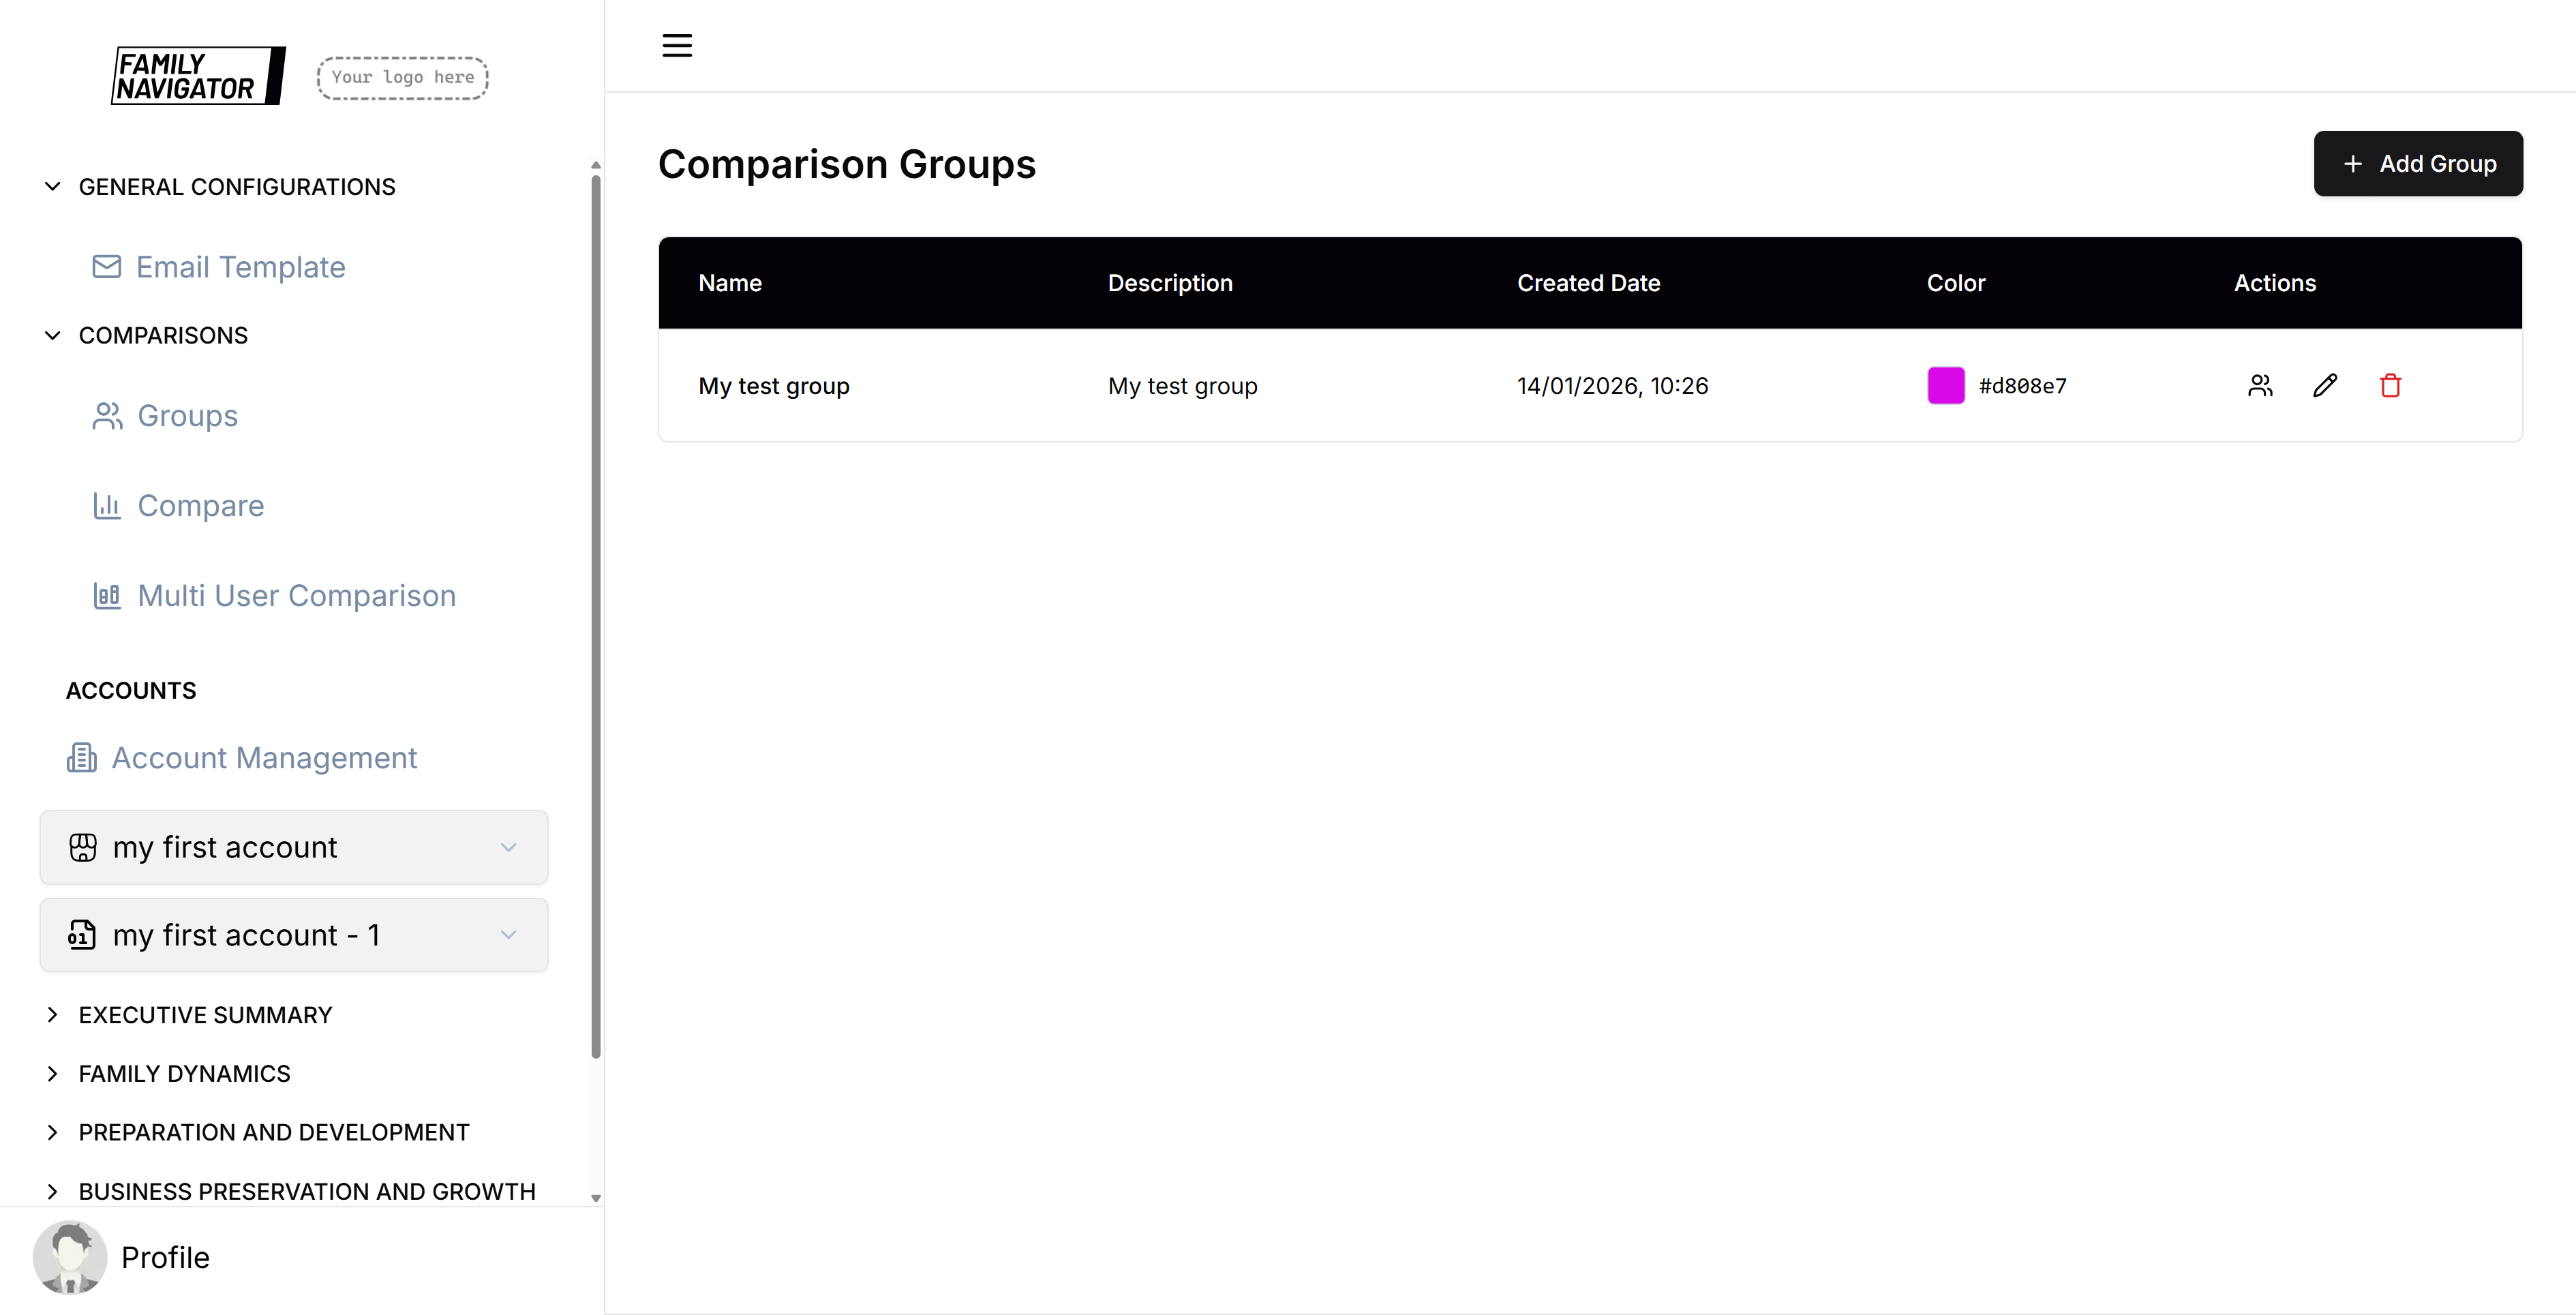
The table shows:
- Name: The group name
- Description: Brief description of the group
- Created Date: When the group was created
- Color: Visual identifier color
- Actions: Edit and delete options
Creating a New Comparison Group
Step 1: Open the Add Form
Click the "Add Group" button in the top right corner of the page.

Step 2: Fill in Group Details
A sidebar will open with the form. Fill in the required fields:
- Group Name: Enter a unique name for the comparison group (required, max 100 characters)
- Description: Provide a detailed description of what this group represents (required, max 500 characters)
- Color: Select a color using the color picker for visual identification (required)
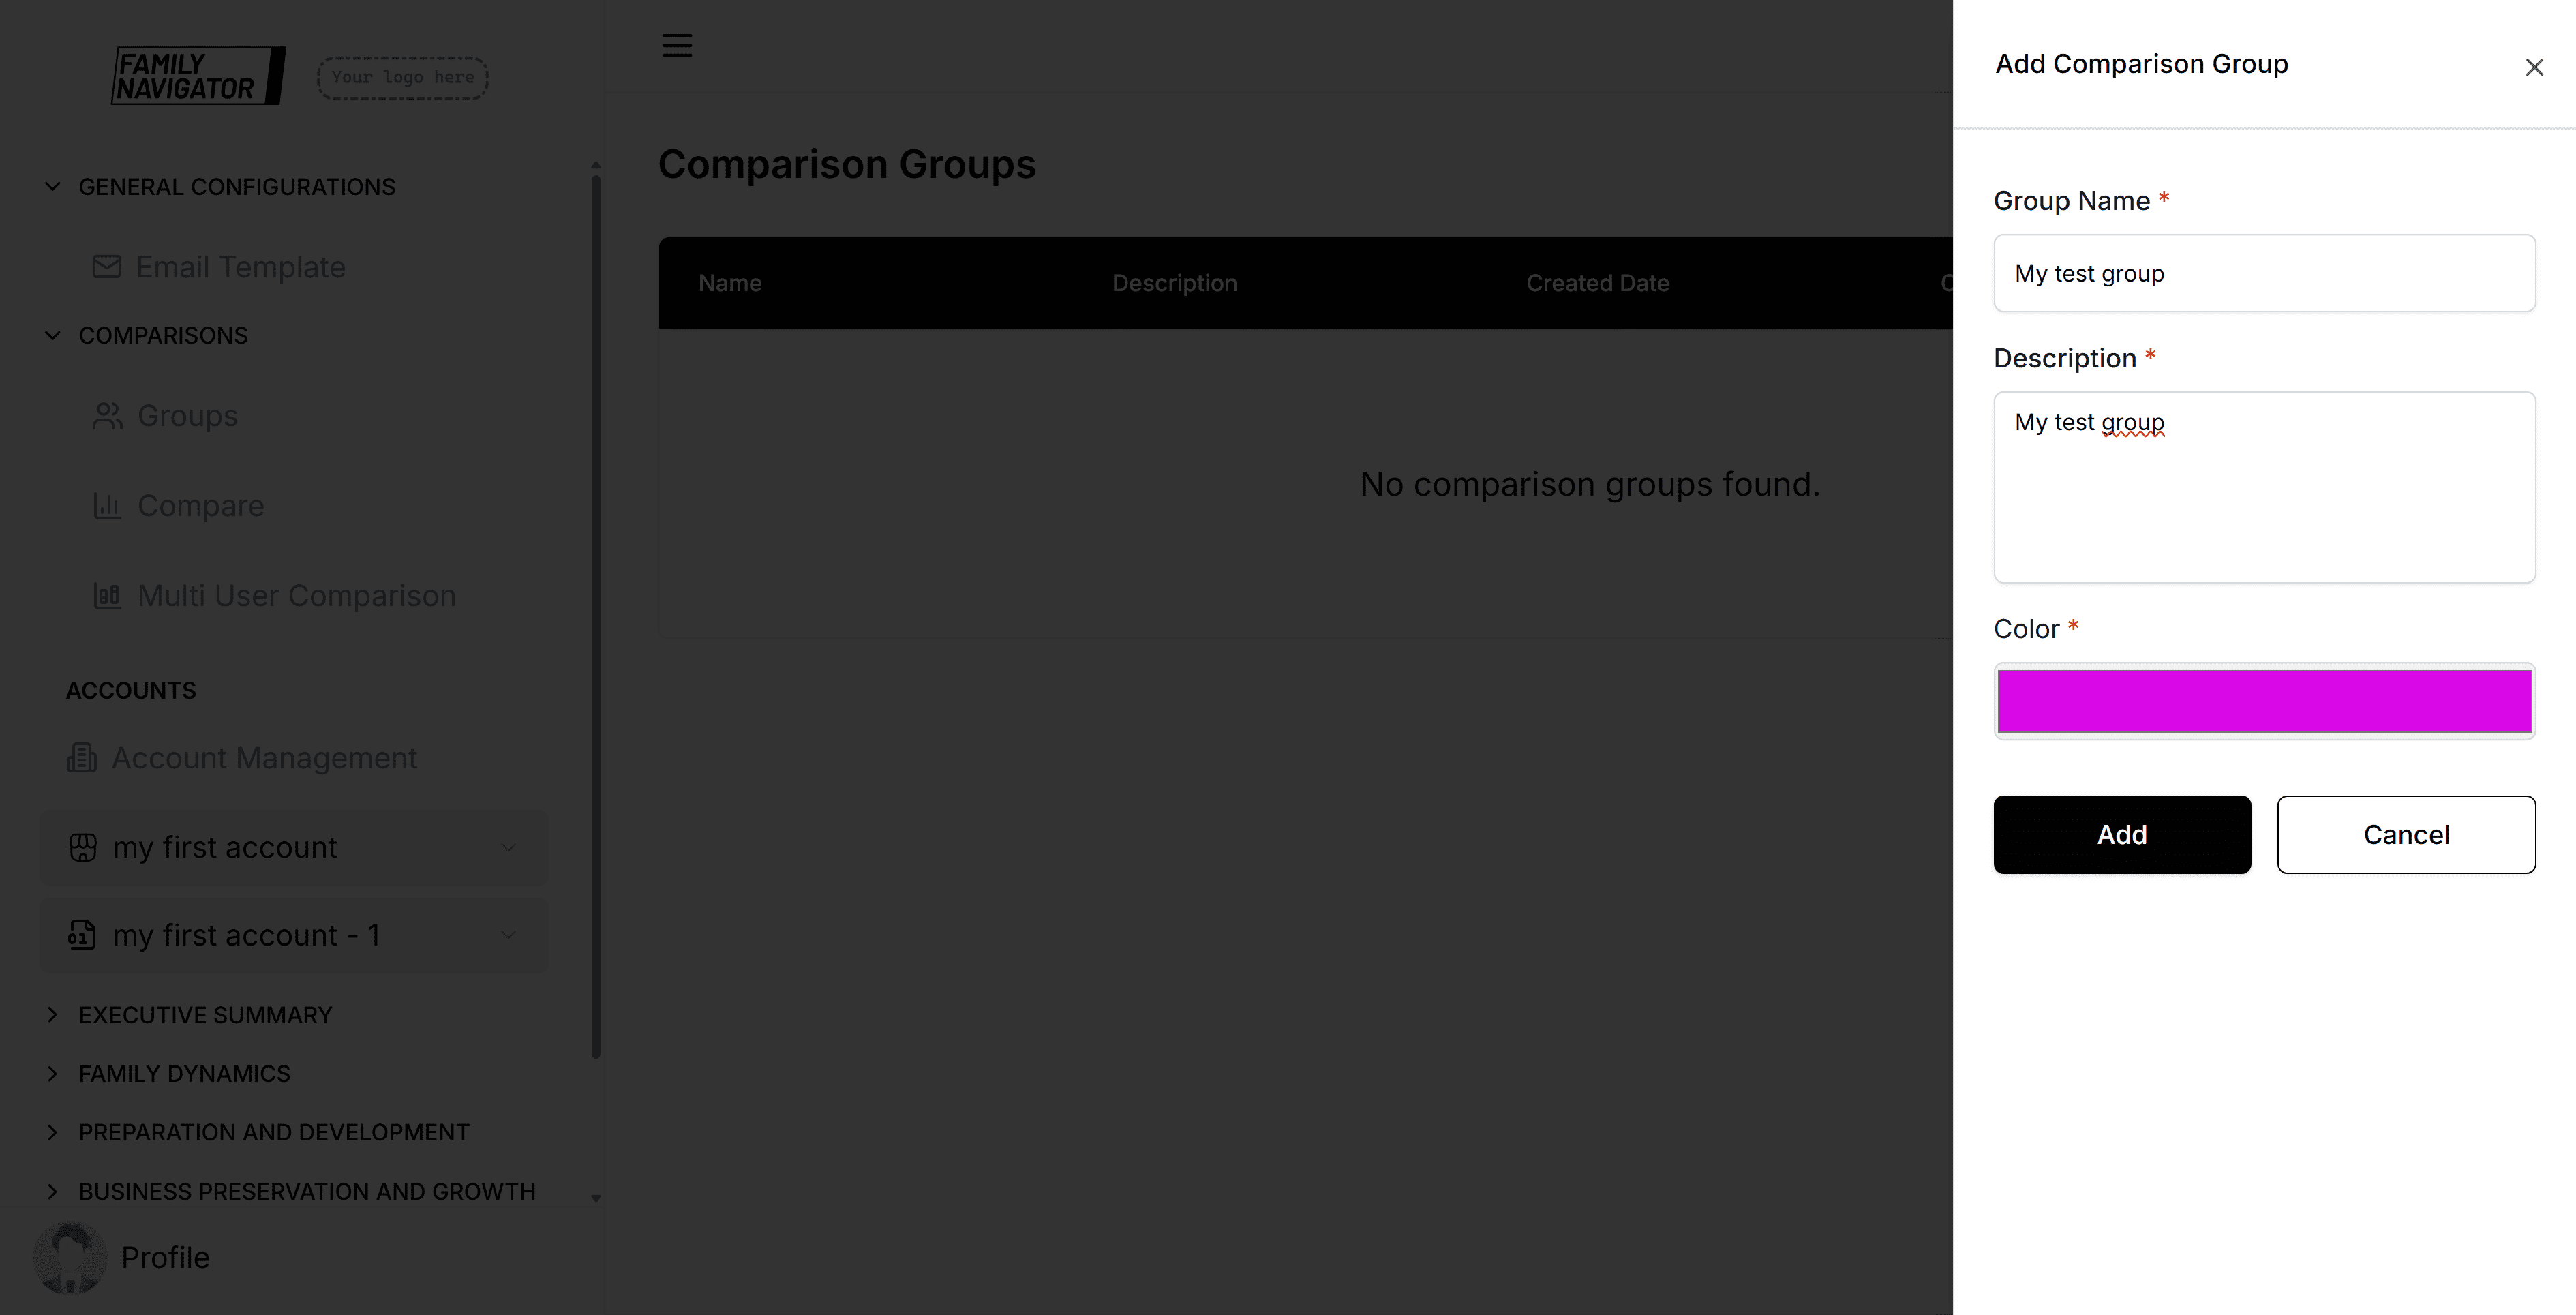
Step 3: Save the Group
Click the "Add" button to create the group. The form will validate all fields before submission.
Step 4: Success Confirmation
Upon successful creation, you'll see a success notification and the new group will appear in the table.
Editing a Comparison Group
Step 1: Select Group to Edit
Find the group you want to edit in the table and click the "Edit" button (pencil icon) in the Actions column.

Step 2: Modify Details
The edit sidebar will open with the current group information pre-filled. Make your changes to any of the fields.

Step 3: Save Changes
Click "Update" to save your changes. You'll receive a confirmation when the update is successful.
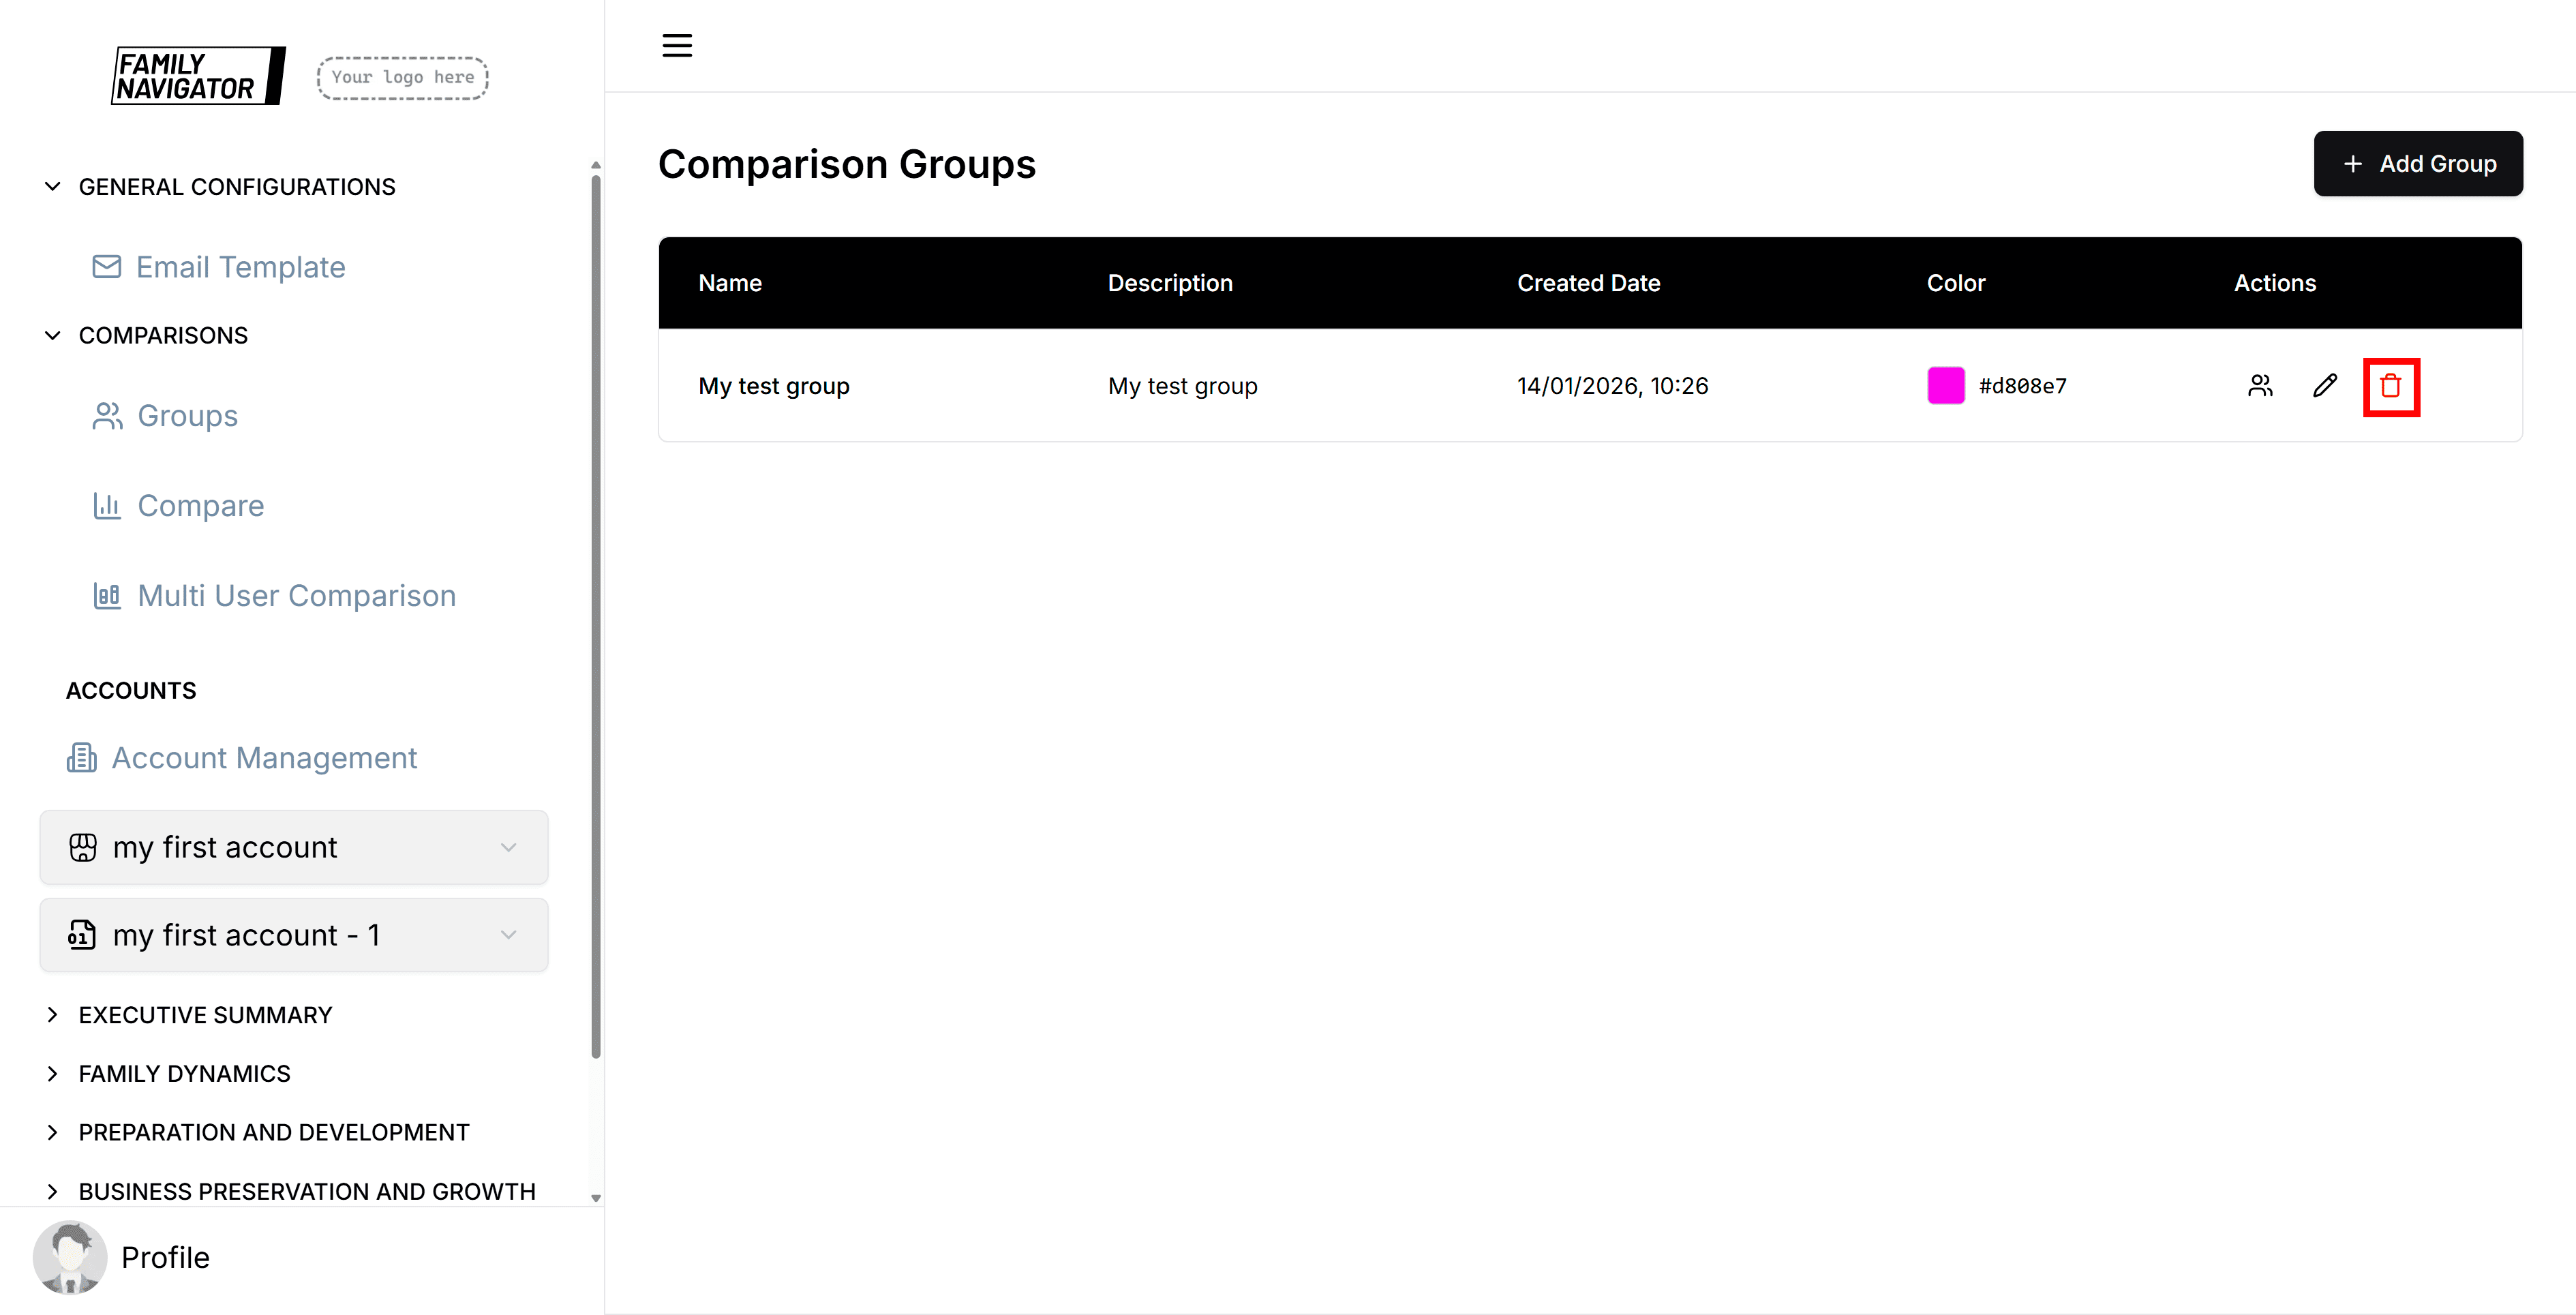
Deleting a Comparison Group
Step 1: Initiate Deletion
Click the "Delete" button (trash icon) in the Actions column for the group you want to remove.
Step 2: Confirm Deletion
A confirmation modal will appear. Click "Confirm" to permanently delete the group.
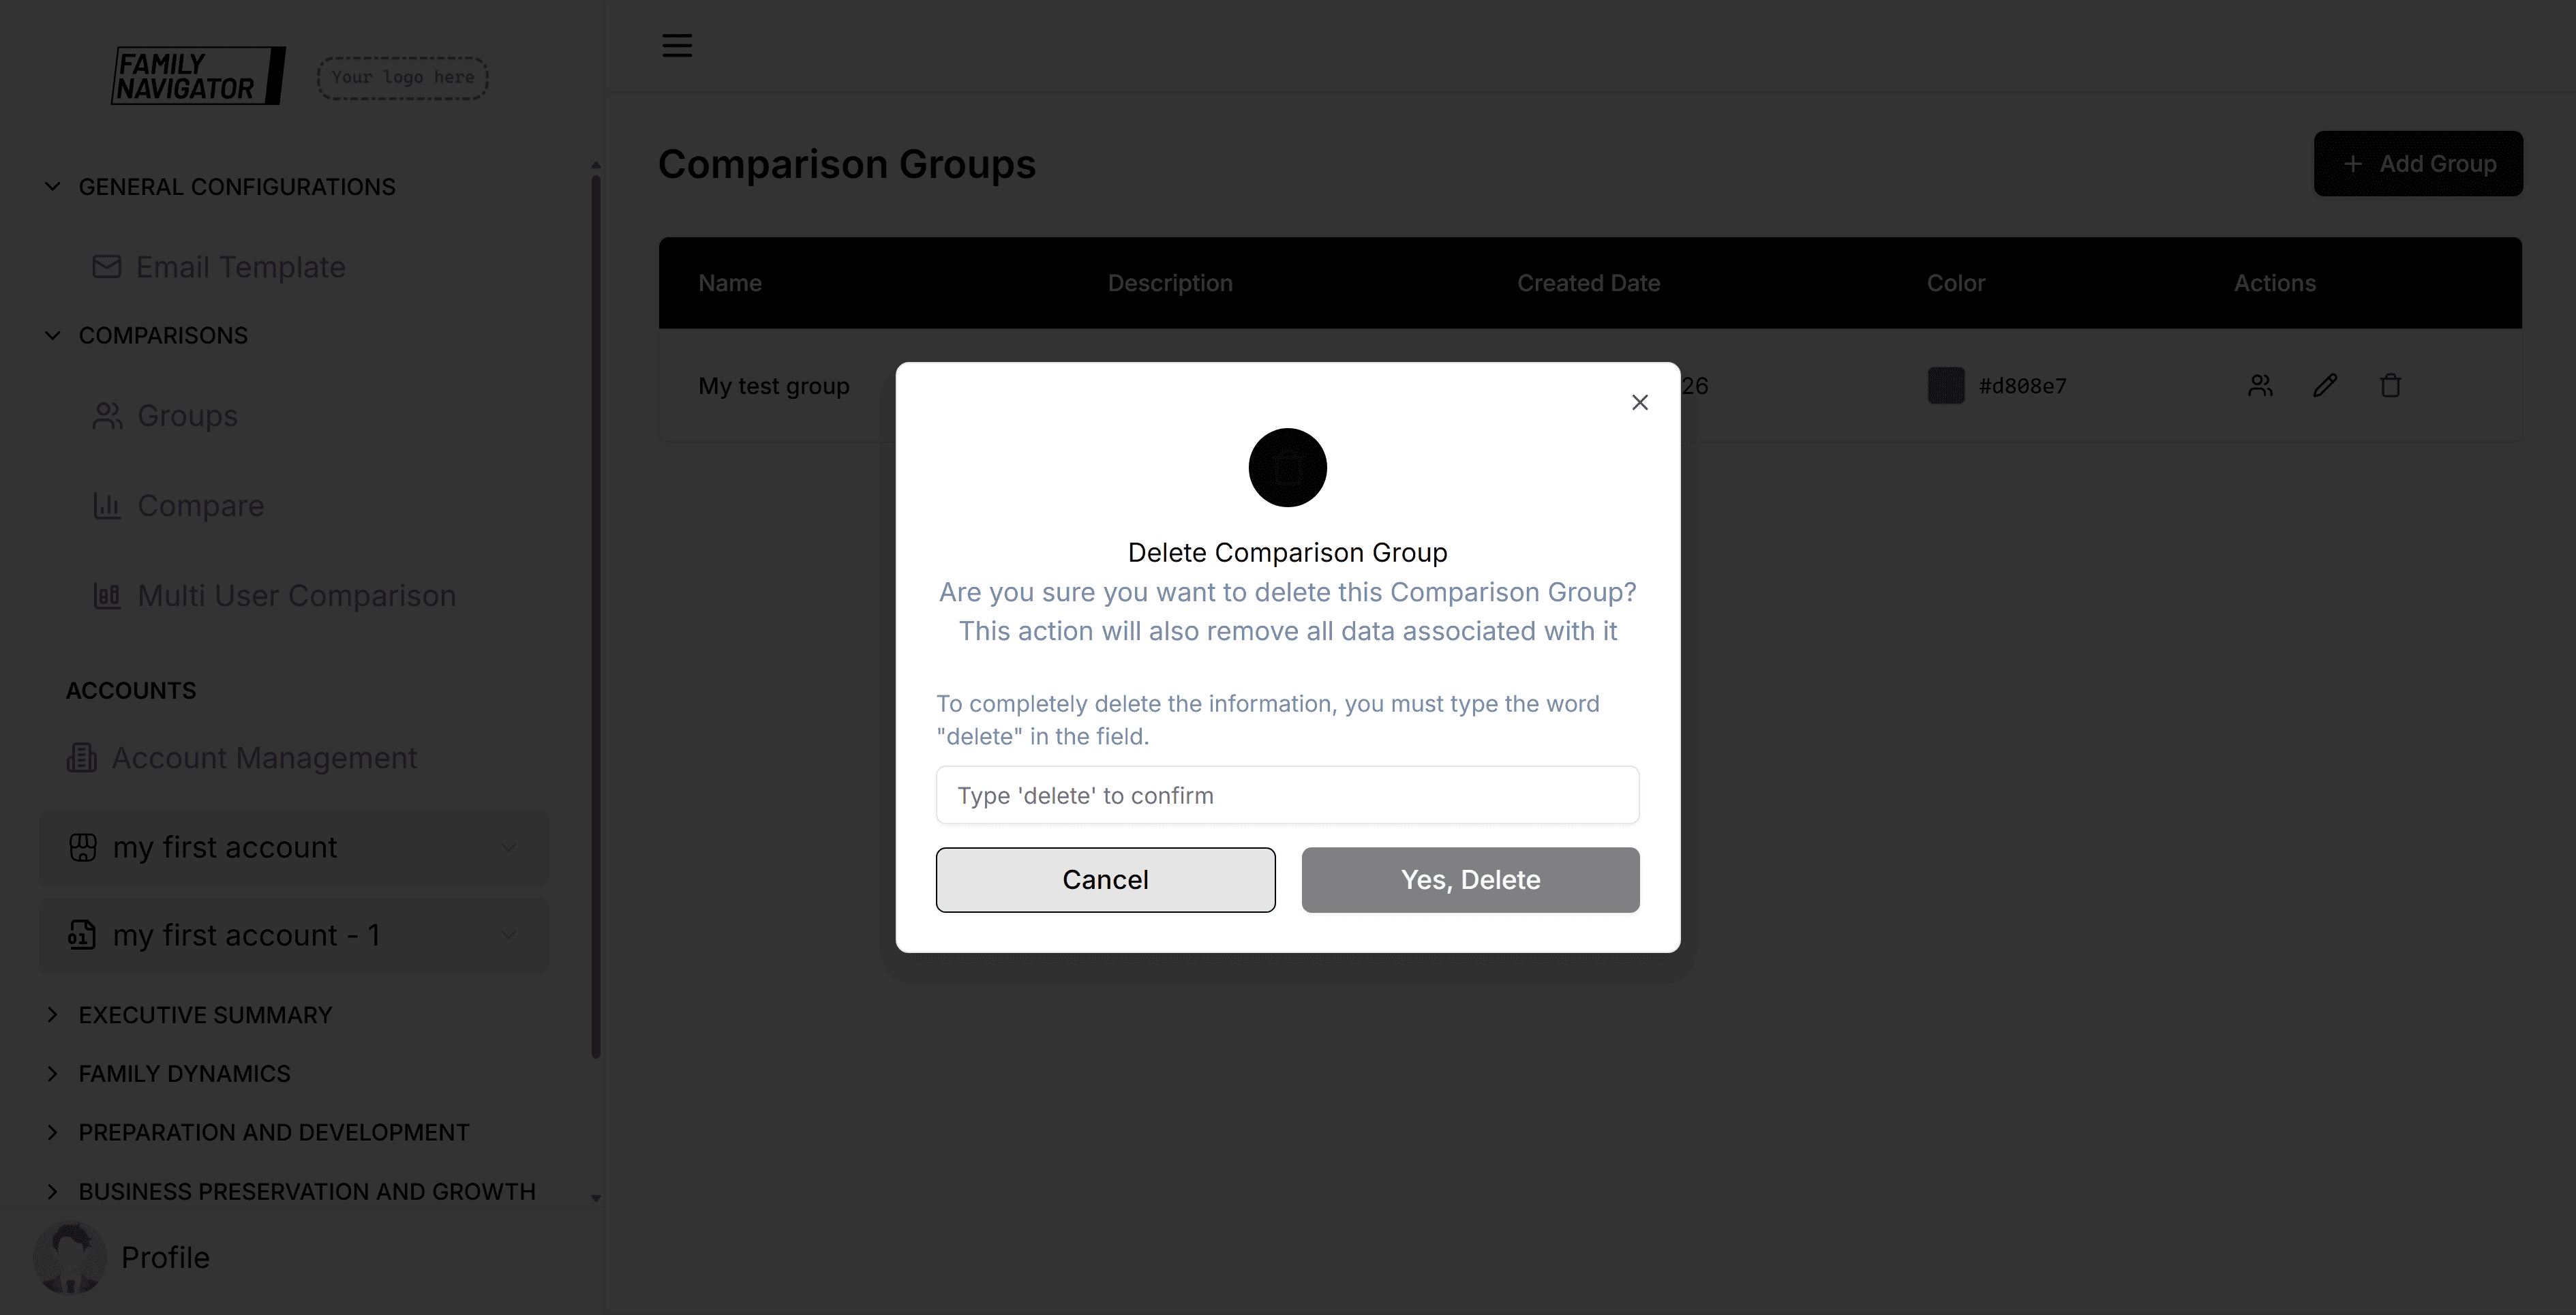
Step 3: Deletion Complete
The group will be removed from the table and you'll see a success notification.
Managing Associated Users
Each comparison group can have users associated with it for targeted analysis and reporting.
Accessing Associated Users
From the Comparison Groups table, click on a group's name or use the navigation to access
User Search and Filters
Use the search form to find users based on various criteria:
- Parent Account: Select the parent organization
- Account: Choose specific account within the parent
- Constituency: Filter by constituency
- Industry: Filter by industry type
- Revenue: Filter by revenue range
- Employee Size: Filter by company size
- Generation: Filter by generation
- Family Generation: Filter by family generation
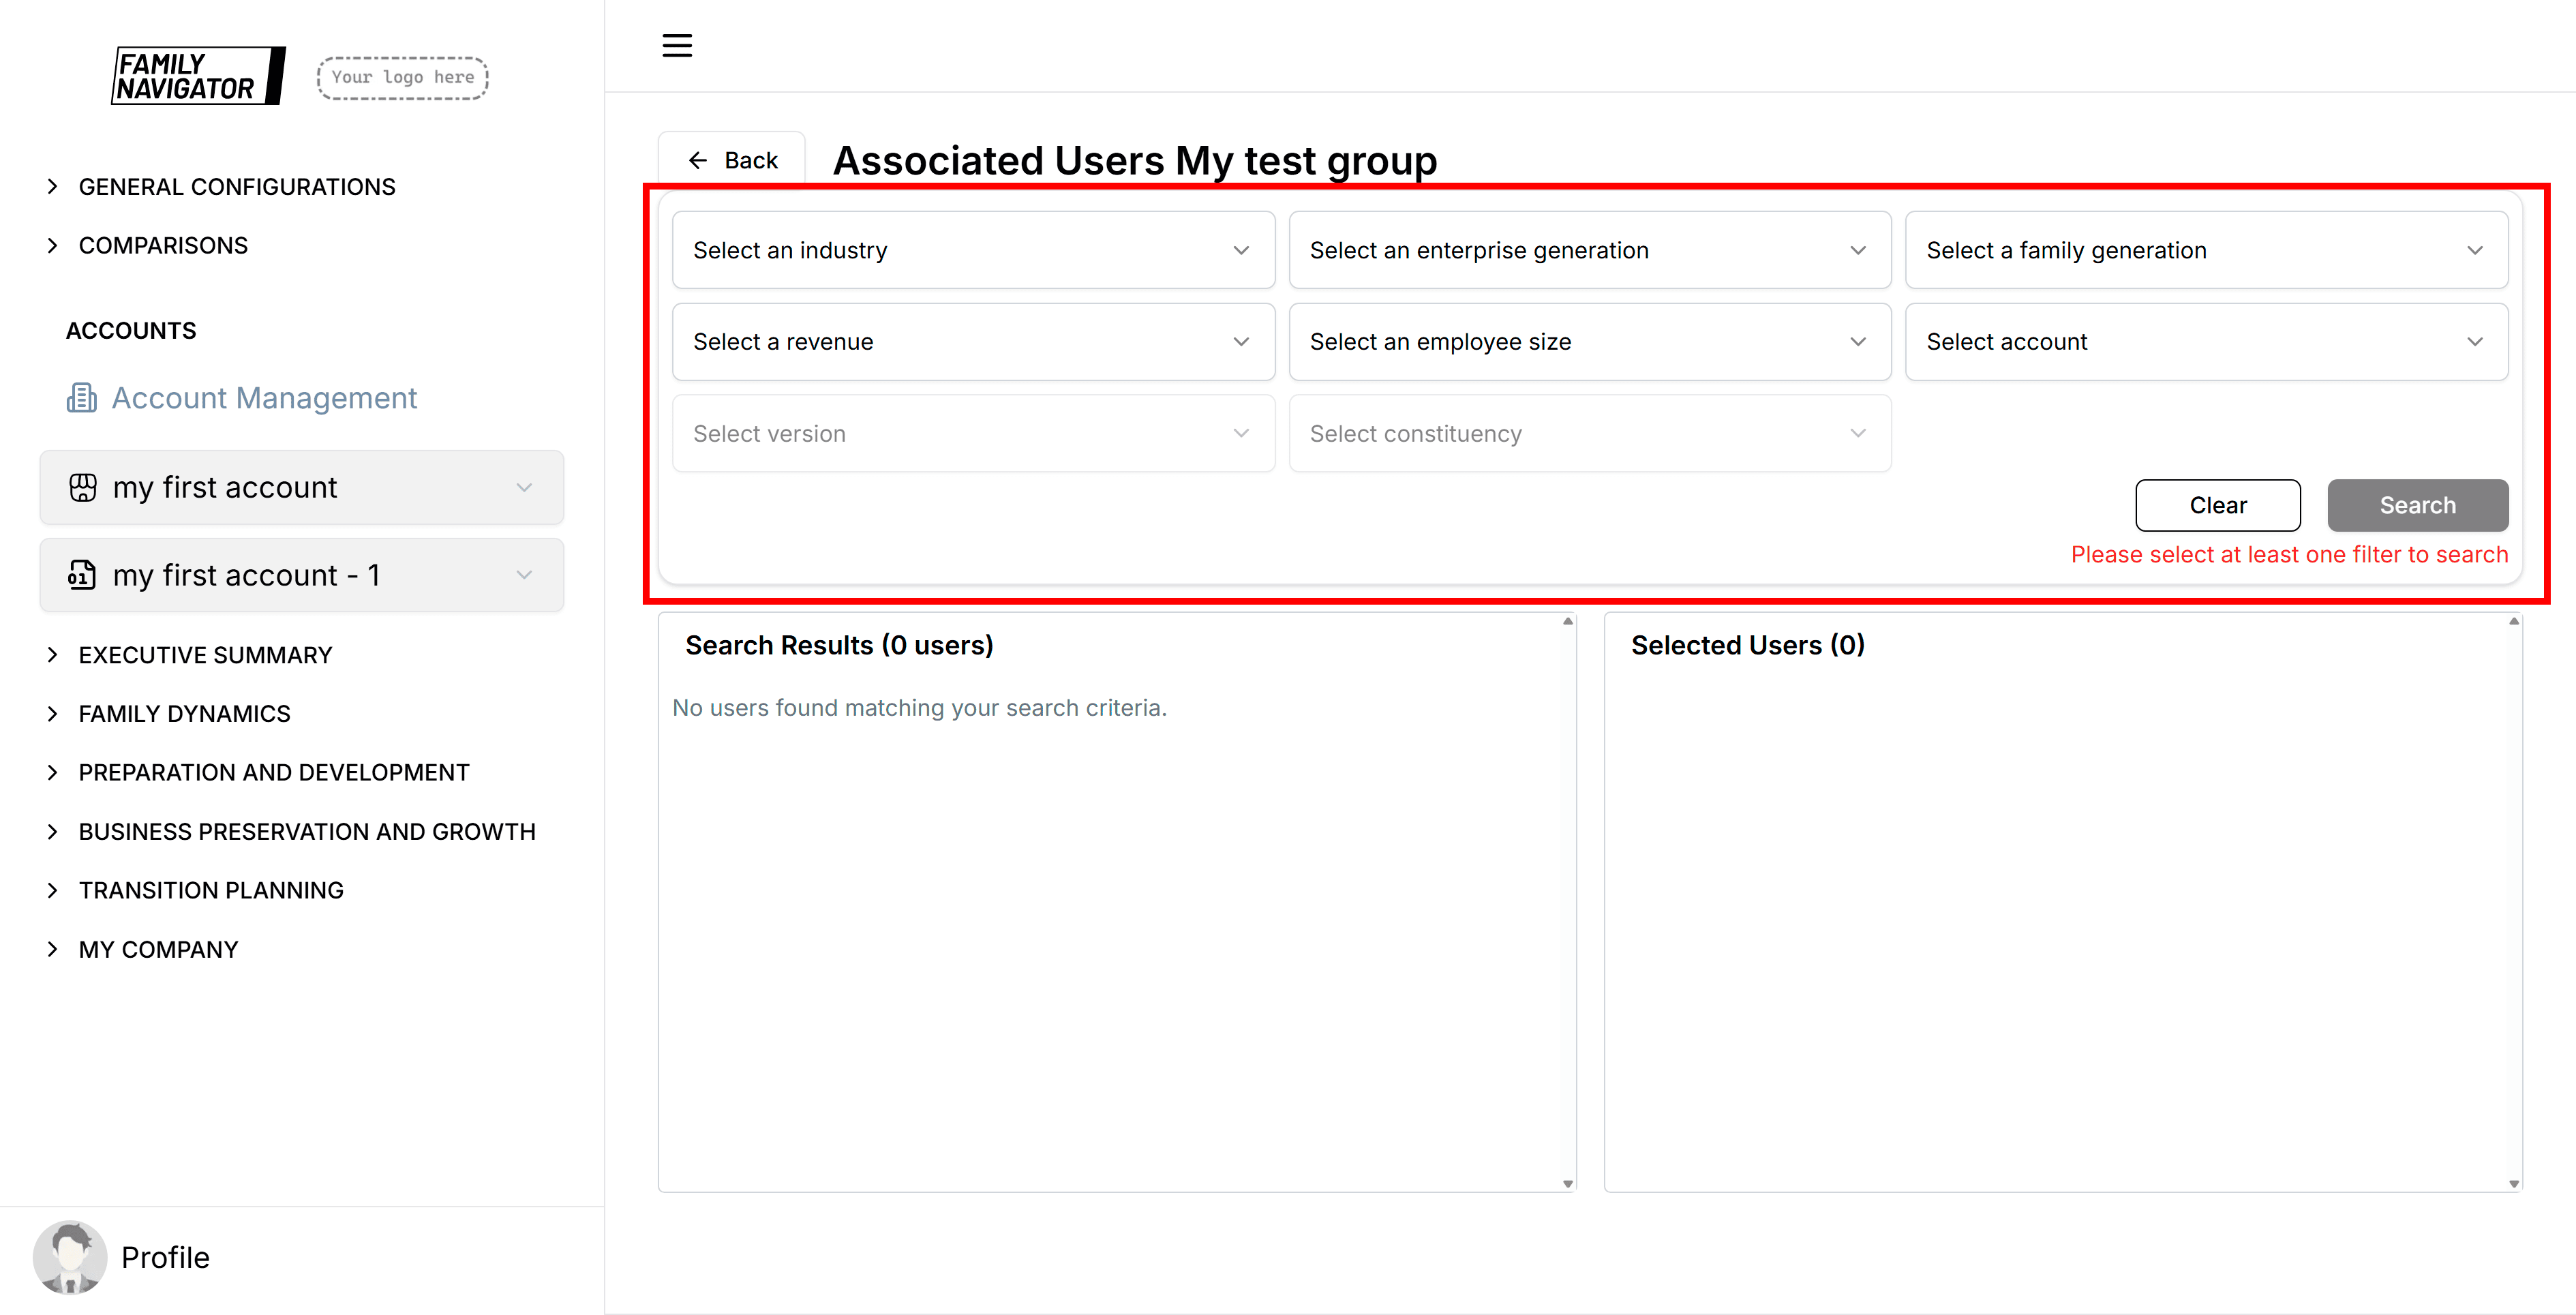
Step 1: Apply Filters
Select at least one filter criterion and click "Search" to find matching users.
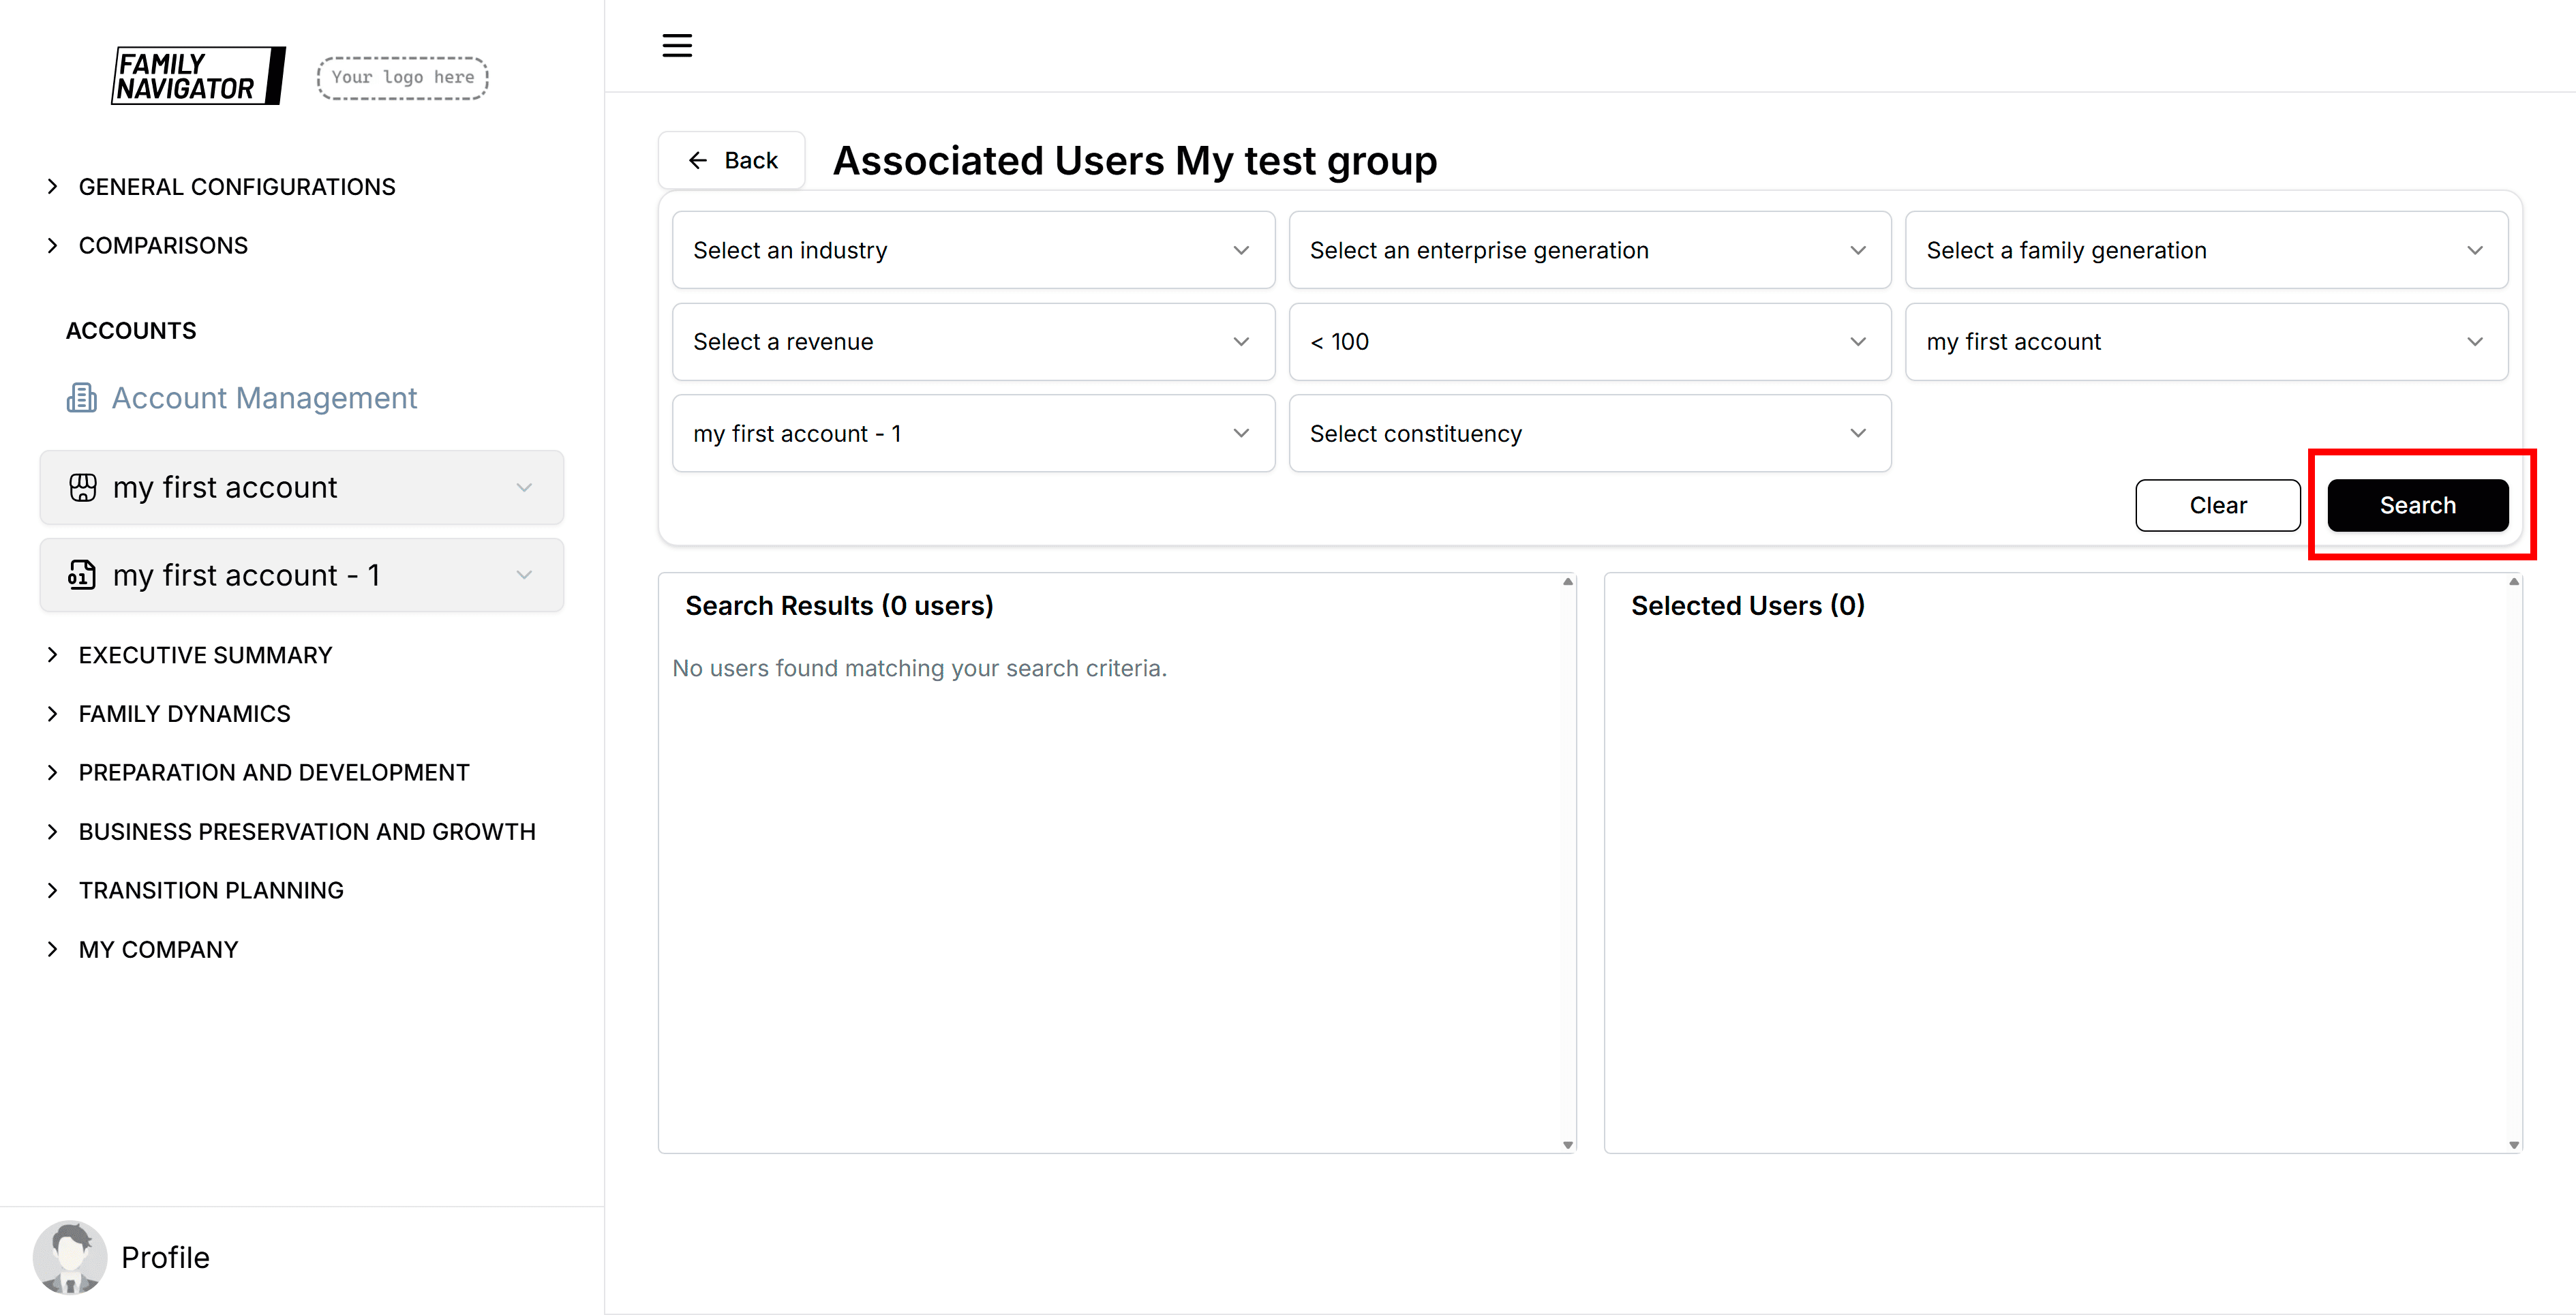
Step 2: Review Search Results
The left panel shows search results with user details (name, email, account, constituency).
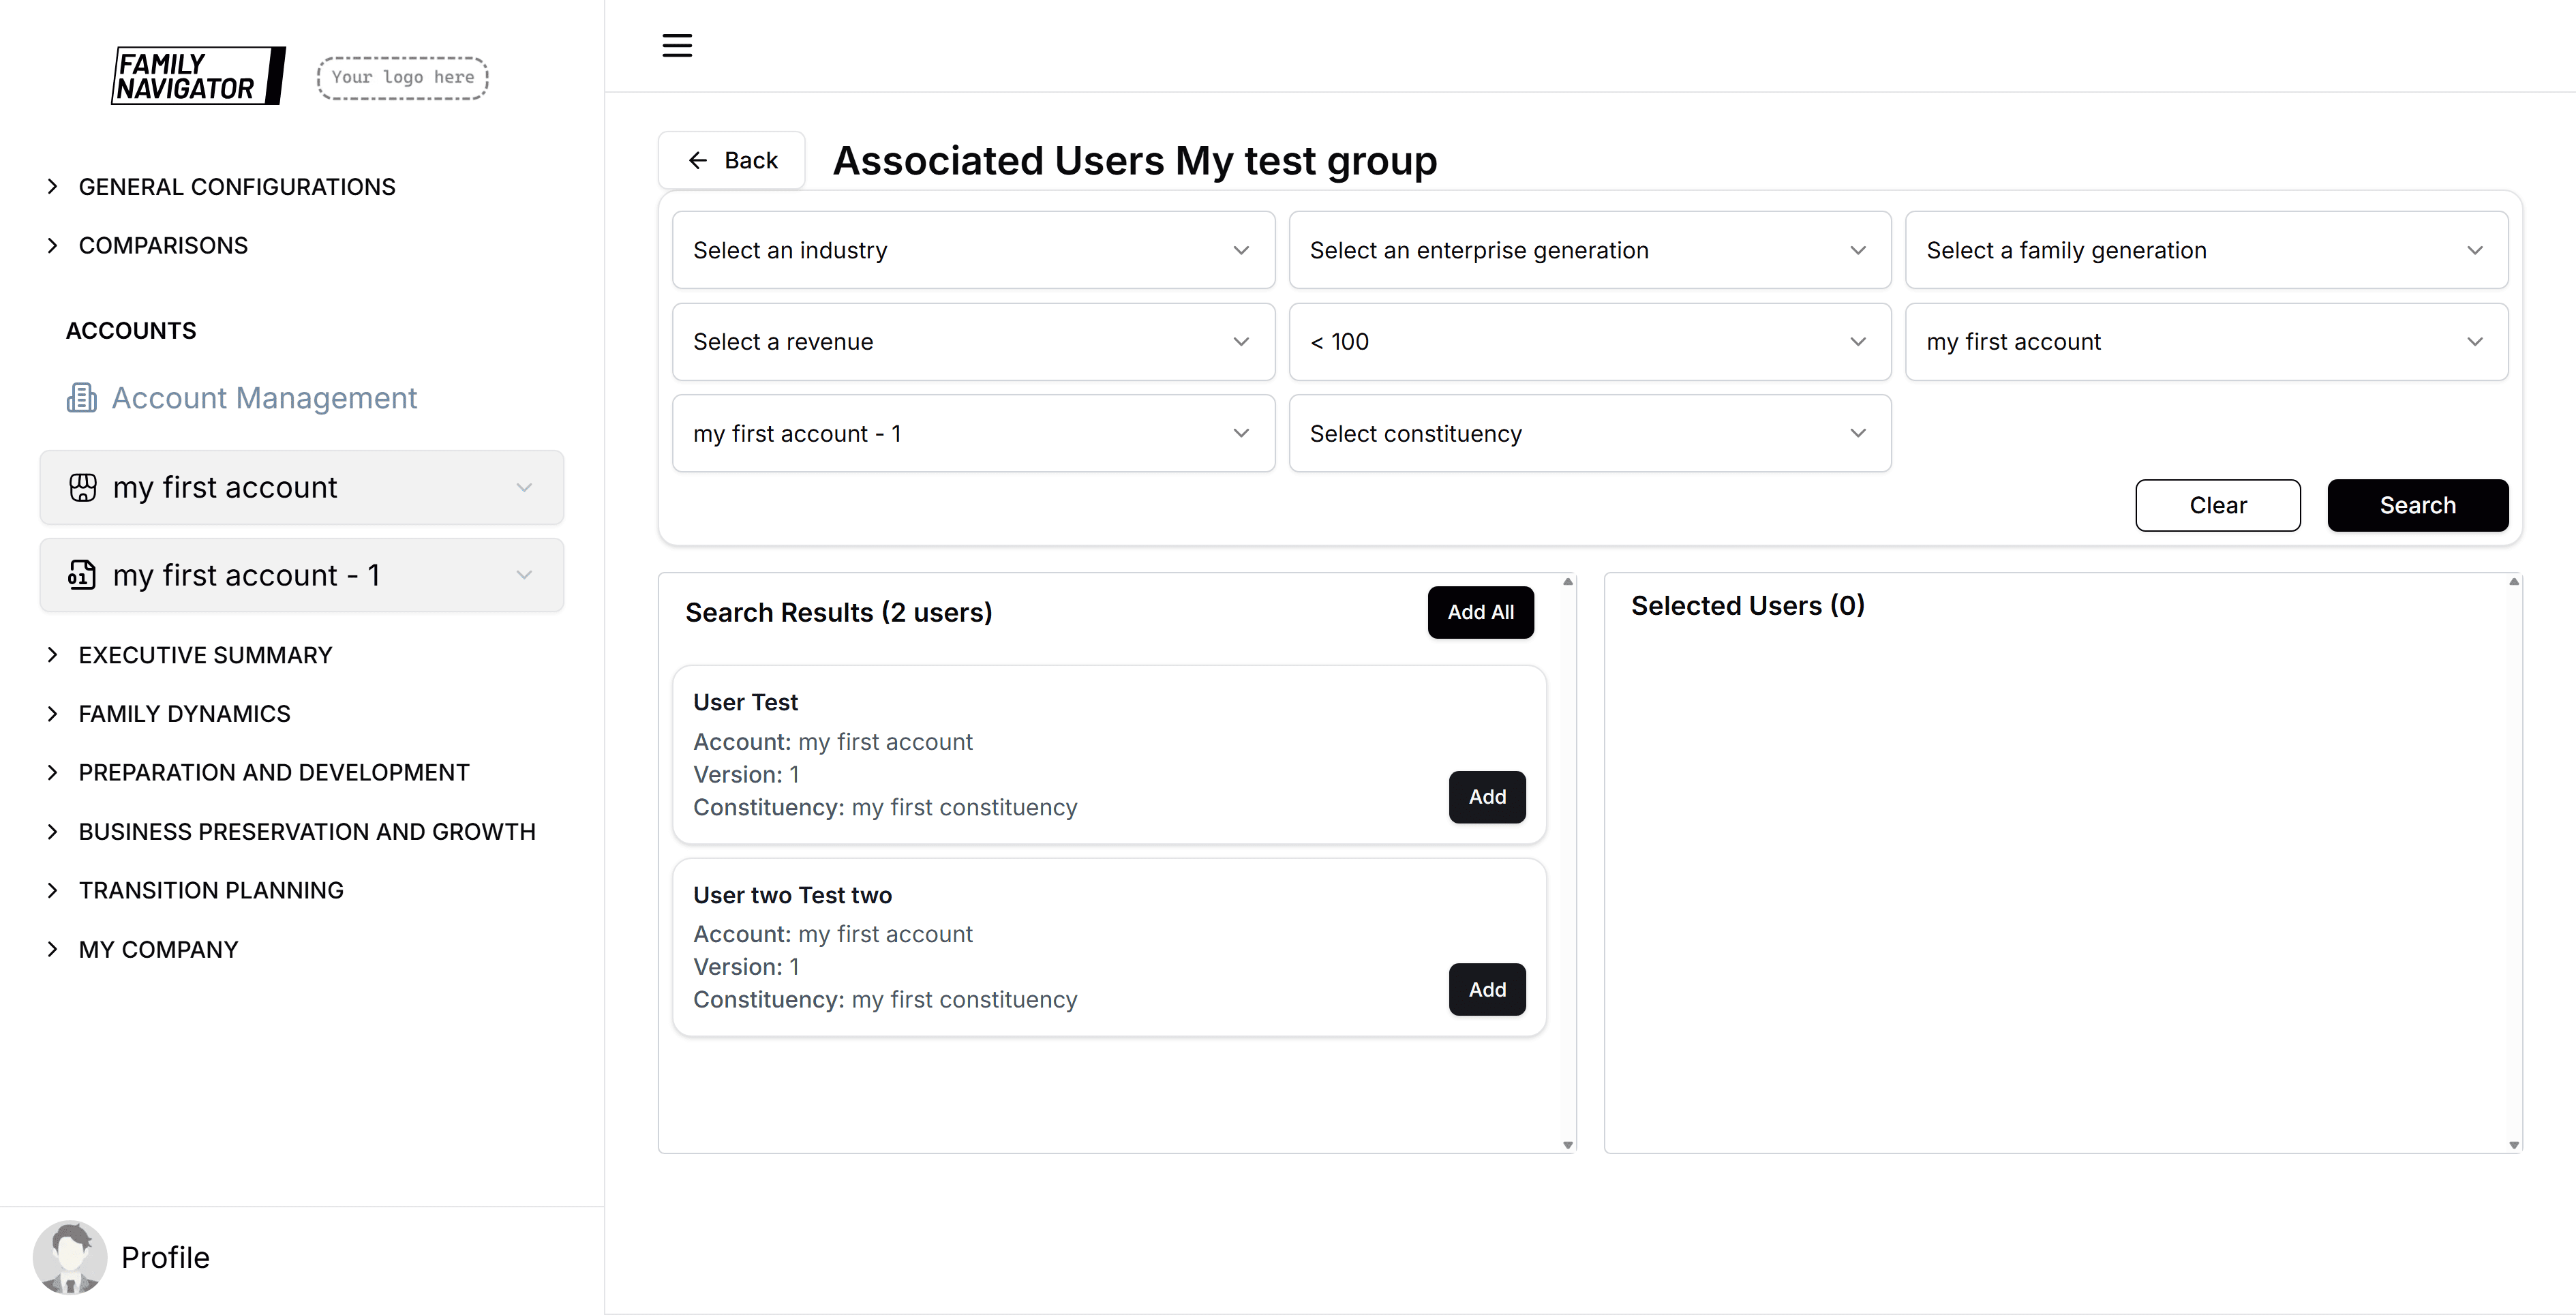
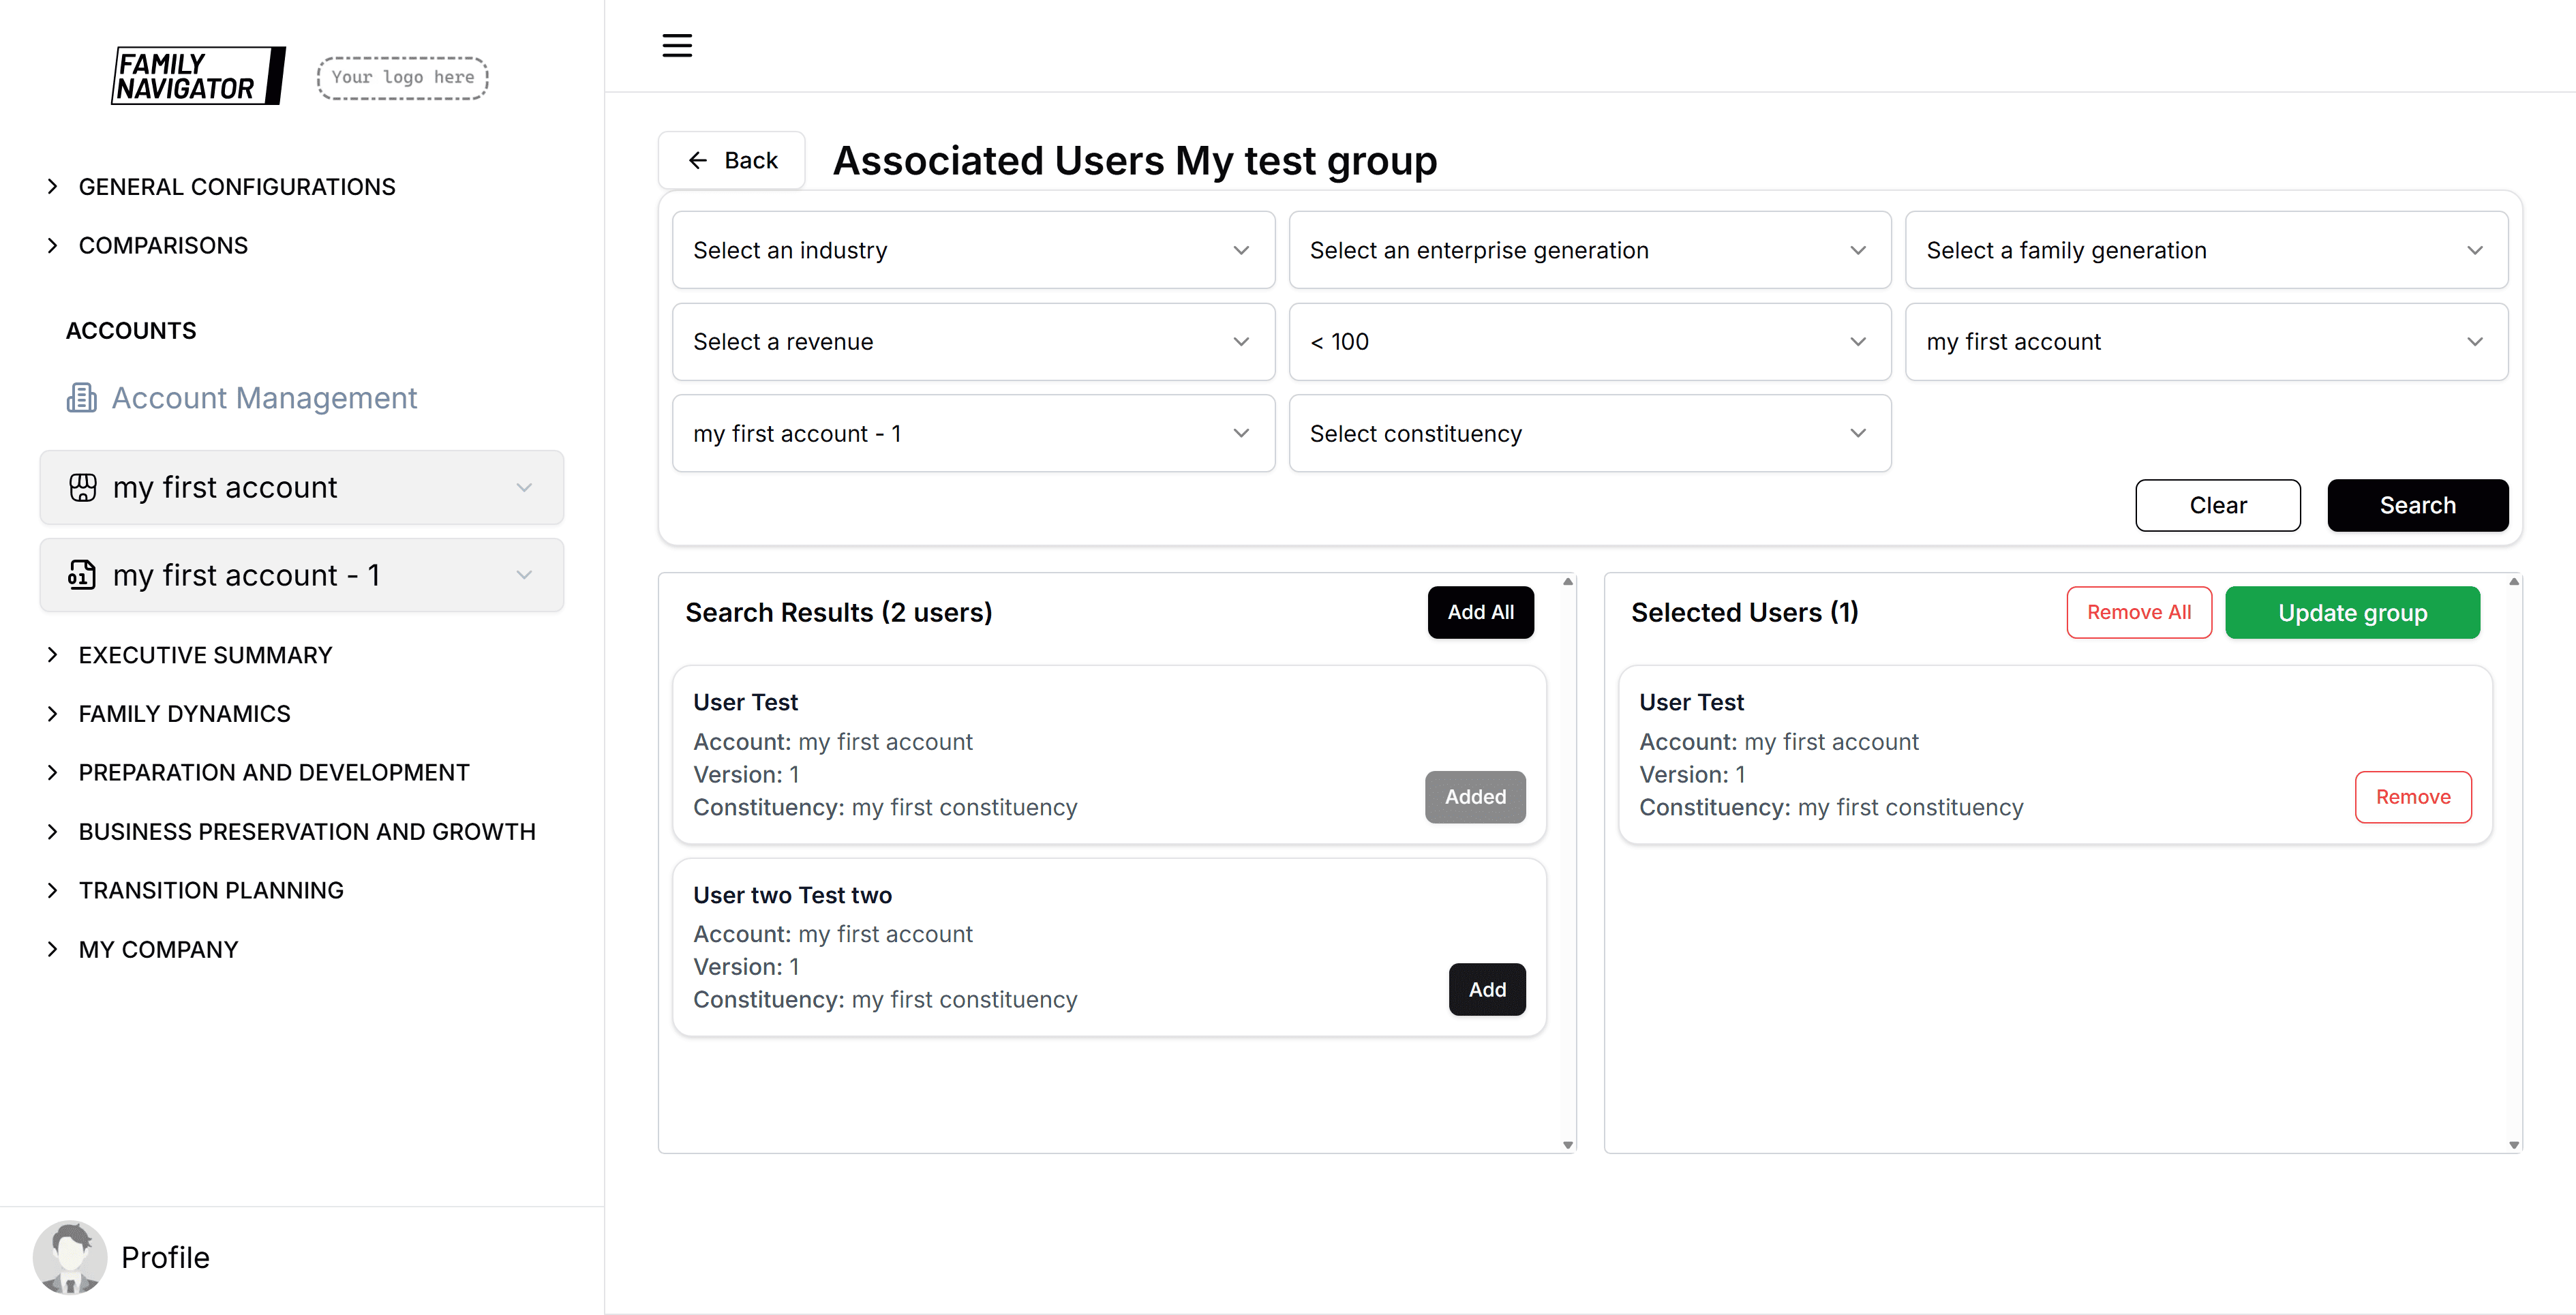
Step 3: Add Users to Group
- Add Individual: Click "Add" next to a specific user
- Add All: Click "Add All" to add all search results at once
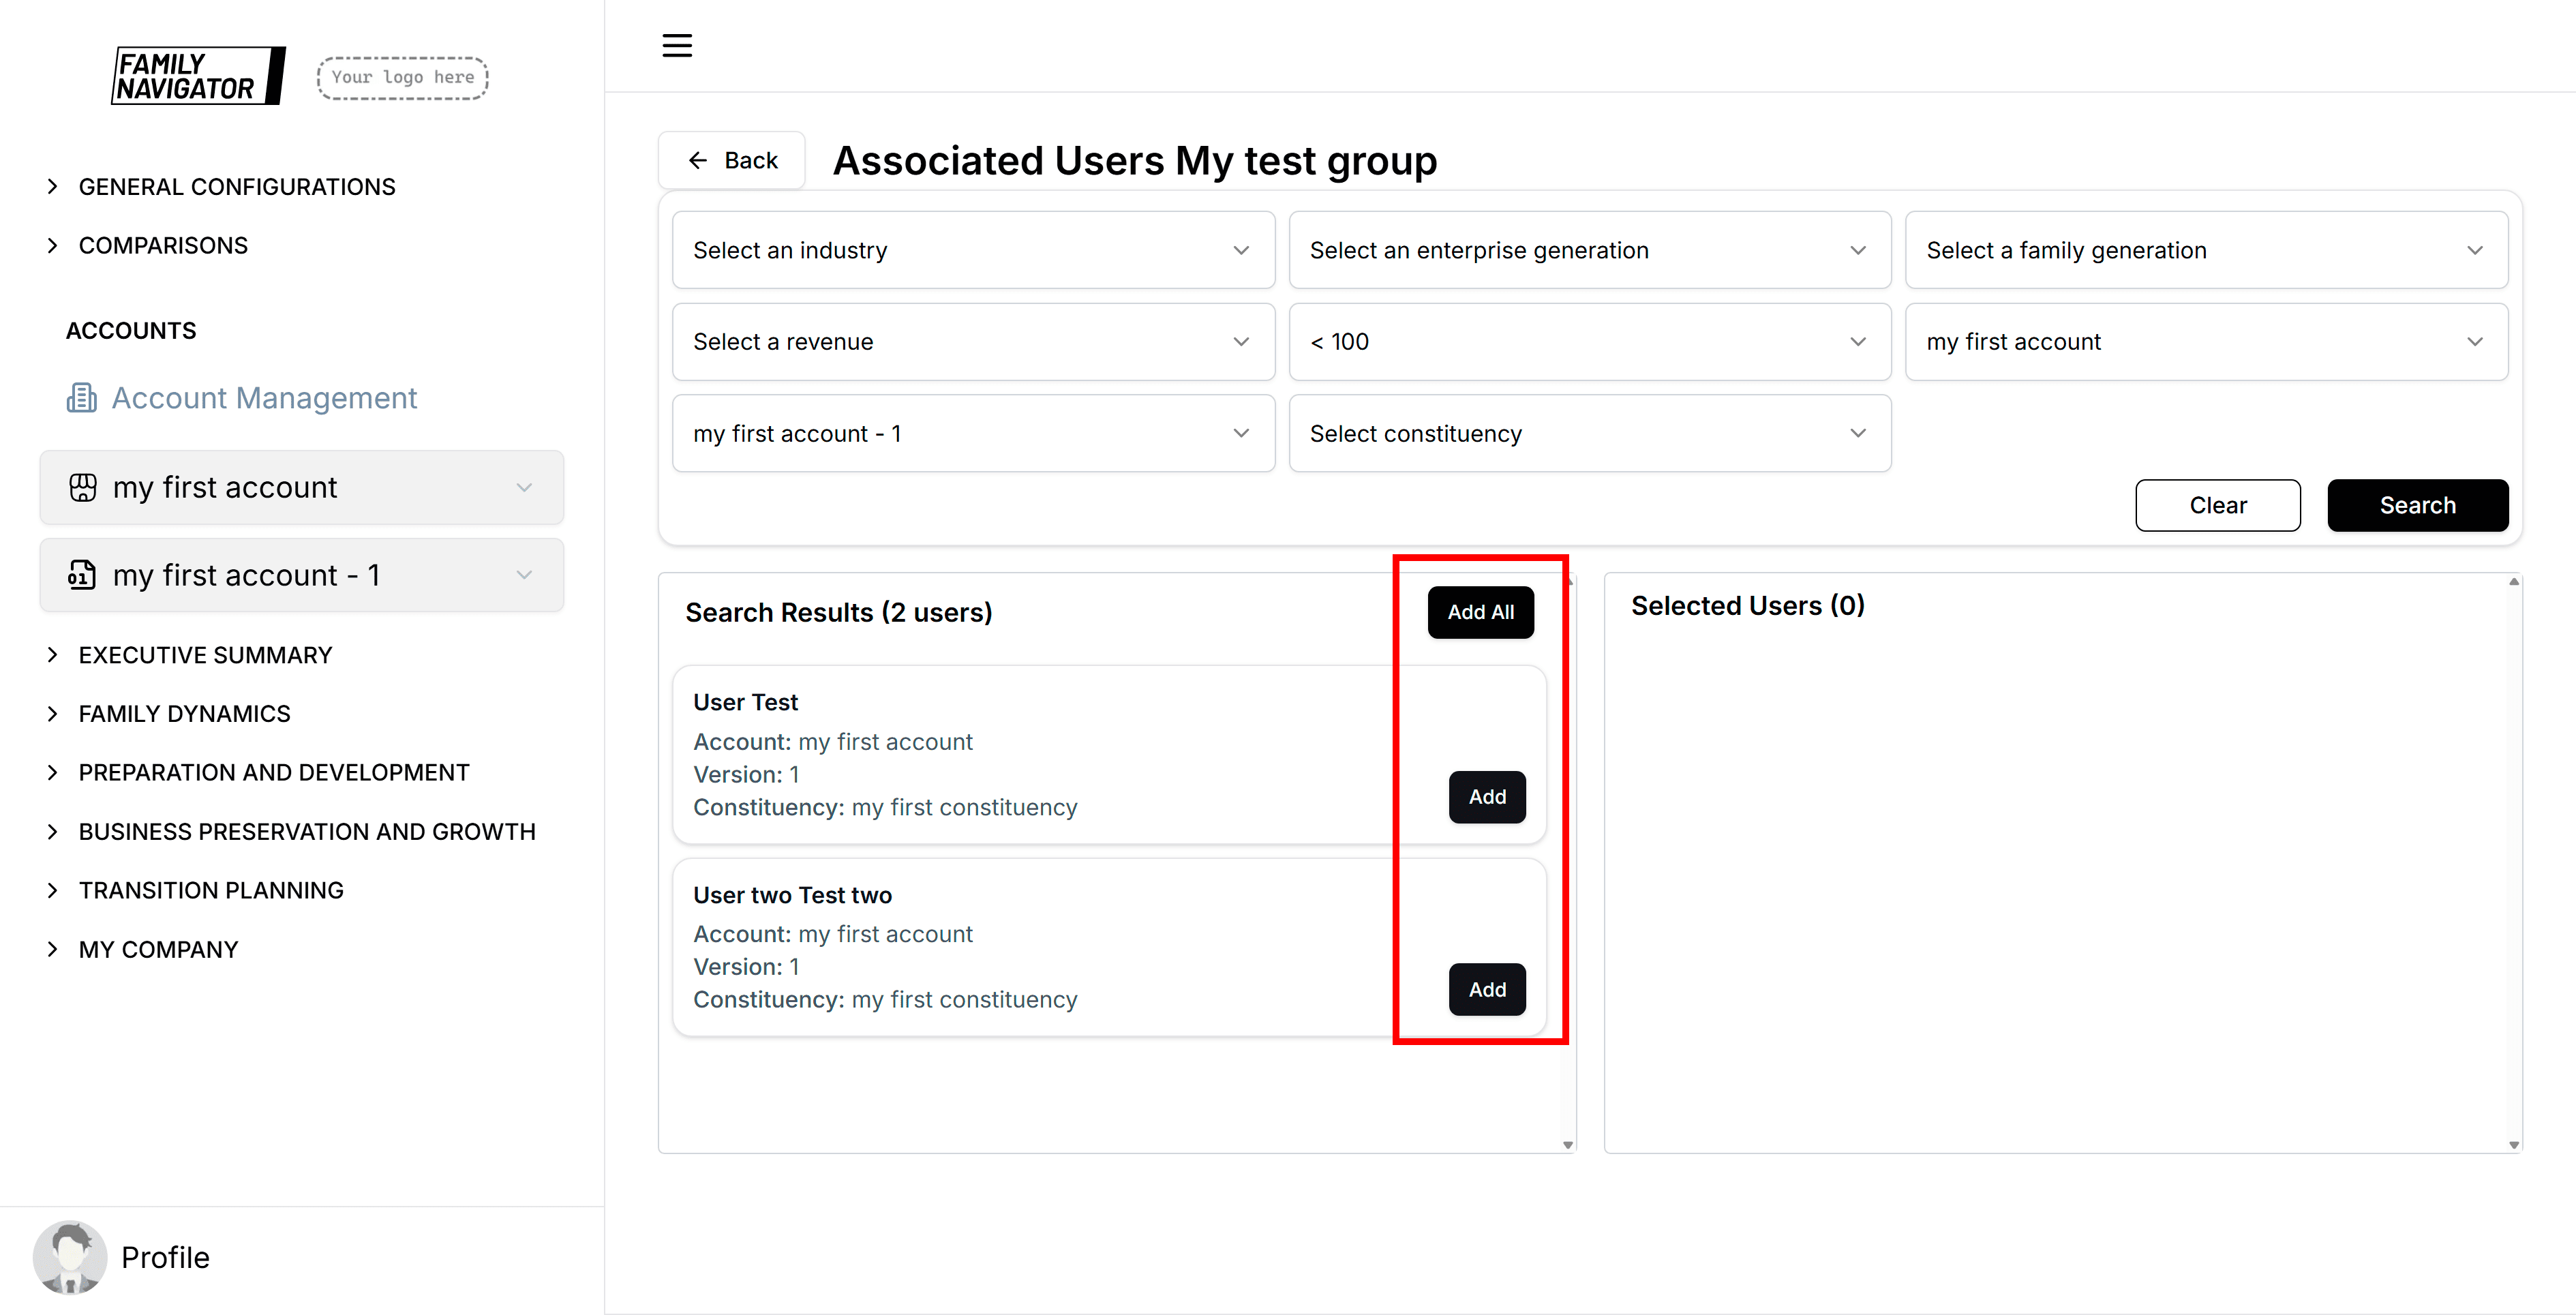
Added users appear in the right panel (Selected Users).
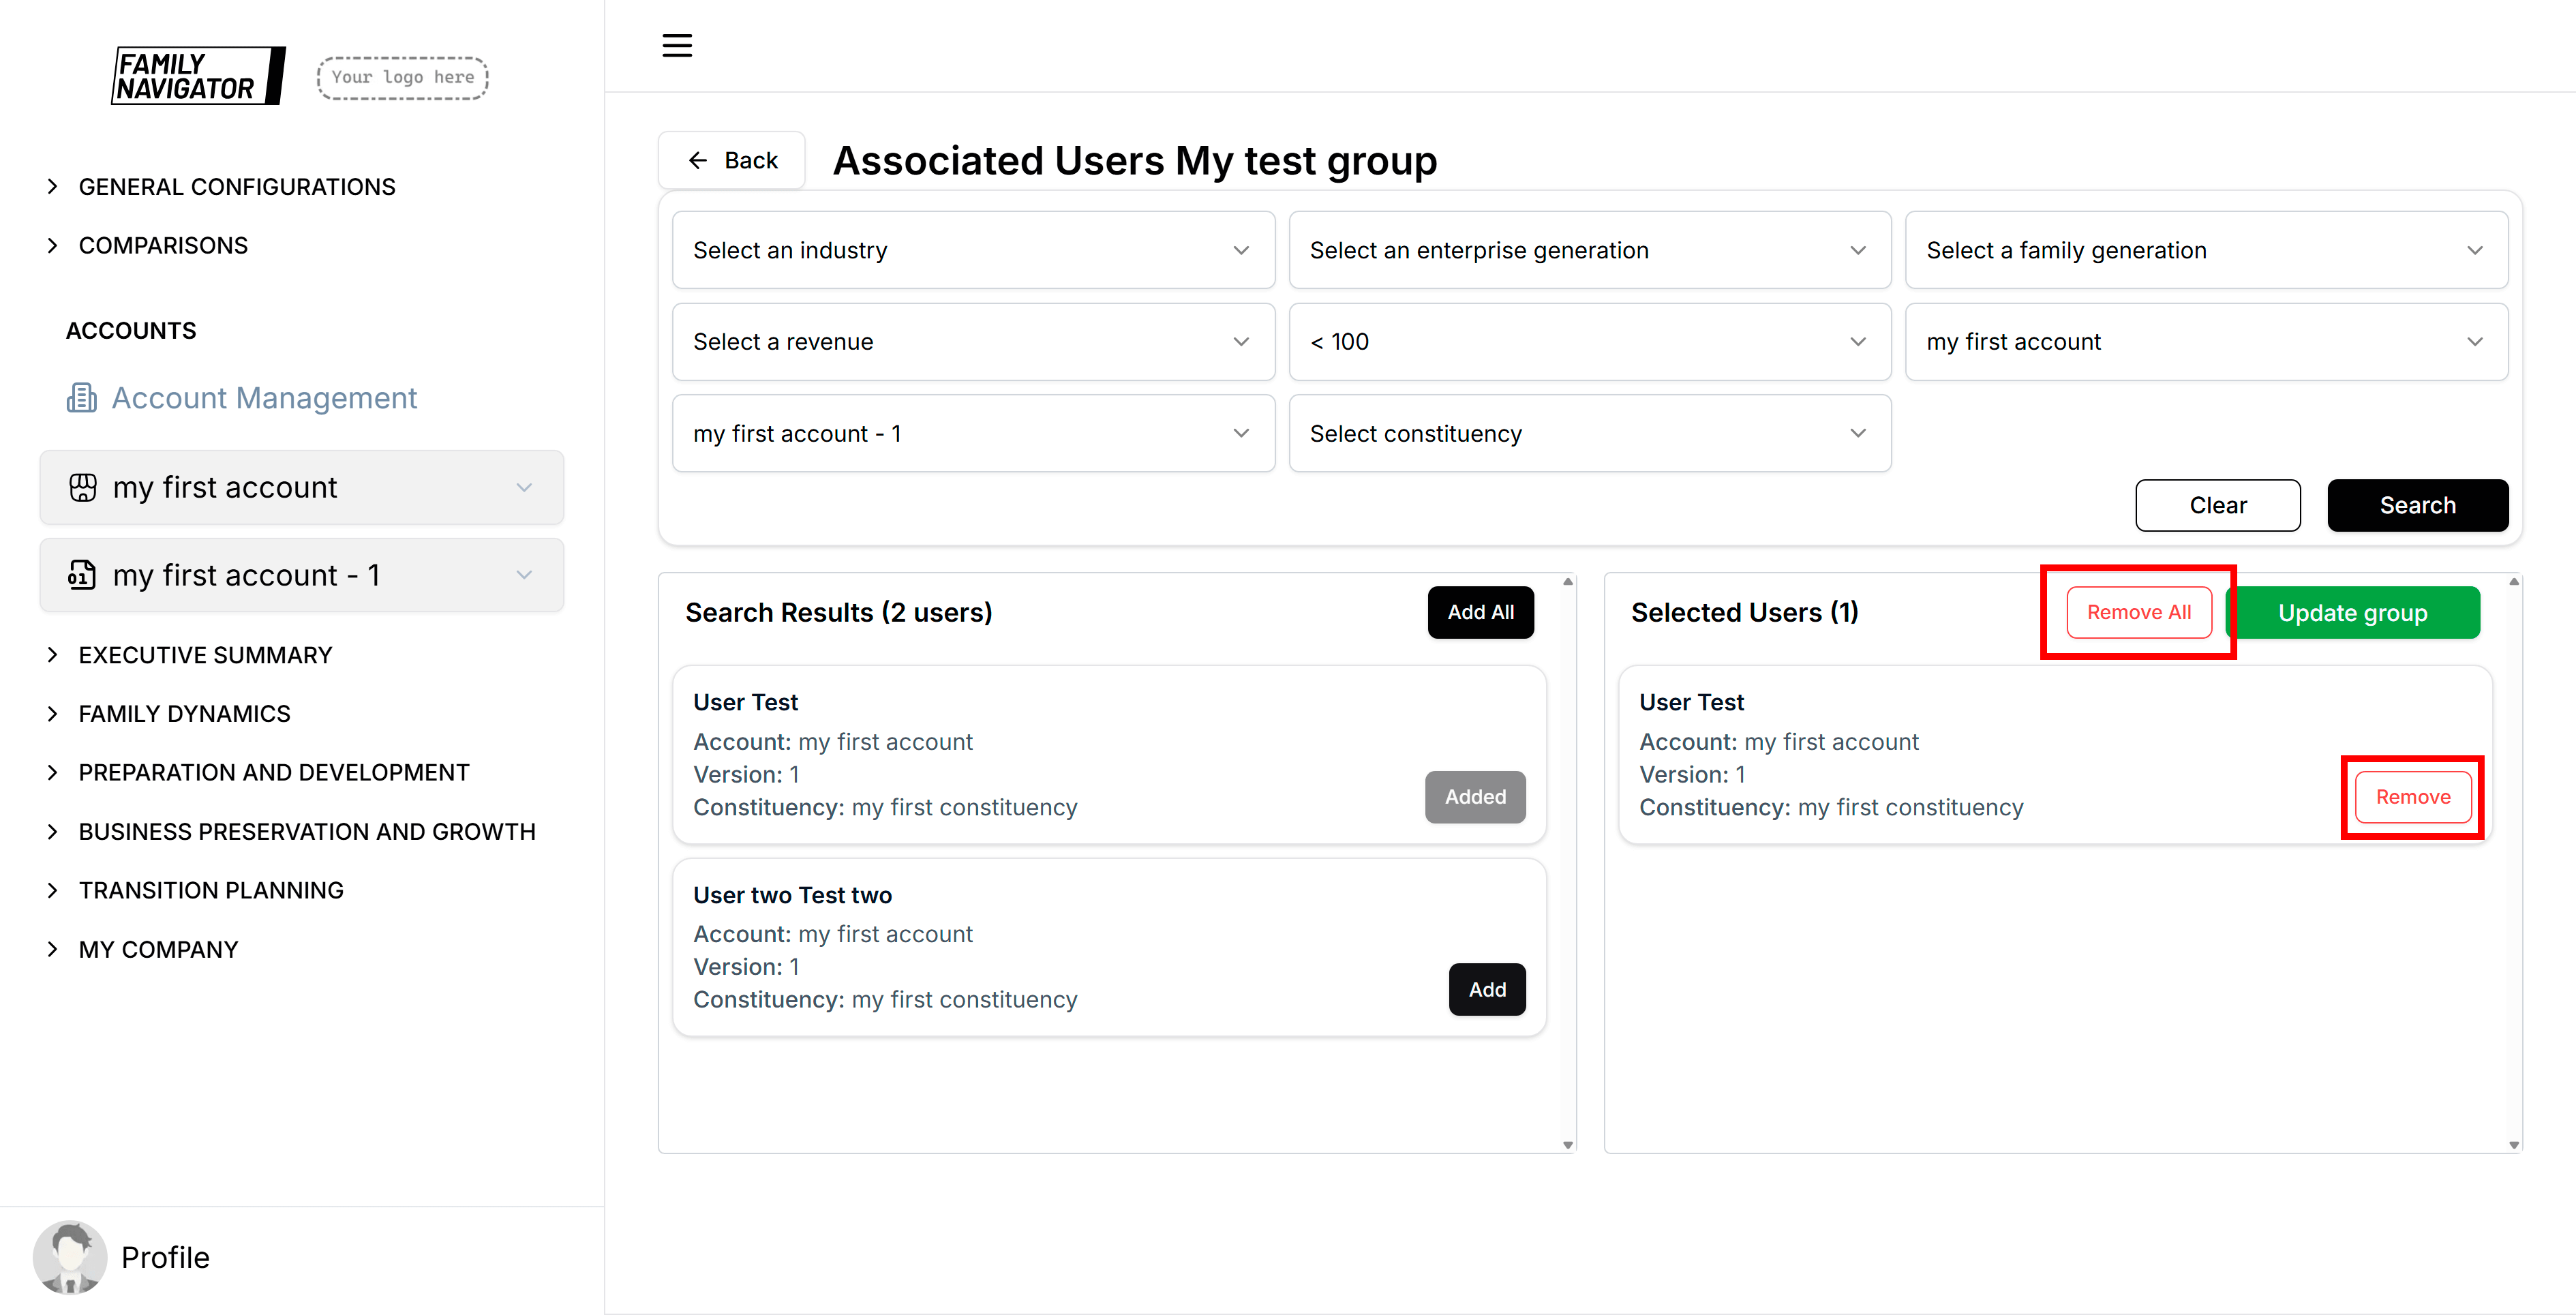
Step 4: Remove Users from Group
- Remove Individual: Click the "Remove" button next to a user in the selected panel
- Remove All: Click "Remove All" to clear all selected users
Step 5: Save Changes
Click "Update group" to persist the user associations. Only save when there are unsaved changes.
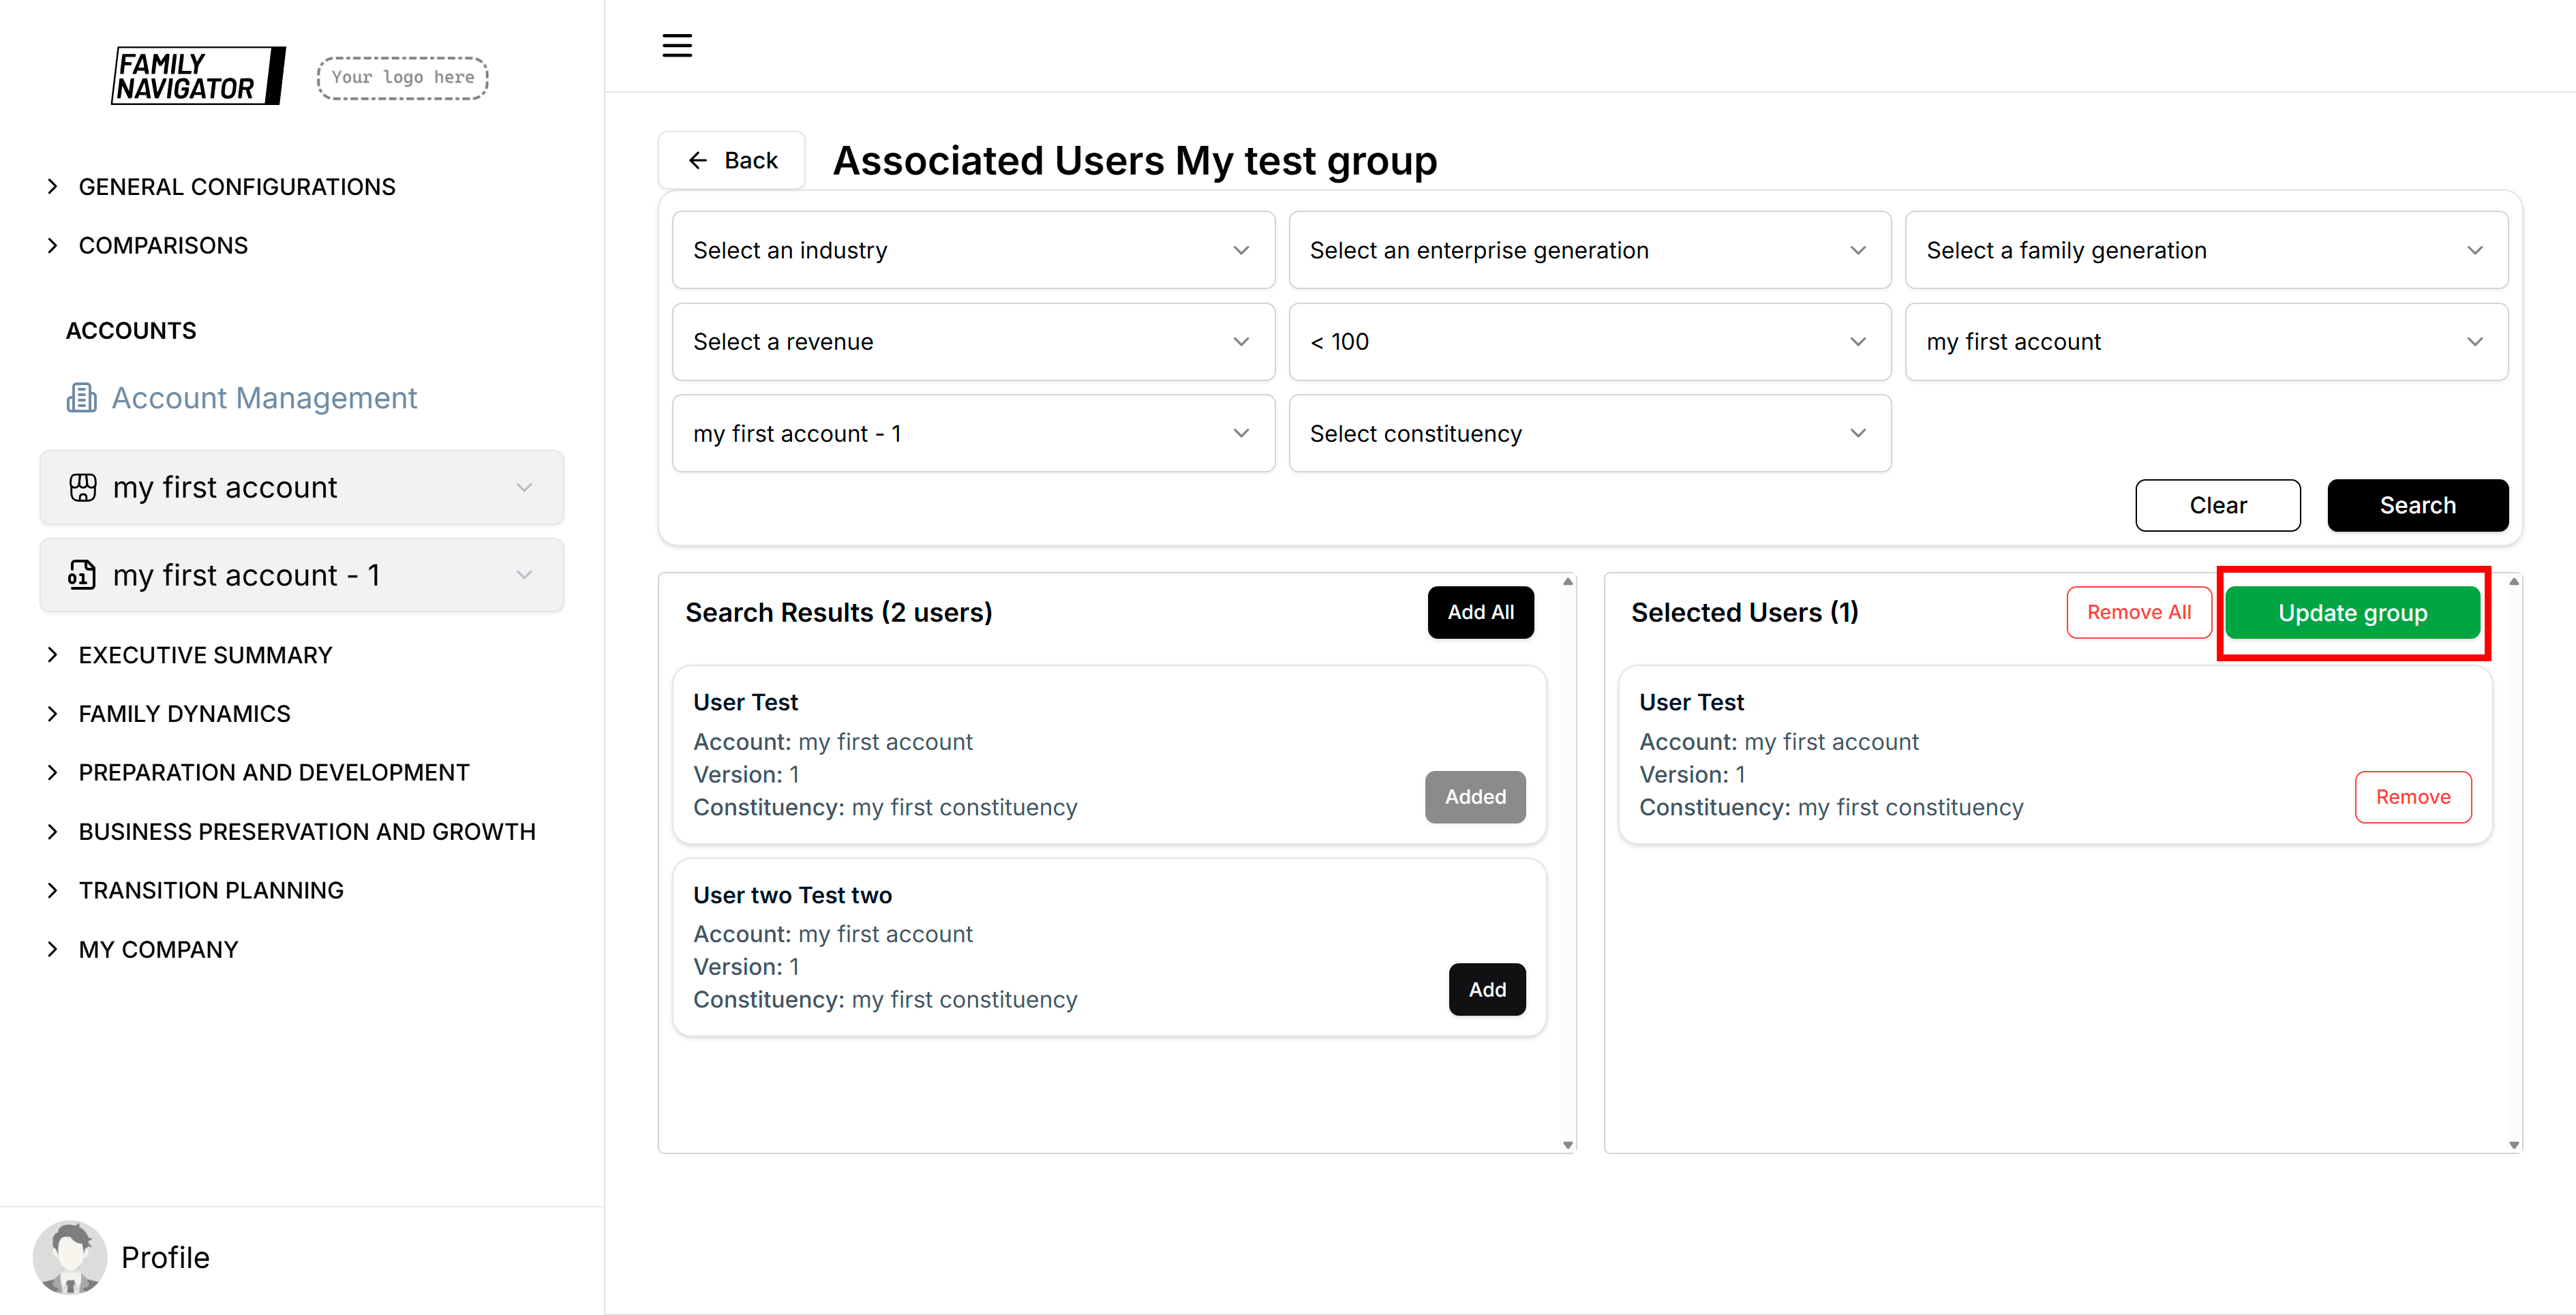
Save Status
- Success notifications confirm when users are saved
- Error notifications appear if save operations fail
- The save button is disabled when no changes are detected
Integration with Other Features
Comparison groups are used in:
- Compare: For comparative analysis between different groups
Troubleshooting
- Cannot Create Group: Check that all required fields are filled and names are unique
- Edit Not Working: Ensure you have edit permissions for the workspace
- Delete Not Available: Some groups may be protected or in use by active reports
- Color Not Saving: Try selecting the color again and ensure it's a valid hex value
- Form Not Submitting: Check for validation errors and network connectivity
Form Validation and Error Handling
- Required Fields: Name, description, and color are all required
- Character Limits: Name (100 chars), Description (500 chars)
- Unique Names: Group names must be unique within the workspace
- Color Selection: Must select a valid color
If validation fails, error messages will appear below the respective fields.
Error States
If there's an error loading groups or performing operations:
- Network Errors: Connection issues will show error messages
- Server Errors: Backend issues will display appropriate error notifications
- Permission Errors: Insufficient permissions will prevent access
Best Practices
- Descriptive Names: Use clear, descriptive names that indicate the group's purpose
- Detailed Descriptions: Provide enough context for other users to understand the group's use
- Color Coding: Choose distinct colors for different types of groups for easy visual identification
- Regular Maintenance: Review and update groups as your organizational needs change
- Consistent Naming: Follow a naming convention for consistency across groups